Use the map dedicated to the incident
Each incident has a map dedicated specifically to it, on which you mark the incident's location, route to the location, display a hazardous materials plumes, and so forth.
Note: You must have purchased FH Mobile Response Premium to use a dedicated incident map in FH Mobile Response. For information on upgrading from FH Mobile Response Basic to Premium, contact your FH sales representative.
- (If an incident is not already open) Open an incident, as described in Open an incident.
-
(If a location was not provided by an incoming dispatch) Specify the location of the incident.
Information on specifying the incident location is available in Work with the location of the incident.
-
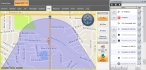
Click the incident's Map sub-tab.
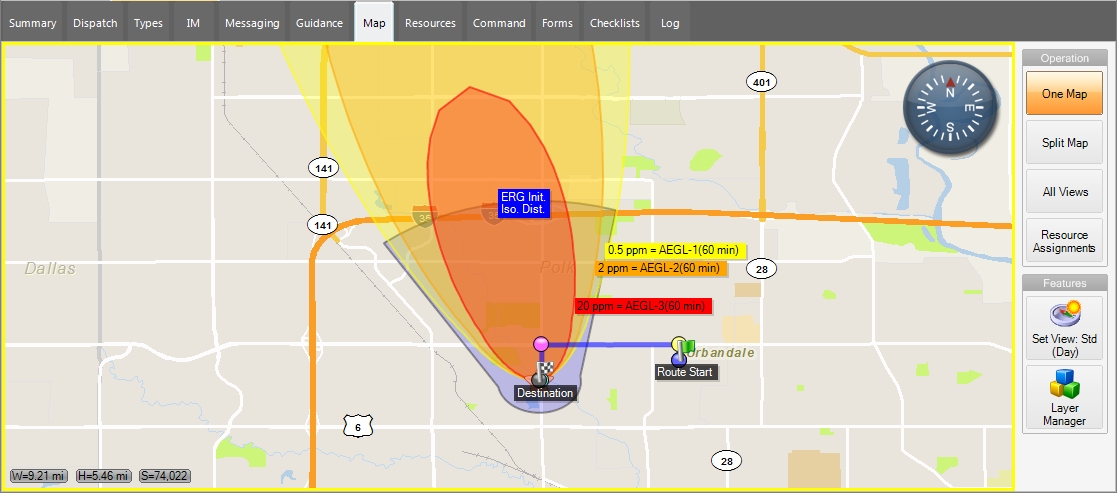
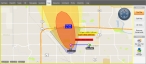
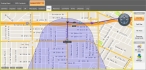
The sub-tab appears, displaying the incident location, any routing information you have set up for the incident, and (if you have added a hazardous material element) a hazardous material plume for the incident.
Information on setting up routing for an incident location is available in Work with the location of the incident. Information on adding a hazardous material element to the incident is available in Add elements (types) to the incident.
When an incident is first created and its location is identified, FH Mobile Response automatically zooms in and centers the display in the Map sub-tab on the incident location. You can change the view of the map as needed to gain a "bigger picture" of the area.
Information on changing the map view is available in Pan, zoom in, and zoom out on the map.
-
(Optional) Change the view of the location.
 Display a single street map
-
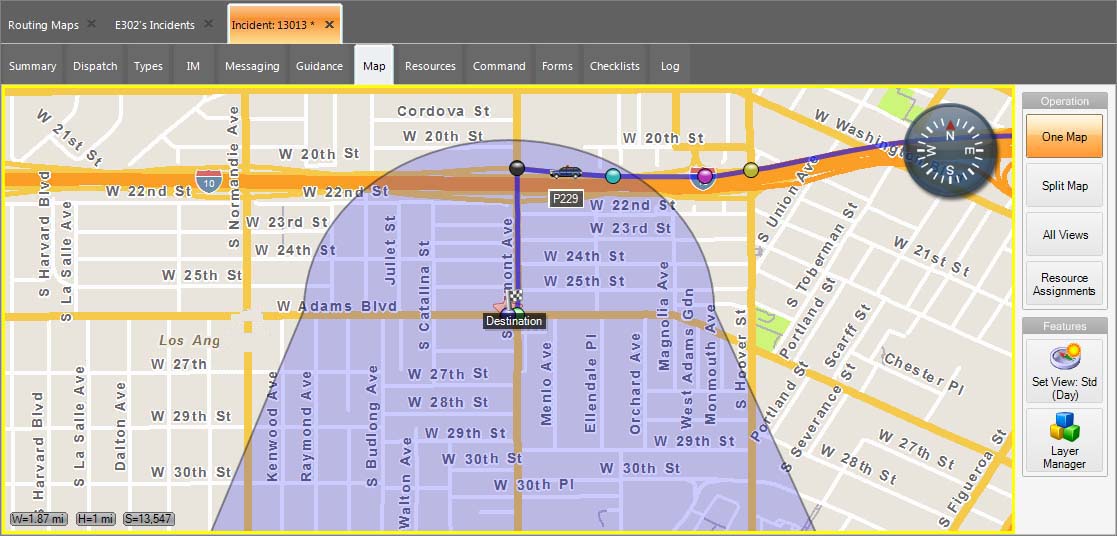
On the right side of the map, under Operation, click One Map.
A single street map appears on the sub-tab.
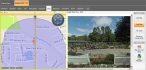
Divide the map into a map view and an aerial view
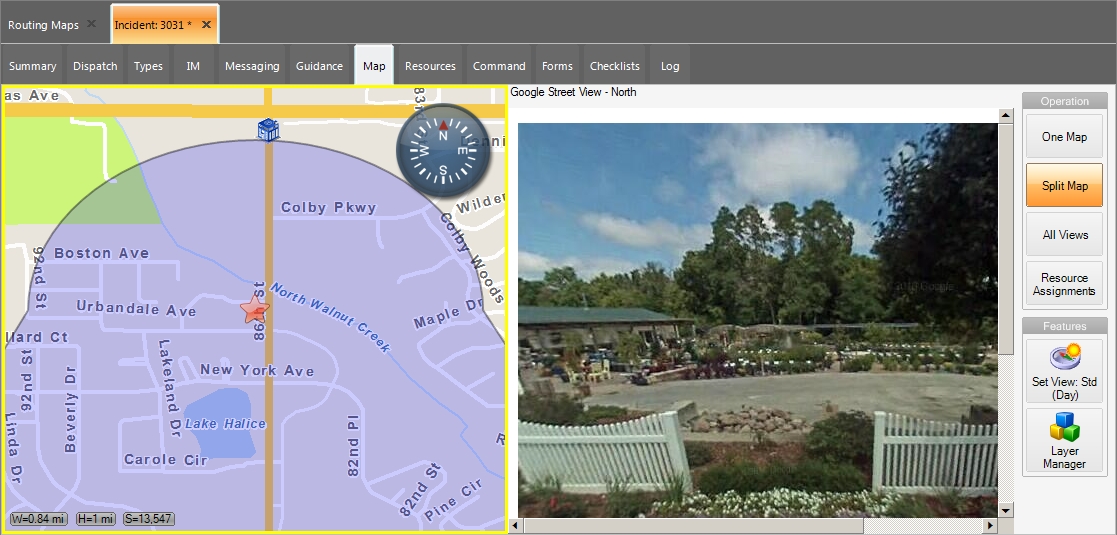
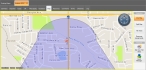
FH Mobile Response can display oblique aerial imagery centered on an incident's location, from Bing maps, Google street views, and Pictometry maps (if you have purchased a Pictometry license and configured it in FH Mobile Response).
-
On the right side of the map, under Operation, click Split Map.
The street map appears on the left side of the sub-tab, and the default aerial view appears on the right side of the sub-tab.
Information on configuring aerial views is available in Define URLs for incident browser maps.
Information on configuring Pictometry in FH Mobile Response is available in Change map and data file locations.
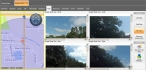
Divide the map into a map view and four aerial views of the location
FH Mobile Response can display oblique aerial imagery centered on an incident's location, from Bing maps, Google street views, and Pictometry maps (if you have purchased a Pictometry license and configured it in FH Mobile Response).
-
On the right side of the map, under Operation, click All Views.
The street map appears on the left side of the sub-tab, and four aerial views appear on the right side of the sub-tab.
Information on configuring aerial views is available in Define URLs for incident browser maps.
Information on configuring Pictometry in FH Mobile Response is available in Change map and data file locations.
-
-
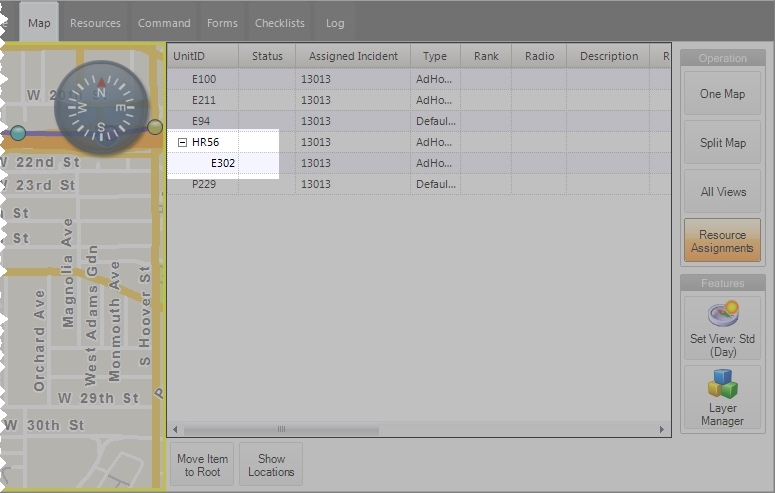
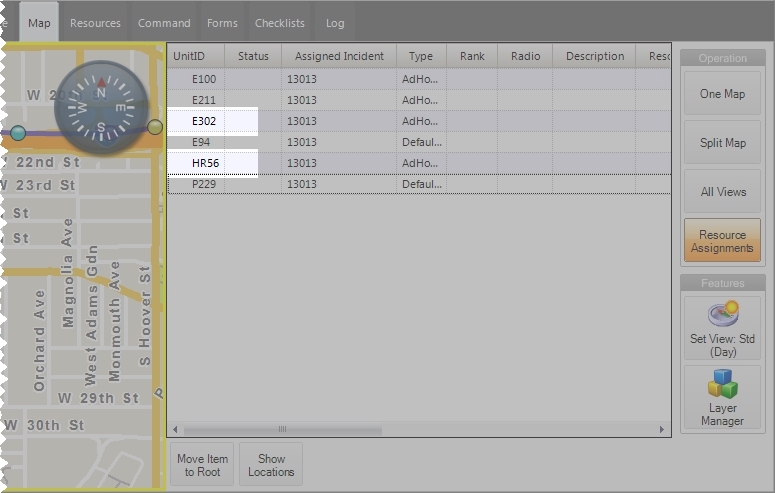
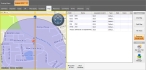
(Optional) List resource assignments next to the map.
-
On the right side of the map, under Operation, click Resource Assignments.
The street map appears on the left side of the sub-tab, and a list of any resources that have been assigned to the incident appears on the right side of the sub-tab.
-
(Optional) Display the location of a resource.
- Select the listing of the resource you want to locate on the map.
-
Below the list of resources, click Show Locations.
The map pans and zooms until the icon for the selected resource is centered, and a blinking green/yellow push-pin appears briefly through the icon.
Tip: You can configure FH Mobile Response to display additional information with the resource icon, such as ETA, status colors, an arrow showing the driving direction, and so forth.
Information on configuring FH Mobile Response to display AVL presentation and transmission information is available in Configure AVL presentation on the map and Configure automatic vehicle location (AVL) transmissions.
-
(Optional, if a resource appears in the hierarchy under another resource) Move the hierarchically lower resource to the primary level (the "root" level) of the hierarchy.
In FH Mobile Response Command Post, on the Resources sub-tab, you can "drag and drop" one resource onto another, creating a hierarchy of resources and indicating relationships between them.
Example: A department has every firefighter identified as a resource, and all vehicles are identified as resources. For an incident, several of the firefighters might be assigned to a single unit. You can "drag and drop" the firefighter resources into the vehicle resource they are riding in to the incident. The results appear on the Resource sub-tab list as the firefighters listed under that unit.
In FH Mobile Response Premium, you can move a resource back to the root level of the list.
- Select the hierarchically lower resource in the list.
-
Below the list of resources, click Move Item to Root.
The item moves to the same level in the list as the other items.

-
-
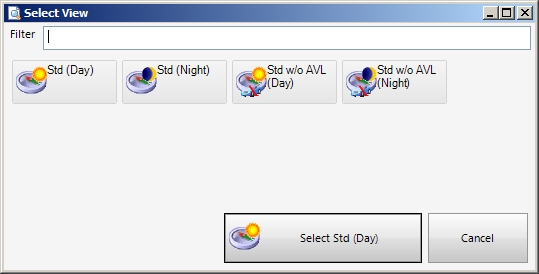
(Optional) Change the view of the map.
A map view is a way to display a geographic information system (GIS) map with various layers you can display or hide. You can also view the same map in either day view or night view. These modes let you change the map colors to be more readable in sunlight or in darkness.
-
On the right side of the map, under Features, click Set View.
The Select Views dialog box appears.

-
Click the name of the map view you want to display in sub-tab.
The dialog box closes, and the map view you selected appears in the sub-tab.
-
-
(Optional) Manage information layers displayed on the map.
On a map, you can display and hide standard map information such as icons, streets labels, landmarks, building footprints, and more.
-
On the right side of the map, under Features, click Layer Manager.
To the right of the map, the Layer Manager pane appears.
-
Use the icons in the Layer Manager pane to hide and display information on the map.
Information on using the icons is available in Manage information layers on a map.
-