Add elements (types) to the incident
For more complex incidents, you can locate and characterize separate components, called elements, within a single incident. Groupings of specific incident elements are referred to as incident types.
An incident can have more than one type, and each type can have its own location, visual representation, weather conditions, and guidance associated with it.
|
Note:
|
- (If an incident is not already open) Open an incident, as described in Open an incident.
-
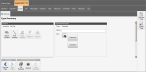
Click the incident's Types sub-tab.
The incident's Types sub-tab appears.
Note: If the Types sub-tab does not appear, it may be hidden through a configuration setting in FH Mobile Response. Information on displaying or hiding the Summary sub-tab is available in Display or hide incident sub-tabs.
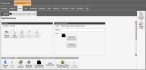
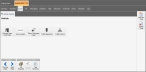
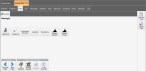
If the incident is automatically created from a CAD system dispatch, the Types sub-tab is automatically populated with information from the dispatch, and each element (type) in the incident appears on its own sub-tab beneath the Types sub-tab.
Example: On the Types sub-tab below, there are two elements (alarms and hazardous materials) defined for incident 3025. These elements are individually represented on the Alarms and Fixed Storage HazMat (Agent Known) sub-tabs.
If you create an incident manually, the first time you click the Types sub-tab, a new type is added by default, and the All Hazards sub-tab appears beneath theTypes sub-tab.
Information on manually creating an incident is available in Add an incident manually and in Create an incident from a template.
Note: At the bottom of the sub-tab, under Navigate, the Previous Page and Next Page icons both activate. Depending on the type of element you are working with, there may be multiple pages of information to view or define. You can use these icons to move backward and forward through the pages of the element, to reach the pertinent field you want to specify.

-
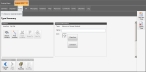
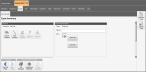
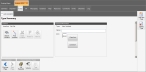
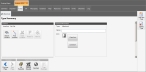
On the right side of the pane, click Add New Type.
Under the Types sub-tab, the All Hazards sub-tab appears.

-
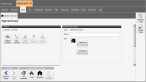
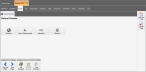
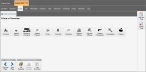
From the row of icons on the sub-tab, click the icon that represents the element you want to add to the incident.
Example: Click Unknown or General Incident, Fire, Hazardous Materials, Medical, and so forth.
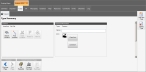
The (All Hazards) sub-tab is renamed according to the element icon you selected.
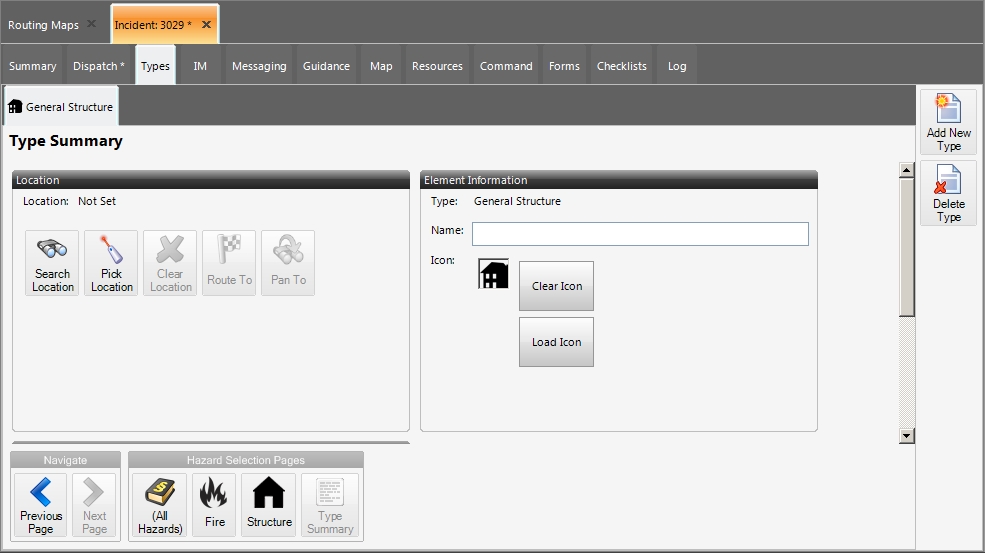
If you clicked General or Unknown Incident, the Type Summary screen appears on the sub-tab.
If you clicked one of the other element icons, more icons appear to so that you can further identify the type of element.
-
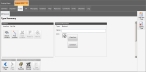
(If additional icons appear) Click the icon for the element you want to identify for the incident.
Note: You will use the icons that appeared to continue defining the element you are adding to the incident. The Type Summary screen eventually appears, indicating the end of the element definition process.
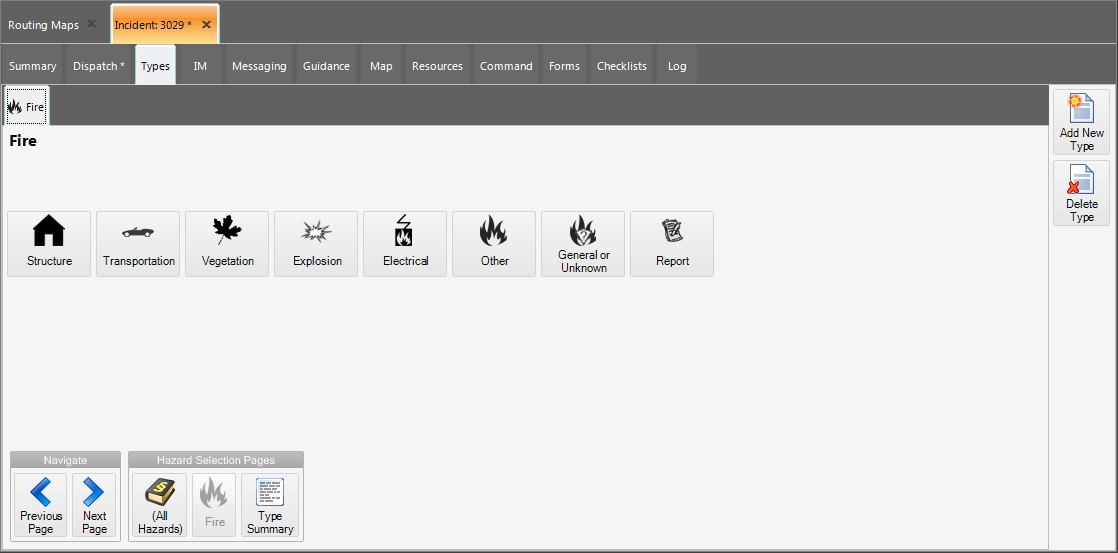
 Fire
Fire
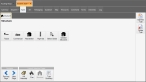
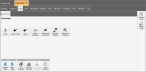
The (All Hazards) sub-tab is renamed Fire, and the sub-tab updates to display icons representing different types of fire.
 Fire element definition hierarchy
Structure
Tarpot
Fire element definition hierarchy
Structure
Tarpot
Type Summary
Commercial
Church/School > Type Summary
Lumberyard > Type Summary
Storage Tank > Type Summary
Hotel > Type Summary
Motel > Type Summary
Shed/Barn > Type Summary
Warehouse > Type Summary
Restaurant > Type Summary
Nursing Home/Hospital > Type Summary
General Business > Type Summary
Residential
House > Type Summary
Apartment > Type Summary
Duplex > Type Summary
Shed > Type Summary
Barn > Type Summary
High-rise
Type Summary
Below Grade
Type Summary
General Structure
Type Summary
Transportation
Train
Type Summary
Road Vehicle
Motorcycle > Type Summary
Bus > Type Summary
Truck > Type Summary
Mobile Home > Type Summary
Car > Type Summary
Trailer or Tanker
Type Summary
Boat or Ship
Type Summary
Railroad Car
Type Summary
Vegetation
Grass > Type Summary
Brush > Type Summary
Tree > Type Summary
Explosion
Type Summary
Electrical
Utility Pole Fire > Type Summary
Transformer Fire > Type Summary
Other
Stop > Type Summary
Rubbish > Type Summary
Fence > Type Summary
Mailbox > Type Summary
Illegal burning > Type Summary
Grill > Type Summary
General or Unknown
Type Summary
Report
Smoke Reported > Type Summary
Fire Reported Out > Type Summary
-
Click the icon representing the type of fire for the element you are defining.
If you clicked Explosion or General or Unknown, the Type Summary screen appears on the sub-tab.
If you clicked one of the other icons, the Fire sub-tab is renamed with the icon's name, and more icons appear to so that you can further identify the type of fire it is.
-
(If additional icons appear) Continue clicking the appropriate icons as they appear on the sub-tab, to identify the fire element you are adding to the incident, until the Type Summary screen appears on the tab.
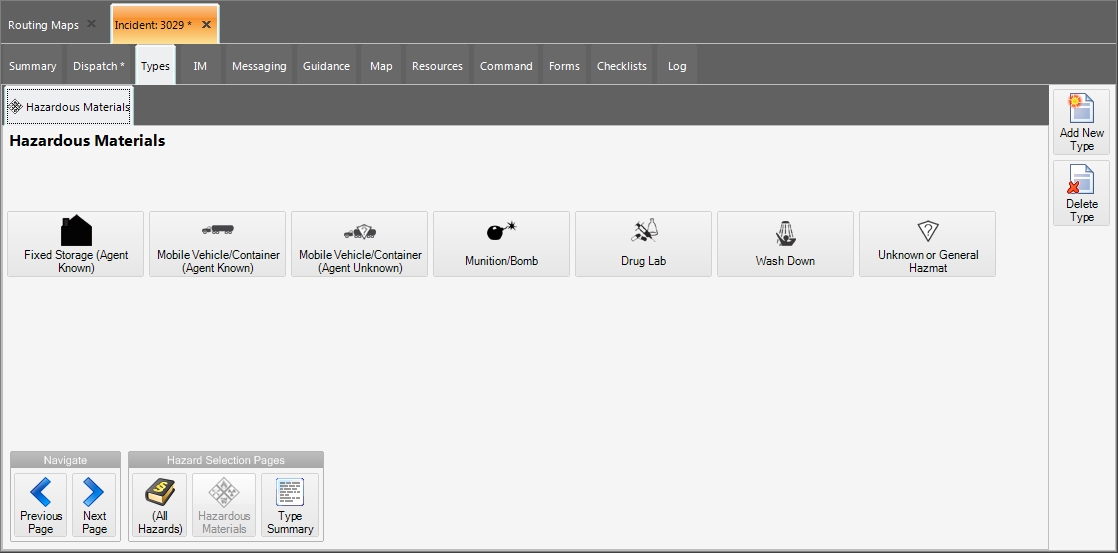
Hazardous Materials
A hazardous material is any item or agent (biological, chemical, radiological, and/or physical), which has the potential to cause harm to humans, animals, or the environment, either by itself or through interaction with other factors.
The (All Hazards) sub-tab is renamed Hazardous Materials, and the sub-tab updates to display different types of hazardous materials.
 Hazardous materials element definition hierarchy
Fixed Storage (Agent Known)
Hazardous materials element definition hierarchy
Fixed Storage (Agent Known)
search screen > Type Summary
Mobile Vehicle/Container (Agent Known)
Road Trailer/Tank
Compressed Gas Trailer > search screen > Type Summary
Corrosive Liquid Tanker > search screen > Type Summary
Cryogenic Liquid Tanker > search screen > Type Summary
Dry Bulk Cargo Tanker > search screen > Type Summary
High Pressure Tanker > search screen > Type Summary
Low Pressure Tanker > search screen > Type Summary
Nonpressure Liquid Tank > search screen > Type Summary
Rail Car
Box Car > search screen > Type Summary
High Pressure Tank Car > search screen > Type Summary
Hopper Car > search screen > Type Summary
Low Pressure Tank Car > search screen > Type Summary
Ship/Barge
search screen > Type Summary
Intermodal Container
search screen > Type Summary
Unknown or General
search screen > Type Summary
Mobile Vehicle/Container (Agent Unknown)
Road Trailer/Tank
Compressed Gas Trailer > Type Summary
Corrosive Liquid Tanker > Type Summary
Cryogenic Liquid Tanker > Type Summary
Dry Bulk Cargo Tanker > Type Summary
High Pressure Tanker > Type Summary
Low Pressure Tanker > Type Summary
Rail Car
Box Car > Type Summary
High Pressure Tank Car > Type Summary
Hopper Car > Type Summary
Low Pressure Tank Car > Type Summary
Ship/Barge
Worst Case Agent Selection > Type Summary
QnA HAZMAT Selection > Type Summary
Agent Typical to Container > List of Agents > Type Summary
Intermodal Container
Worst Case Agent Selection > Type Summary
QnA HAZMAT Selection > Type Summary
Agent Typical to Container > List of Agents > Type Summary
Unknown or General
Type Summary
Munition/Bomb
Dirty Bomb
Dirty Bomb/Low Yield > Type Summary
Dirty Bomb/High Yield > Type Summary
Munition/Bomb (with Agent Entry)
search screen > Type Summary
Explosive Ordnance
Pipe Bomb (5 lbs TNT) > Type Summary
Briefcase/Suitcase Bomb (50 lbs TNT > Type Summary
Compact Sedan Bomb (500 lbs TNT) > Type Summary
Sedan Bomb (1000 lbs TNT) > Type Summary
Passenger/Cargo Van (4000 lbs TNT) > Type Summary
Small Moving Van/Delivery Truck (10000 lbs TNT) > Type Summary
Moving Van/Water Truck (30000 lbs TNT) > Type Summary
Semi-Trailer (6000 lbs TNT) > Type Summary
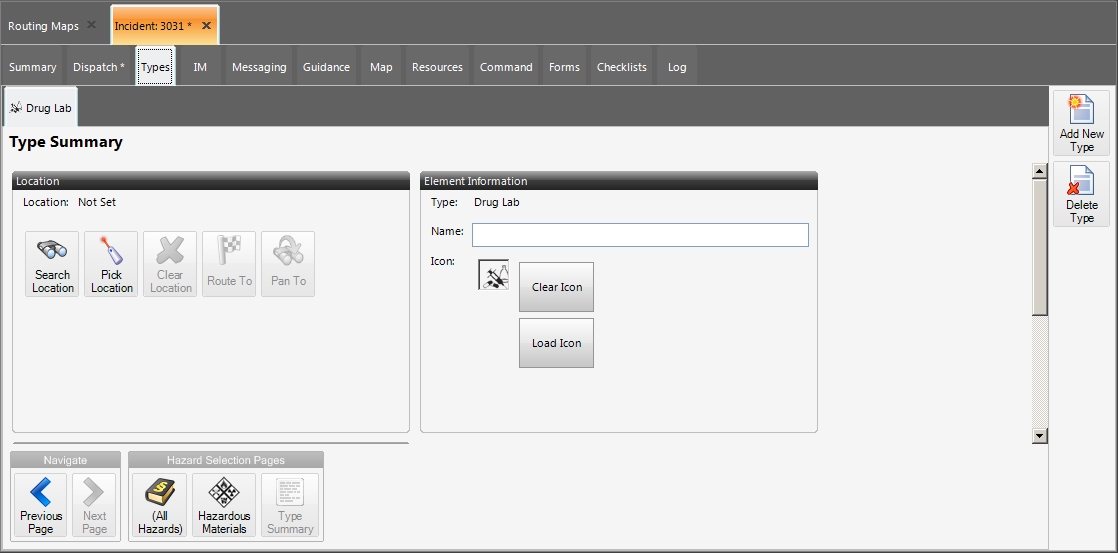
Drug Lab
Type Summary
Wash Down
Type Summary
Unknown or General Hazmat
search screen > Type Summary
-
Click the icon representing the hazardous material you are defining for the element.
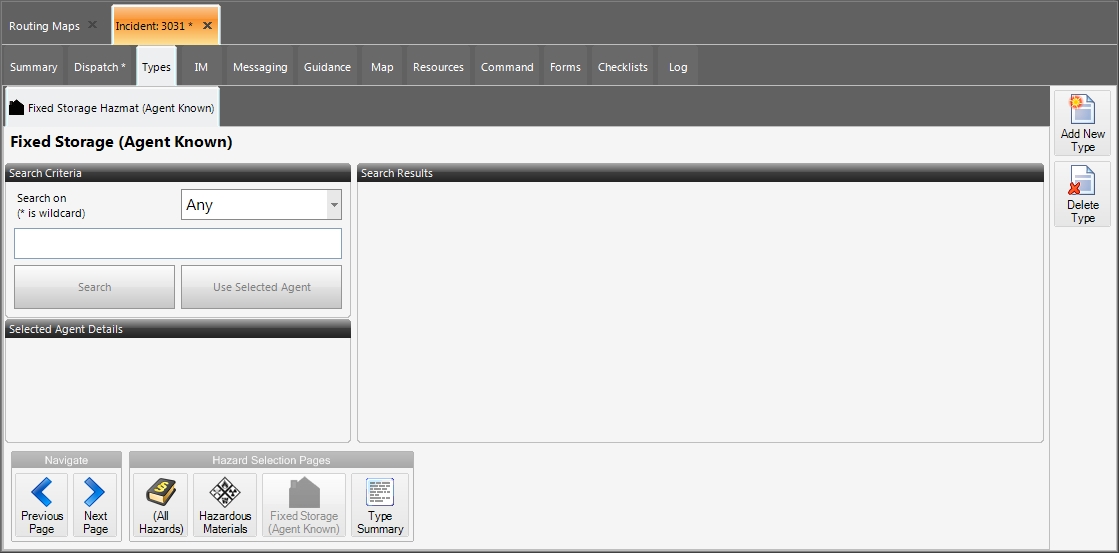
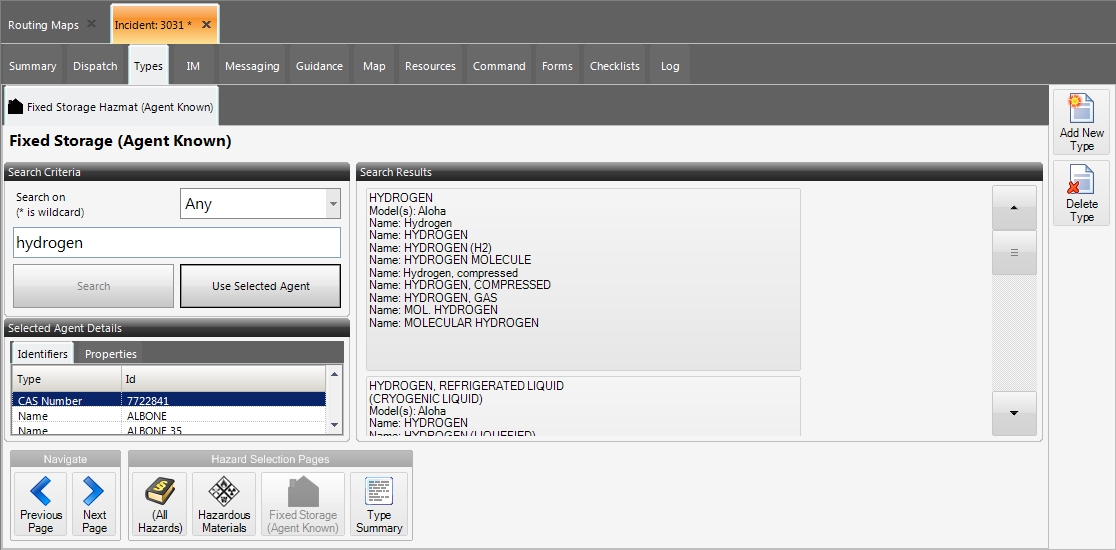
If you clicked Fixed Storage (Agent Known), the sub-tab updates with fields for searching for the hazardous material (this screen is referred to as the search screen). If you clicked Drug Lab or Wash Down, the Type Summary screen appears on the sub-tab.

If you clicked one of the other icons, the Hazardous Materials sub-tab is renamed with the icon's name, and more icons appear to so that you can further identify the type of hazardous material it is.

-
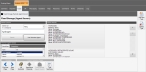
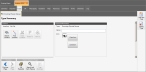
(If the search screen appears) Use the fields on the screen to search for the hazardous material (agent).
-
(Optional) Under Search Criteria, from Search on (* is wildcard), choose an option to help narrow the search for the agent hazardous material in the element you are defining.
The CAS number is a unique numerical identifier assigned by Chemical Abstracts Service (CAS) to every chemical substance described in the open scientific literature.
The UNNA number is the United Nations (UN) and four-digit number used to identify hazardous chemicals or classes of hazardous materials worldwide. If a material does not have a UN number, it may be assigned an NA number.
-
In the blank field below Search Criteria, from Search on (* is wildcard), type a name, CAS number, UN/NA number, or other text for the hazardous material.
The Search button activates.
-
Click Search.
The Selected Agent Details and Search Results sections populate with information relevant to your search.
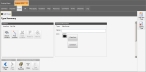
- From Search Results, select the listing for the hazardous material you want to associate with the incident element.
-
Under Selected Agent Details, check the information on the Identifiers and Properties tabs to verify that you have found and selected the correct hazardous material.
The Identifiers tab lists all known aliases for the selected hazardous material. The Properties tab contains highly detailed information regarding physical attributes of the material.
-
Under Search Criteria, click Use Selected Agent.
The Type Summary screen appears.
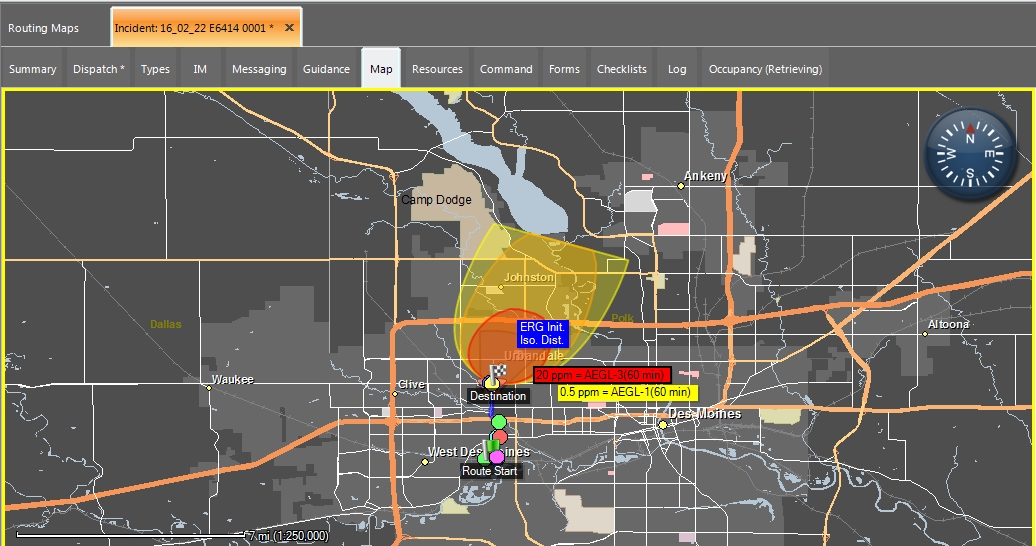
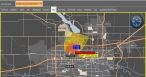
Note: If you chose a hazardous material with Areal Location of Hazardous Atmospheres (ALOHA) or Emergency Response Guidebook (ERG) data, two things happen:
-
A plume, calculated based on the weather data available for the element, appears at the element location on the incident's Map sub-tab.
-
The ALOHA Configuration or ERG initial (30 Min.) Isolation Distance icons appear under Hazard Selection Pages, at the bottom of the page.

You can use these icons to modify parameters which ALOHA and ERG use to model the plume on the Map sub-tab.
Information on using these icons is available in Modify hazardous material plume parameters.
-
-
-
(If additional icons appear) Continue clicking the appropriate icons as they appear on the sub-tab, to identify the hazardous element you are adding to the incident, until either the search screen or the Type Summary screen appears on the tab.

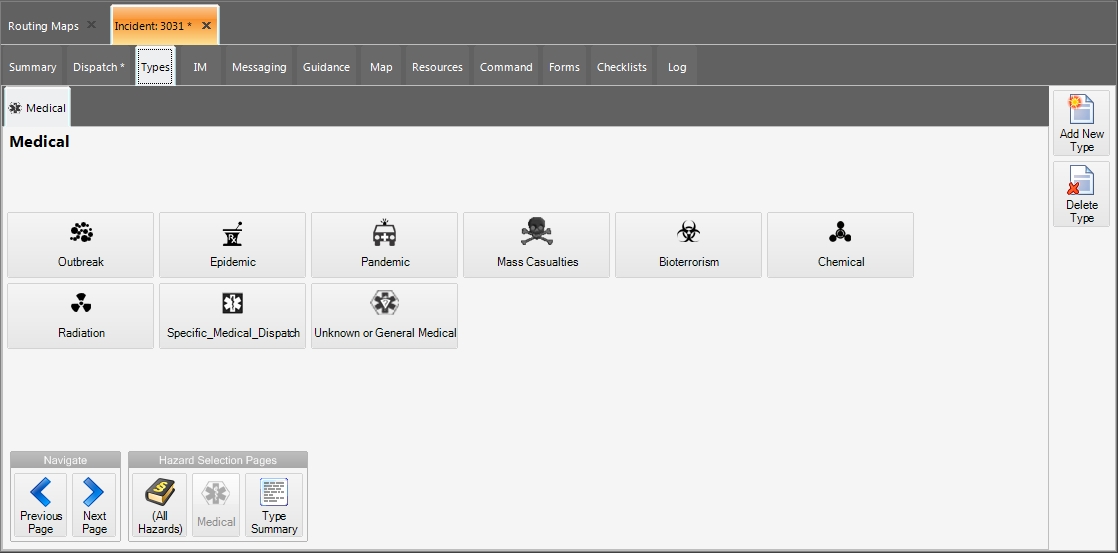
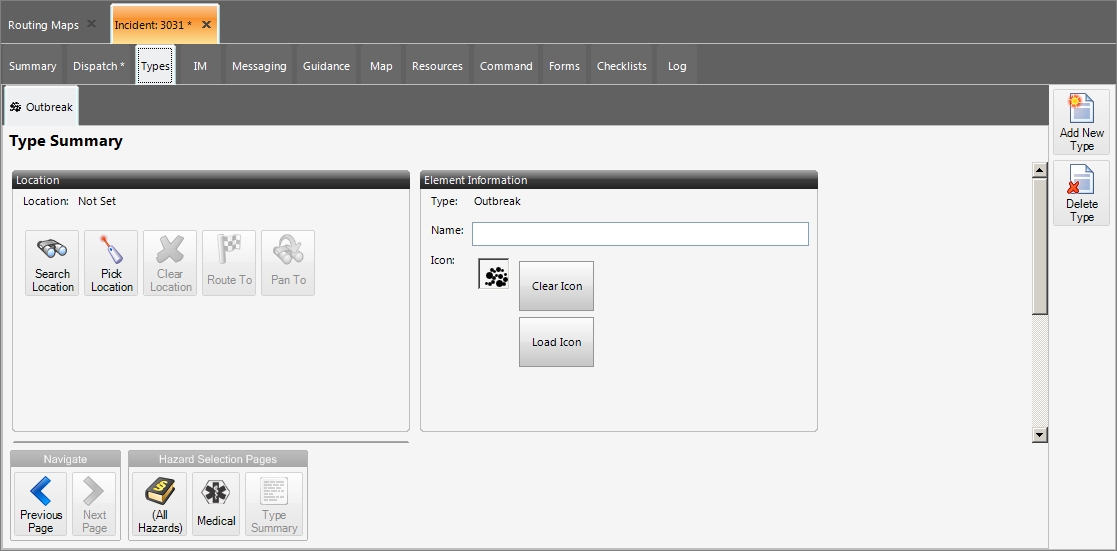
Medical
The (All Hazards) sub-tab is renamed Medical, and the sub-tab updates to display different types of medical circumstances.
 Medical element definition hierarchy
Outbreak > Type Summary
Epidemic > Type Summary
Pandemic > Type Summary
Mass Casualties > Type Summary
Bioterrorism > Type Summary
Chemical > Type Summary
Radiation > Type Summary
Specific Medical Dispatch > Type Summary
Unknown or General Medical > Type Summary
-
Click the icon that represents the medical situation you are defining for the element.
The Type Summary screen appears on the sub-tab.
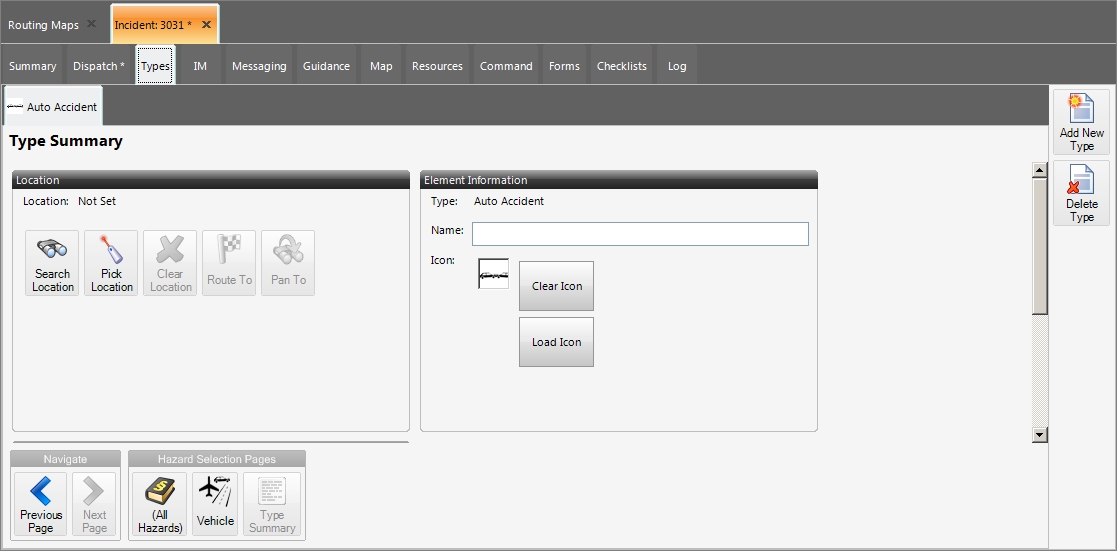
Vehicle
The (All Hazards) sub-tab is renamed Vehicle, and the sub-tab updates to display different types of vehicles.
 Vehicle element definition hierarchy
Downed Trees Over Road > Type Summary
Auto Accident > Type Summary
Plane / Helicopter Crash > Type Summary
Traffic Signal Out > Type Summary
Traffic Control > Type Summary
-
Click the icon that represents the vehicular situation you are defining for the element.
The Type Summary screen appears on the sub-tab.
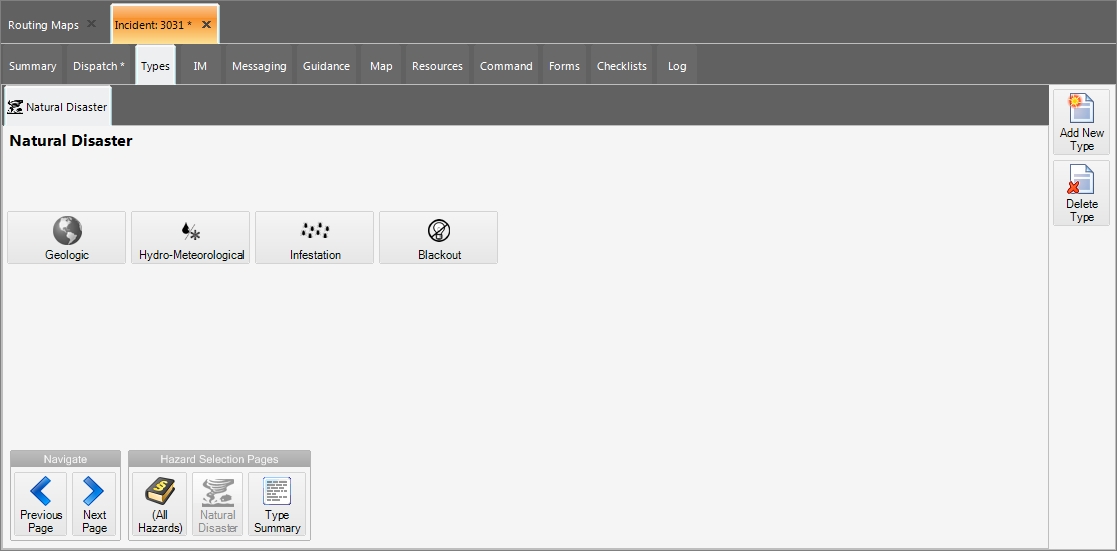
Natural Disaster
The (All Hazards) sub-tab is renamed Natural Disaster, and the sub-tab updates to display different types of natural disasters.
 Natural disaster element definition hierarchy
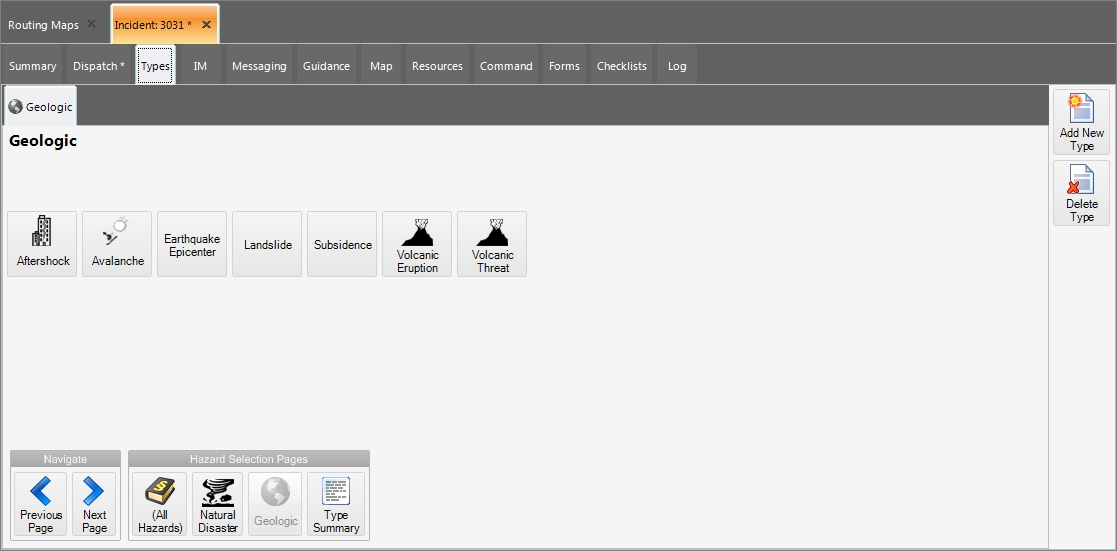
Geologic
Natural disaster element definition hierarchy
Geologic
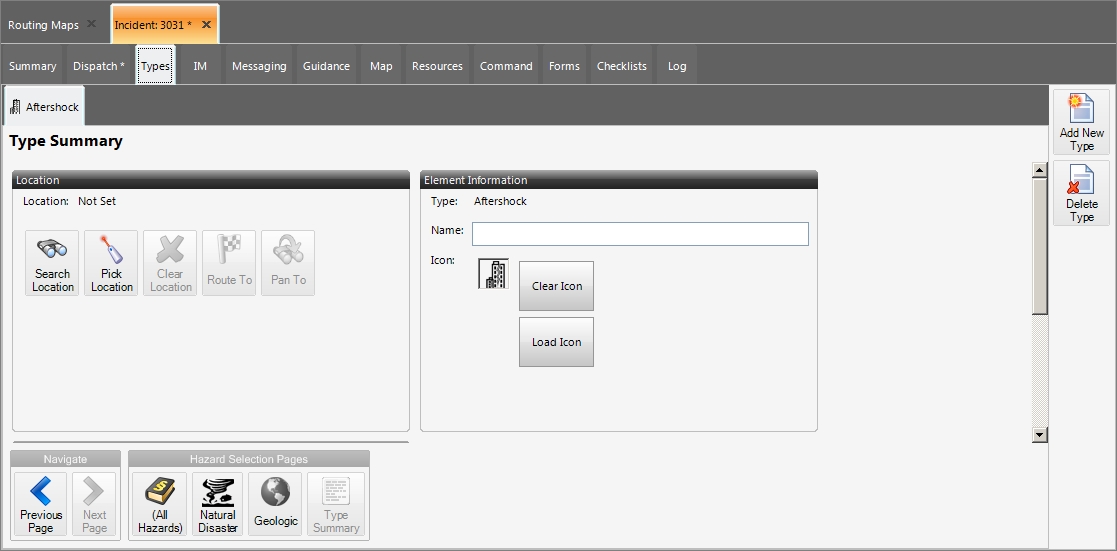
Aftershock > Type Summary
Avalanche > Type Summary
Earthquake Epicenter > Type Summary
Landslide > Type Summary
Subsidence > Type Summary
Volcanic Eruption > Type Summary
Volcanic Threat > Type Summary
Hydro-Meteorlogical
Drought > Type Summary
Flood > Type Summary
Fog > Type Summary
Hail > Type Summary
Inversion > Type Summary
Sand Dust Storm > Type Summary
Snow > Type Summary
Thunderstorm > Type Summary
Tornado > Type Summary
Tropical Cyclone > Type Summary
Tsunami > Type Summary
Infestation
Bird Infestation > Type Summary
Insect Infestation > Type Summary
Microbial Infestation > Type Summary
Reptile Infestation > Type Summary
Rodent Infestation > Type Summary
Blackout
Type Summary
-
Click the icon representing the natural disaster you are defining for the element.
If you clicked Blackout, the Type Summary screen appears on the sub-tab.
If you clicked one of the other icons, the Natural Disaster sub-tab is renamed with the icon's name, and more icons appear so that you can further identify the type of disaster it is.
-
(If additional icons appear) Continue clicking the appropriate icons as they appear on the sub-tab, to identify the natural disaster you are adding to the incident, until the Type Summary screen appears on the tab.
Crime or Terrorism
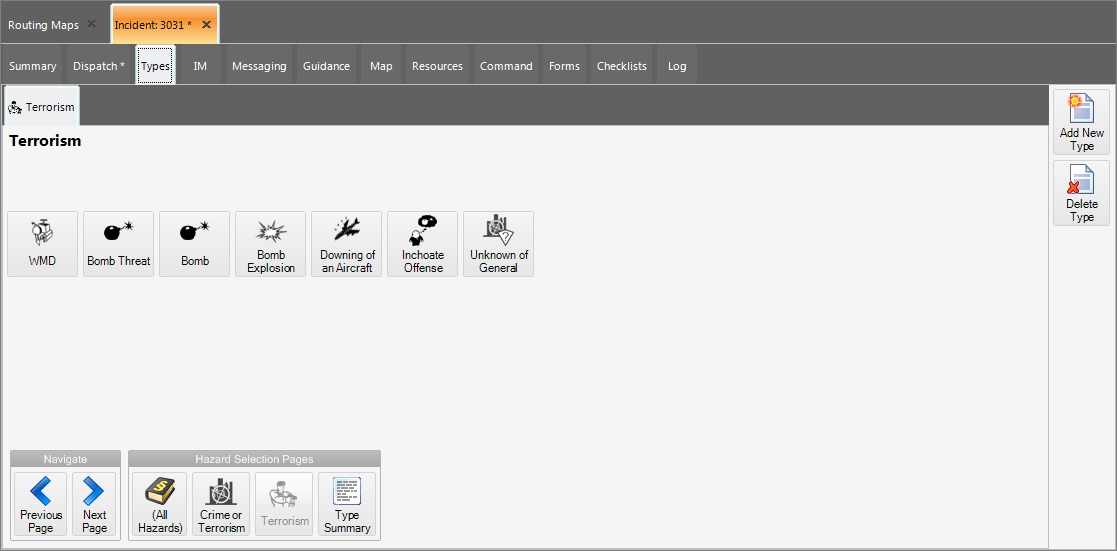
The (All Hazards) sub-tab is renamed Crime or Terrorism, and the sub-tab updates to display different types of crimes and acts of terror.
 Crime or terrorism element definition hierarchy
Terrorism
WMD
Crime or terrorism element definition hierarchy
Terrorism
WMD
Chemical > Type Summary
Biological > Type Summary
Nuclear > Type Summary
Radiological > Dirty Bomb > Dirty Bomb / Low Yield > Type Summary
Radiological > Dirty Bomb > Dirty Bomb / High Yield > Type Summary
Bomb Threat
Pipe Bomb (5 lbs TNT) > Type Summary
Briefcase/Suitcase Bomb (50 lbs TNT > Type Summary
Compact Sedan Bomb (500 lbs TNT) > Type Summary
Sedan Bomb (1000 lbs TNT) > Type Summary
Passenger/Cargo Van (4000 lbs TNT) > Type Summary
Small Moving Van/Delivery Truck (10000 lbs TNT) > Type Summary
Moving Van/Water Truck (30000 lbs TNT) > Type Summary
Semi-Trailer (6000 lbs TNT) > Type Summary
Bomb
Pipe Bomb (5 lbs TNT) > Type Summary
Briefcase/Suitcase Bomb (50 lbs TNT > Type Summary
Compact Sedan Bomb (500 lbs TNT) > Type Summary
Sedan Bomb (1000 lbs TNT) > Type Summary
Passenger/Cargo Van (4000 lbs TNT) > Type Summary
Small Moving Van/Delivery Truck (10000 lbs TNT) > Type Summary
Moving Van/Water Truck (30000 lbs TNT) > Type Summary
Semi-Trailer (6000 lbs TNT) > Type Summary
Bomb Explosion
Pipe Bomb (5 lbs TNT) > Type Summary
Briefcase/Suitcase Bomb (50 lbs TNT > Type Summary
Compact Sedan Bomb (500 lbs TNT) > Type Summary
Sedan Bomb (1000 lbs TNT) > Type Summary
Passenger/Cargo Van (4000 lbs TNT) > Type Summary
Small Moving Van/Delivery Truck (10000 lbs TNT) > Type Summary
Moving Van/Water Truck (30000 lbs TNT) > Type Summary
Semi-Trailer (6000 lbs TNT) > Type Summary
Downing of an Aircraft
Type Summary
Inchoate Offense
Type Summary
Unknown or General
Type Summary
Against Person
Battery
Child Sexual Abuse > Type Summary
Assault > Type Summary
Rape > Type Summary
Sexual Assault > Type Summary
Hostage Taking
Type Summary
Kidnapping
Type Summary
Homicide
Type Summary
Shooting
Type Summary
Poisoning
Type Summary
Assassination
Type Summary
Fraud/Deception Offenses
Perjury > Type Summary
Identity Theft > Type Summary
Inchoate Offense
Type Summary
Explosive Ordnance
Pipe Bomb (5 lbs TNT) > Type Summary
Briefcase/Suitcase Bomb (50 lbs TNT > Type Summary
Compact Sedan Bomb (500 lbs TNT) > Type Summary
Sedan Bomb (1000 lbs TNT) > Type Summary
Passenger/Cargo Van (4000 lbs TNT) > Type Summary
Small Moving Van/Delivery Truck (10000 lbs TNT) > Type Summary
Moving Van/Water Truck (30000 lbs TNT) > Type Summary
Semi-Trailer (6000 lbs TNT) > Type Summary
Against Property
Arson > Type Summary
Looting > Type Summary
Hijacking > Type Summary
Burglary > Type Summary
Property Seizure > Type Summary
Robbery > Type Summary
Motor Vehicle Theft > Type Summary
Theft > Type Summary
Trespass > Type Summary
Vandalism > Type Summary
Stalking > Type Summary
Smuggling > Type Summary
Inchoate Offense > Type Summary
Drugs
Drugs with Intent to Sell > Type Summary
Drug Possession > Type Summary
Financial
Counterfeiting > Type Summary
Illegal Gambling > Type Summary
Forgery > Type Summary
Tax Evasion > Type Summary
Extortion > Type Summary
Espionage > Type Summary
Embezzlement > Type Summary
Blackmail > Type Summary
Piracy > Type Summary
Inchoate Offense > Type Summary
Nuisance
Vandalism > Type Summary
Weapon Possession > Type Summary
General Offense
Type Summary
Unknown Offense
Smuggling > Type Summary
Inchoate Offense > Type Summary
Perjury > Type Summary
Piracy > Type Summary
Treason > Type Summary
Weapon Possession
Type Summary
Investigation
Marine Security Check > Type Summary
Explosion > Type Summary
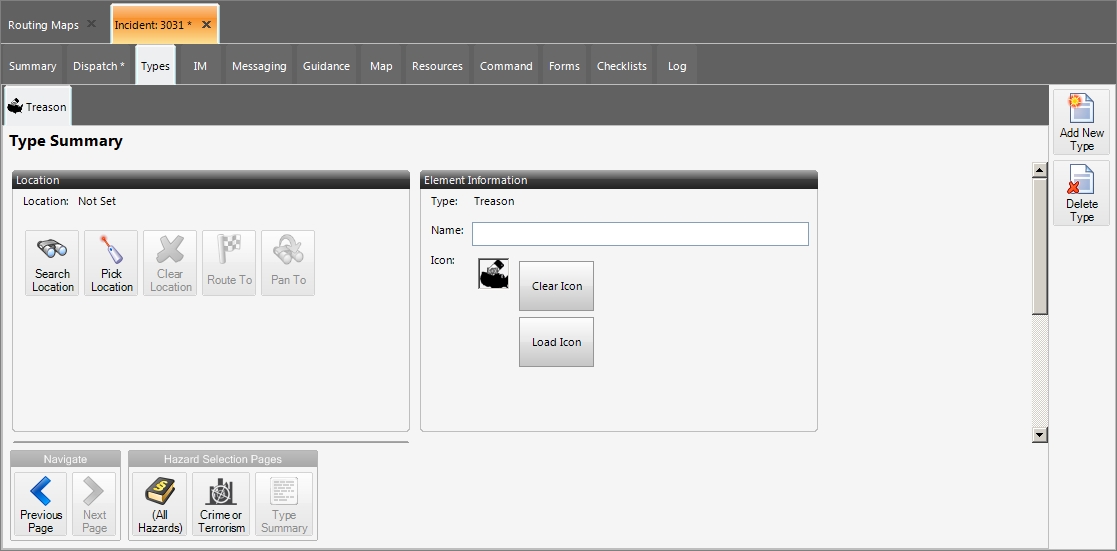
Treason
Type Summary
-
Click the icon representing the crime or terrorist act you are defining for the element.
If you clicked General Offense, Weapon Possession, or Treason, the Type Summary screen appears on the sub-tab.
If you clicked one of the other icons, the Crime or Terrorism sub-tab is renamed with the icon's name, and more icons appear so that you can further identify the type of crime or terrorist act it is.
-
(If additional icons appear) Continue clicking the appropriate icons as they appear on the sub-tab, to identify the crime or terrorist act you are adding to the incident, until the Type Summary screen appears on the tab.
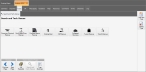
Search and Tech. Rescue
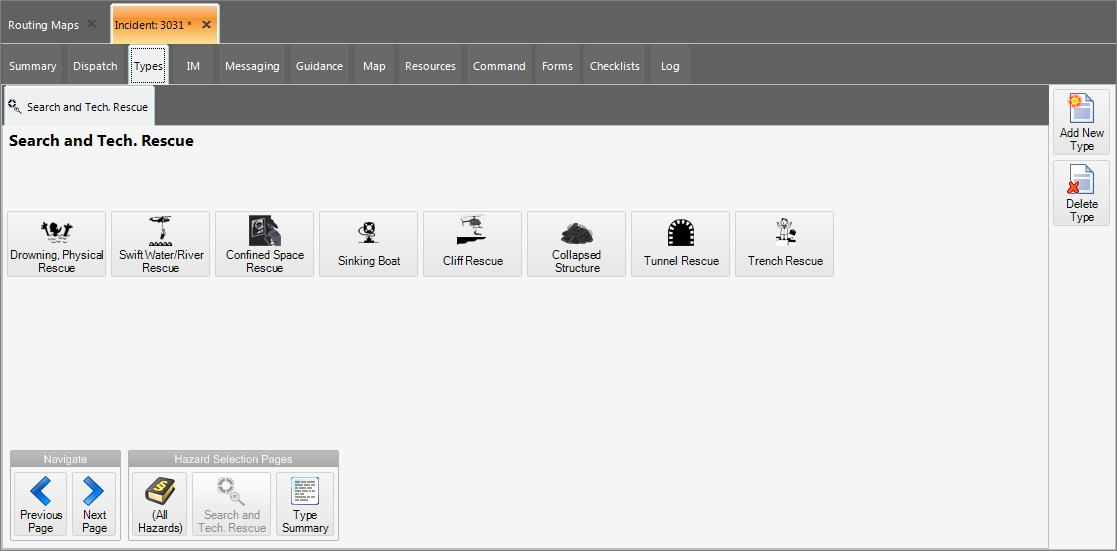
The (All Hazards) sub-tab is renamed Search and Tech. Rescue, and the sub-tab updates to display different types of search and rescue scenario.
 Search and tech rescue element definition hierarchy
Drowning, Physical Rescue > Type Summary
Swift Water/River Rescue > Type Summary
Confined Space Rescue > Type Summary
Sinking Boat > Type Summary
Cliff Rescue > Type Summary
Collapsed Structure > Type Summary
Tunnel Rescue > Type Summary
Trench Rescue > Type Summary
-
Click the icon representing the search and tech rescue you are defining for the element.
The Type Summary screen appears on the sub-tab.
Other
The (All Hazards) sub-tab is renamed Other, and the sub-tab updates to display different other types of elements.
Other element definition hierarchy
Alarms
Smoke Detector > Type Summary
Bells Ringing > Type Summary
Water Flow > Type Summary
Automated Alarm > Type Summary
Safe House
Type Summary
Jumper
Type Summary
Airport Standby
Type Summary
Lockout
Type Summary
Sheared Hydrant
Type Summary
VIP Standby
Type Summary
Snake (non-medical)
Type Summary
Resource Response Request
Engine Response > Type Summary
Non-Emergency Tractor > Type Summary
Truck Response > Type Summary
Safe Surrender of Babies
Type Summary
Electrical/Mechanical
Type Summary
Investigation
Tanker Ship Inspection > Type Summary
Investigate Medical Type > Type Summary
Fireworks Investigation > Type Summary
Investigate Fire Type > Type Summary
Illegal Burning > Type Summary
Investigate Flooding > Type Summary
Investigate Accident > Type Summary
Investigate Arson > Type Summary
Odor Investigation > Type Summary
-
Click the icon representing other types of occurrences you are defining for the element.
For some icons, the Type Summary screen appears on the sub-tab.
For the other icons, the Other sub-tab is renamed with the icon's name, and more icons appear so that you can further identify the type of occurrence it is.
-
(If additional icons appear) Continue clicking the appropriate icons as they appear on the sub-tab, to identify the element you are adding to the incident, until the Type Summary screen appears on the tab.

Unknown or General Incident
The (All Hazards) sub-tab is renamed Unknown or General Incident, and Type Summary screen appears.
-
-
Fill in the information needed in the Type Summary screen.