Change map and data file locations
The locations of the map, database, and guidance files are set by default during installation. If you move these files, you need to change the paths to the files inside FH Mobile Response, so that it can find them in the new location.
Warning: If FH Mobile Response cannot find these files, it may cease to run correctly.
-
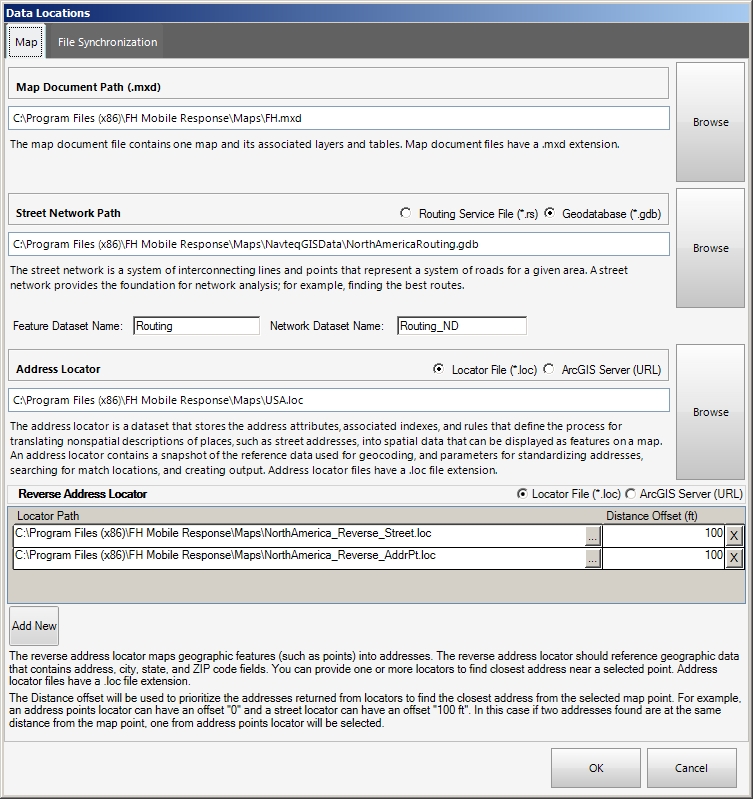
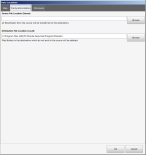
Choose Go → Config → Data Locations.
The Data Locations dialog box appears, displaying the Map tab.
Basic
Premium
-
On the Map tab, under Map Document Path (.mxd), type the path to the file or click Browse, and then use the file browser that appears to navigate to the map document file.
This file contains one map and its associated layers and tables.
The map document path is an Environmental Systems Research Institute (ESRI)-compatible map file, or a
.MXD(extension .mxd) file. This file describes the layers and data tables that make up the map, and how they should be drawn.Note: The map file can refer wholly or partially to an external map service such as an ArcServer SDE or web map. If an external layer is unavailable, FH Mobile Response continues to function and draw the available layers.
-
 Under Street Network Path, specify parameters for the street network path to use in FH Mobile Response.
The path can be entered either as a routing service (
.rs) or as a geodatabase (.gdb) file.A street network path is a system of interconnecting lines and points that represent a system of roads for a given area. Relative weights in the system are used for network analysis. The street network path is critical for deployments that use the street routing feature.
- Choose either Routing Service File (*.rs) or Geodatabase (*.gdb) to indicate what type of street network file to use.
-
(If you selected Geodatabase (*.gdb)) In Feature Data Set Name and Network Dataset Name, type the name of the feature data set and the network data set, respectively.
- In the path field, type the path to the file or click Browse, and then use the file browser that appears to navigate to the file.
-
Under Address Locator, specify the location of the address locator file.
FH Mobile Response uses two locator (
.LOC) files. The address locator file is a data set that stores the address attributes, associated indexes, and rules that define the process for translating non-spatial descriptions of places (such as street addresses) into spatial data that can be displayed as features on a map. An address locator file contains a snapshot of the other reference data used for geocoding, and parameters for standardizing addresses, searching for match locations, and creating output.-
Do one of the following.
Specify a URL for the information.
- Select ArcGIS Server (URL).
- In the field, type the URL to the web site hosting the locator data file.
Specify a .LOCfile on the mobile computer or on your network- Select Locator File (*.loc).
- In the field, type the path to the file, or click Browse, and then use the file browser that appears to navigate to the file.
-
-
Under Reverse Address Locator, specify the reverse address locator files and their locations.
You can also specify reverse-address locator files, which map geographic features such as points into addresses. The reverse-address locator file references geographic data that contains address, city, state, and ZIP code fields.
You can provide one or more locator files to help find the closest address near a selected point.
-
Do one of the following.
Specify a URL for the information.
-
Select ArcGIS Server (URL).
No URLs are defined by default, and you will need to add reverse address file locators to the list, as described in the next step.
Specify a .LOCfile on the mobile computer or on your network-
Select Locator File (*.loc).
The paths to two local reverse address locator files are defined by default.
- (If necessary) In the field, type the path to the file, or click the browse icon at the end of the field (
 ), then use the file browser that appears to navigate to the file.
-
-
(If necessary) Add additional reverse address file locators to the list.
-
Under the Reverse Address Locator list, click Add New.
A new row appears in the list.
- In the new row, under Locator Path, type the URL to the web site hosting the locator data file.
-
In the same row, under Distance Offset, type the distance used to prioritize the addresses returned to find the closest address from the selected map point.
Example: An address point locator can have an offset "0" (offsets for address point locators are set in ArcCatalog) and a street locator can have an offset "100 ft". In this case, if two address locations are discovered at the same distance from the map point, the address from the address point locator is selected over the map point.
-
- (If necessary) Click the X button on the right side of a row to delete it from the Reverse Address Locator list.
-
-
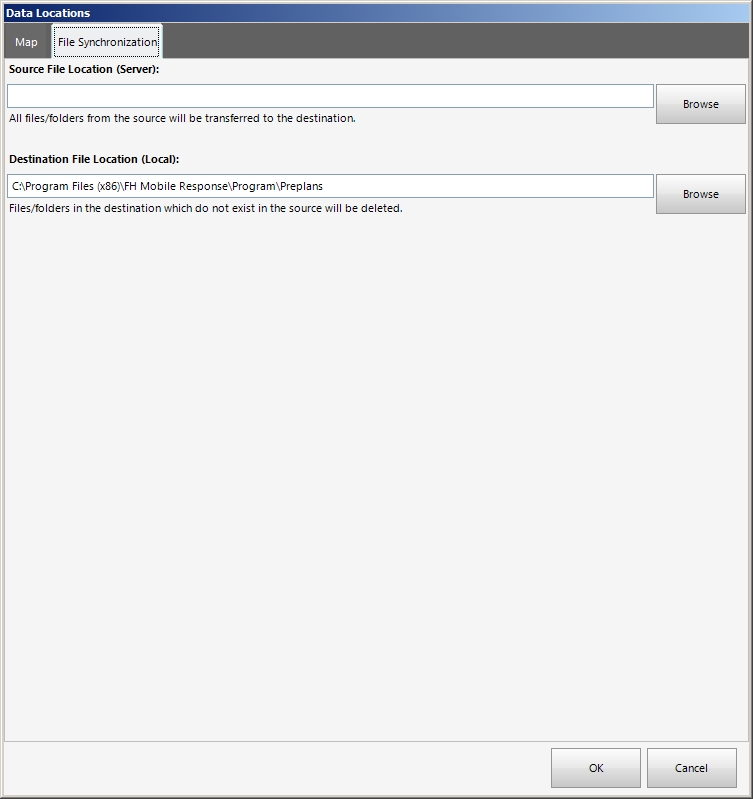
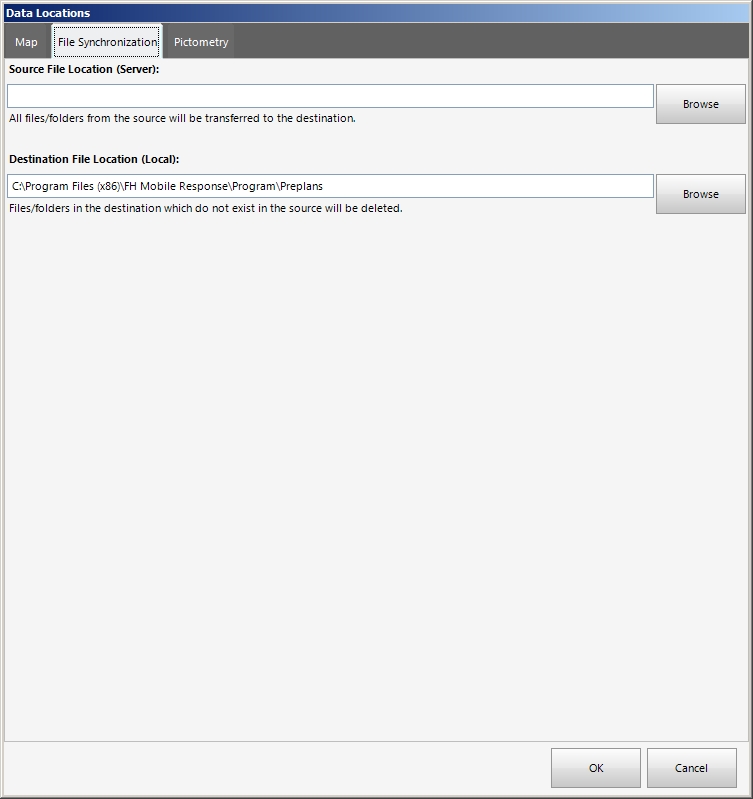
Click the File Synchronization tab.
Basic
Premium
-
For Source File Location (Server), click Browse, and then use the file browser that appears to navigate to the location on a shared network drive where preplan data files for FH Mobile Response are stored and maintained.
If you update the files on this shared network drive, you can synchronize the copy of these files on your mobile computer by downloading the file updates. Information on synchronizing the data files is available in Download file updates.
- For Destination File Location (Local),click Browse, and then use the file browser that appears to navigate to the location on your mobile computer where preplan data files should be copied to when you download file updates from the shared network drive specified in Source File Location (Server).
-
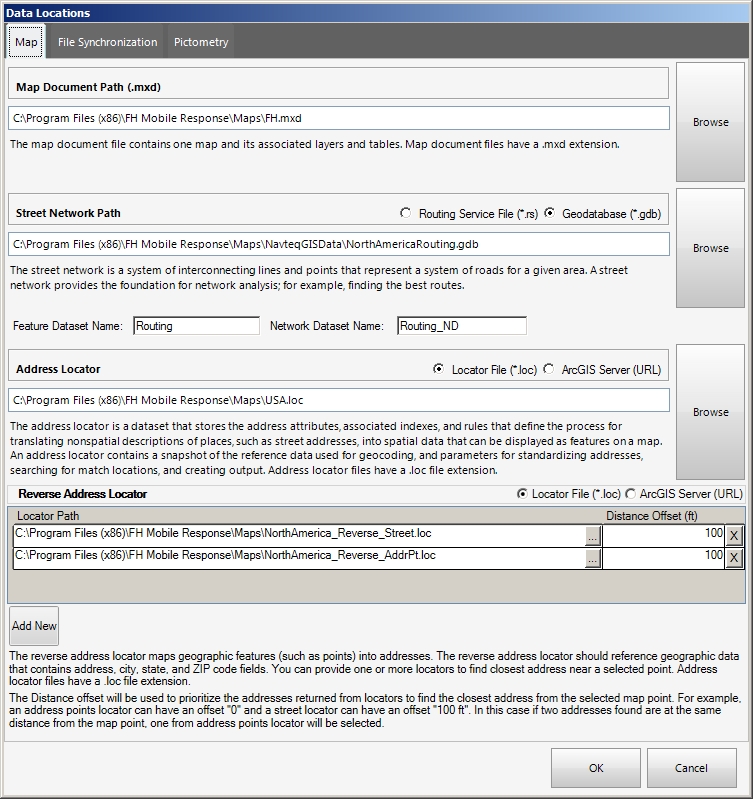
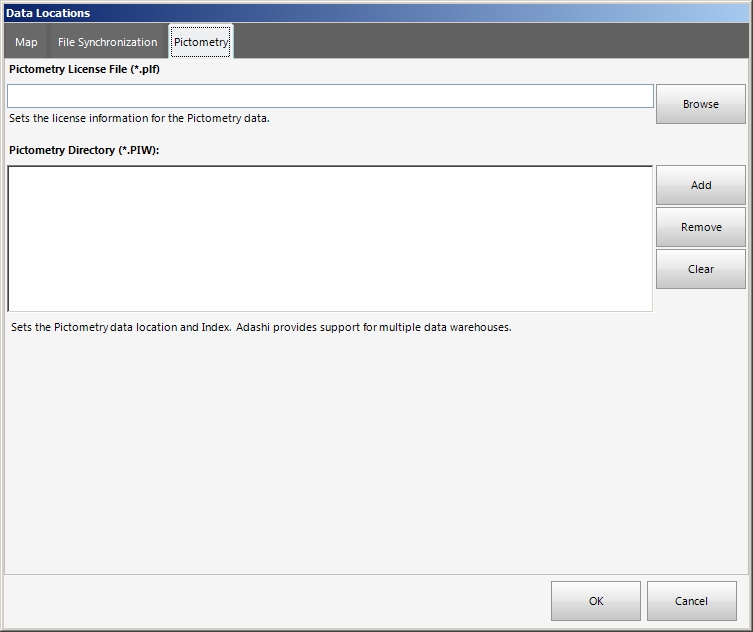
Click the Pictometry tab.
Pictometry is a third-party application embedded into FH Mobile Response. It is similar to Bing Bird's Eye imagery, in that the photographs it displays are taken at a 45-degree angle, oriented in four directions. Pictometry adds measurement tools to help you analyze a location.
Information on Pictometry is available at http://www.eagleview.com/Products/ImageSolutionsAnalytics/PictometryImagery.aspx.
Note: Pictometry must be properly configured with a license file and warehouse file to work in FH Mobile Response.

- For Pictometry License File (*.plf), click Browse, and then use the file browser that appears to navigate to the location of the Pictometry license file.
-
Under Pictometry Directory (*.PIW), do the following.
A file browser appears. Pictometry data is stored in a "data warehouse" (a hierarchy of directories), and each directory contains a .PIW file that points to the data in its directory and to other sub-directories. This lets you support multiple directories of data, and gives you the option to be selective about which directories of data you use.
Example: If you have the directory hierarchy for an entire city, you can add only the
.PIWfile in the top-level directory of the hierarchy and load all the city map data. If you only want to only load the data for a specific parts of the city, you could add.PIWfiles from lower levels of the hierarchy instead.Add a Pictometry data location
-
Click Add.
A file browser appears.
-
Use the file browser to navigate to the
.PIWfile you want to add, and select it.The
.PIWfile you selected appears in the list under Pictometry Directory (*.PIW). -
Repeat the previous two steps as many times as needed to include the relevant Pictometry data files you need.
Delete a Pictometry data location
- From the list, select the
.PIWfile you want to delete. -
Click Remove.
The selected file is removed from the list under Pictometry Directory (*.PIW).
Clear all Pictometry data locations
-
Click Clear.
All
.PIWfiles listed under Pictometry Directory (*.PIW) are removed.
-
-
Click OK.
The Save Configuration dialog box appears.
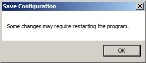
- Click OK.
- Exit and restart FH Mobile Response.