Open an existing schedule
-
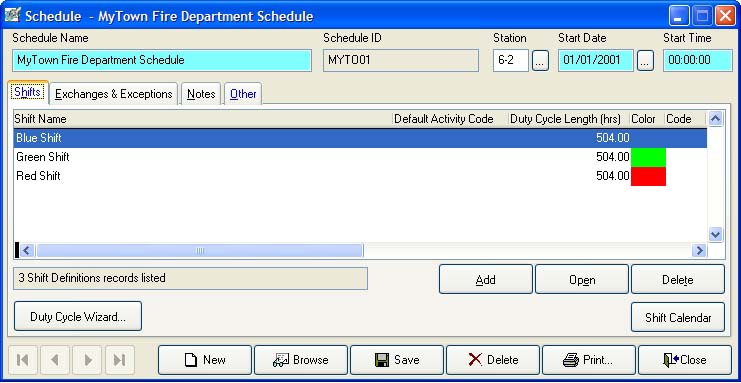
Choose File → Staff Scheduling → Add or Update Scheduling Definitions.
The Schedule dialog box appears.
-
Click Browse.
The Query - Schedules by Name dialog box appears.
-
Select a schedule, and then click OK.
The Schedule dialog box populates with information.
-
Add or update any or all of the following parts of the schedule.
To do this See instructions in Add shifts Manage staffing exchanges and exceptions
Add notes Add custom data fields (user-defined fields) Add data in user-defined fields Add attachments and
signaturesLock a schedule Lock a schedule. Review modification history Review the modification history of a schedule. View the shift calendar Work with the shift calendar. - Click Save.