Enter custom data in user-defined fields for a record
Once custom user-defined data fields are added, you can use these fields to enter the custom data you want to capture. Information on adding user-defined fields is available in Add custom data user-defined fields to a record.
-
(If it is not open already) Open the record you want to enter custom data in user-defined fields for.
-
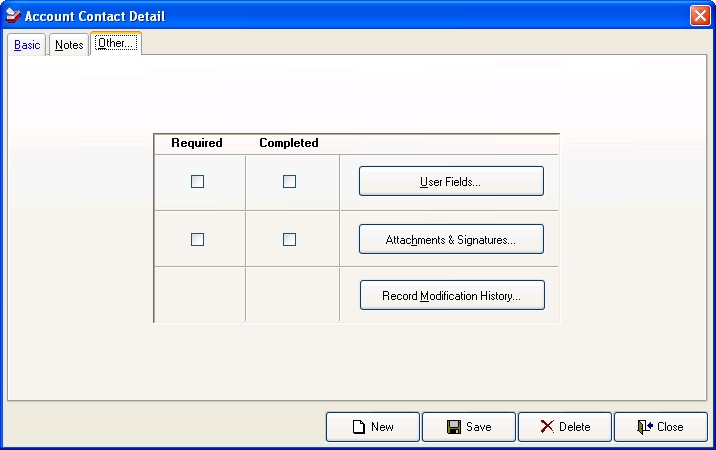
Click the Other tab.
Note: This tab is nearly identical on the Account, Contact Detail, Invoice, Payments & Credits, and Refunds dialog boxes.
-
Click User Fields.
Note: If any of the custom user-defined fields are required, a check appears in the Required column next to User Fields.
The User Fields dialog box appears.
Note:
- Enter data for the fields in the User Fields dialog box.
-
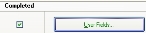
Click Save, and then click Close.
A check appears in the check box in the Completed column next to User Fields.
- Click Close.