Add custom data user-defined fields to a record
If your department needs to capture specific data, and if the fields for recording that information are not already provided in FH, you can define additional fields for capturing the data.
-
(If it is not open already) Open the record you want to add user-defined fields to.
-
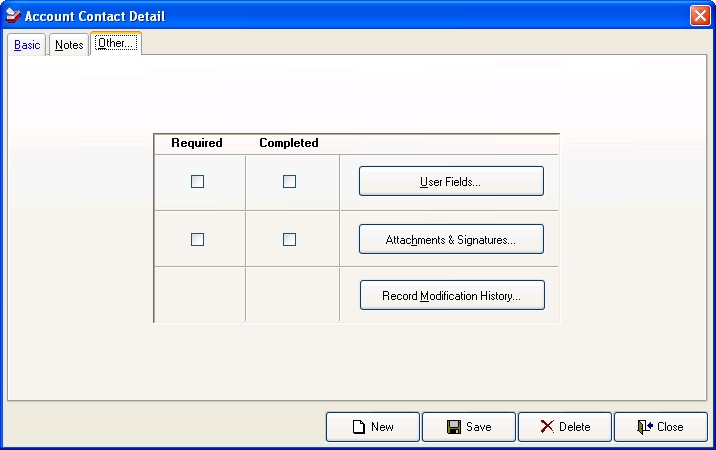
Click the Other tab.
Note: This tab is nearly identical on the Account, Contact Detail, Invoice, Payments & Credits, and Refunds dialog boxes.
-
Click User Fields.
A prompt dialog box appears, stating that no user fields are defined yet.
Note: You can add custom data fields to the Contact Detail dialog box only once. If you discover later that you need to add more custom data fields for contacts, you can add them by choosing Administration → User-Defined Fields and using the User-Defined Fields Setup dialog box that appears to add additional custom data fields.
-
Click Yes.
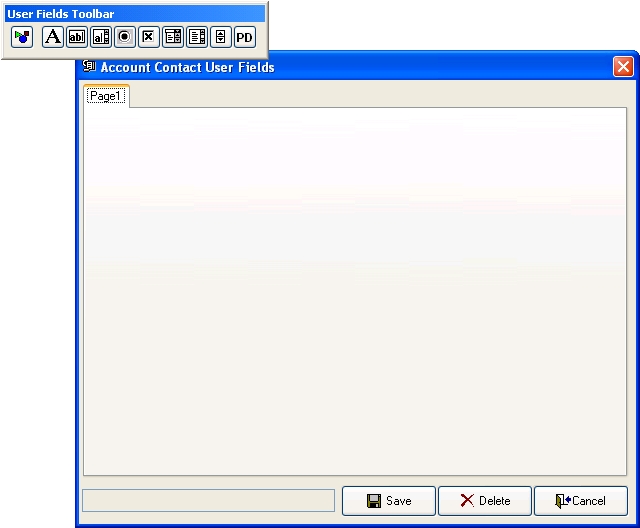
The User Fields dialog box appears, with the User Fields Toolbar over it.
Note: The name of this dialog box varies slightly, depending on what kind of record you are adding fields to.
Example: For account contact records, the dialog box is named Account Contact User Fields. For account records, this dialog box is named Account Master User Fields. For invoice records, this dialog box is named Invoice User Fields.
-
Use the User Fields Toolbar to add graphical user interface items for your own user-defined fields to the User Fields dialog box.
Note: Information on adding user-defined fields is available in the FIREHOUSE Software Advanced Feature Reference, in "Chapter 6: User-Defined Fields."
If you define any of your custom user-defined fields as required, a check appears in the Required column next to User Fields. A check appears in the Completed column if any data is entered in the custom user-defined fields for the current record.
- Click Save.