Select an alternate route
If you have added routing modes to take into consideration the size, weight, and maneuverability of the different vehicles in your department, FH Mobile Response may calculate multiple different routes to a destination. You can then select the route that best suits the needs of the incident.
Information on adding routing modes is available in Add, edit, arrange, and delete routing modes.
Note: You must have purchased FH Mobile Response Premium to select an alternative route in FH Mobile Response. For information on upgrading from FH Mobile Response Basic to Premium, contact your FH sales representative.
-
(If the Routing Maps tab is not visible) Choose Go → Map → Routing Maps.
The Routing Maps tab appears.
-
Define a starting point and a destination point for a route as normal.
Note:
- If you are using a global positioning system (GPS) device with FH Mobile Response, your current location is the starting point for the route, and you do not need to manually define a starting point
- If you have a computer-aided dispatch (CAD) system integrated with FH Mobile Response, the location in the incident ticket from the CAD system is the destination, and you do not need to manually define a destination.
If you are not using a GPS and/or a CAD system, you can set the starting and destination points manually.
Information on setting a starting point and a destination is available in Manually define a starting point for a route and Manually define a destination point for a route.
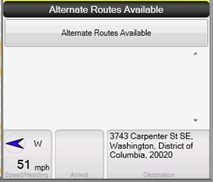
If multiple routes are available, the Alternate Routes Available button appears above the top of the turn-by-turn directions pane, in the lower right corner of the Routing Maps tab.
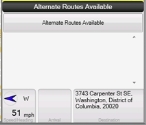
-
Click Alternate Routes Available.
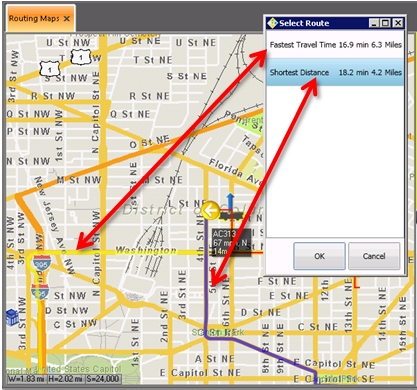
The Select Route dialog box appears, listing each route's driving mileage and estimated travel time.
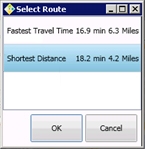
-
Select the route you are considering.
On the map, the selected route highlights in blue. The other routes are also visible on the map, but are highlighted in yellow.
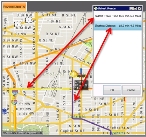
- Click OK.