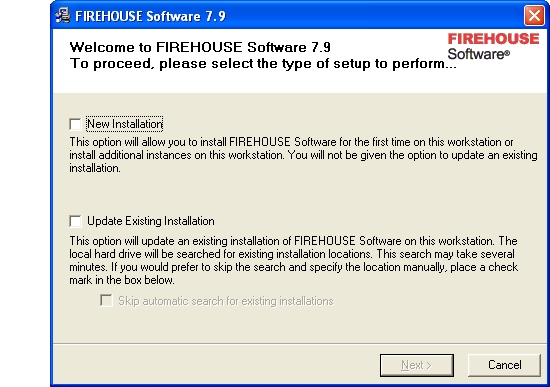
Install FH as a new installation
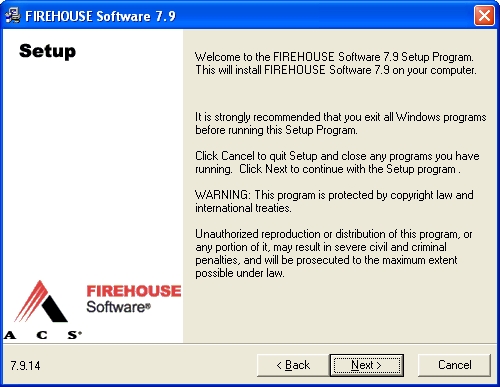
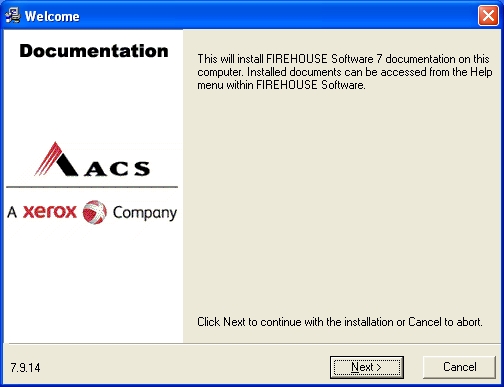
At this point, you have launched the FH installation wizard and are at the Welcome screen.
-
Select New Installation, and then click Next >.
The Setup screen of the wizard appears.
-
Read the information on this screen, and then click Next >.
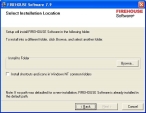
The Select Installation Location screen of the wizard appears.
-
In Install to Folder, click Browse and use the file browser that appears to navigate to the directory you want to install FH in.
Warning: For Windows 7 or later computers, this location must be outside the
C:\Program FilesandC:\WINDOWSdirectories. - Select Install Shortcuts and icons in Windows NT common folders so that all users logging into this computer can see the FH icons.
-
Click Next >.
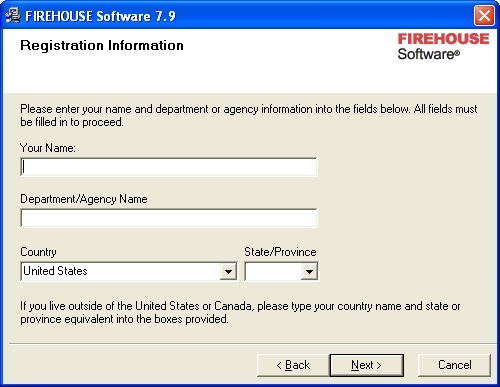
The Registration Information screen of the wizard appears.

-
Fill in this screen as appropriate to your company and location, and then click Next >.
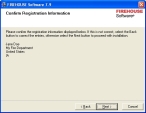
The Confirm Registration Information screen appears.
-
Check the information on this screen, and then click Next >.
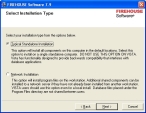
The Select Installation Type screen appears.
-
Select Typical Standalone Installation.
All FH components will be installed on the computer
Warning: Do not select Network Installation. You can move the data and components folders to a network server and change the necessary paths in FH after the installation completes.
-
Click Next >.
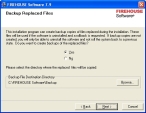
If you selected Typical Standalone Installation, the Backup Replaced Files screen appears.
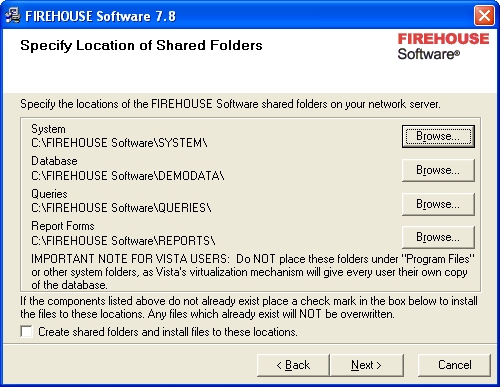
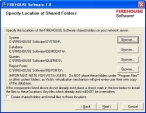
If you selected Network Installation, the Specify Location of Shared Folders screen appears.
-
 (If the Specify Location of Shared Folders screen appeared) Set the paths of the system, database, queries, and reports components of FH to their locations on the network.
-
(If these components do not yet exist on your network) Select Create shared folders and install files to these locations.
Note: If these files already exist, they are not overwritten.
-
For System, click the Browse button and use the file browser that appears to navigate to the location on your network where your FH
Systemfolder is located, and double-click the System folder.Note: You must double-click the folder, and the path at the top of the file browser must include
Systemin it. Clicking the folder once does not update the path in the file browser.
- Click OK.
- Repeat steps b - c for the Database, Queries, and Report Forms paths.
-
Click Next >.
The Backup Replaced Files screen of the installation wizard appears.
-
- In the Backup Replaced Files screen , select Yes, and then check the path displayed.
- (Optional) Click Browse and use the file browser that appears to navigate to the directory you want to place files in.
-
Click Next >.
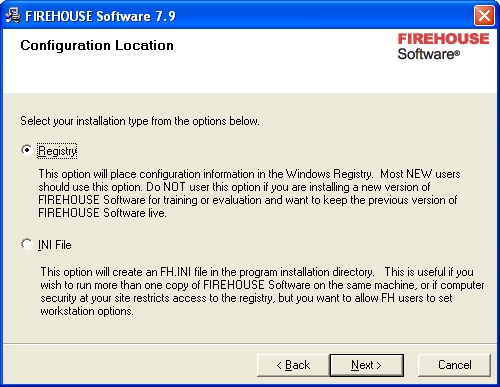
The Configuration Location screen of the installation wizard appears.

-
Select one of the following.
-
INI File to save configuration information in the program installation directory.
Note: This is the recommended option.
- Registry to save configuration information in the Windows registry.
-
-
Click Next >.
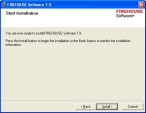
The Start Installation screen of the installation wizard appears.
-
Read the information on the screen, and then click Install >.
The Installing screen appears, and progress bars appear in the wizard.
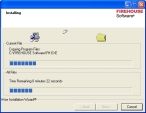
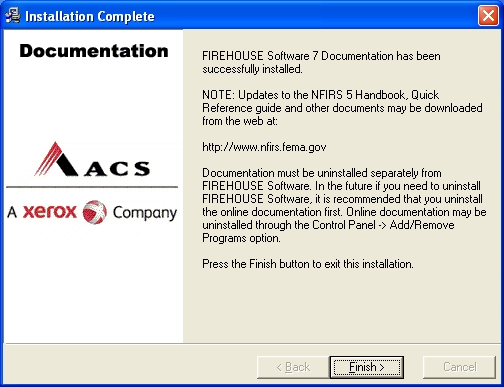
When the installation finishes, the Installation Complete screen appears.

-
Click Finish >.
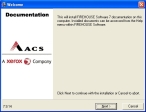
The Documentation installation wizard appears.
-
Click Next >.
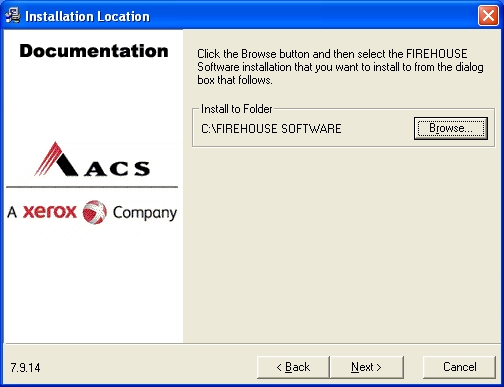
The location where the documentation will be installed appears.

- (Optional) Click Browse and use the file browser that appears to navigate to the directory you want to install the documentation in.
-
Click Next >.
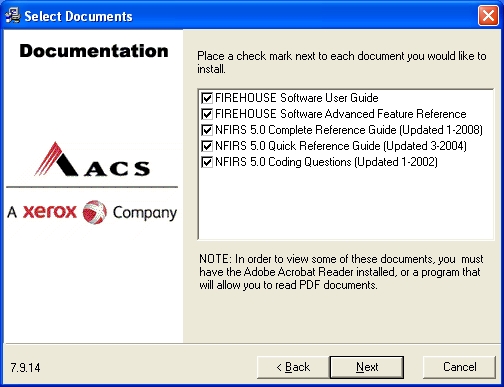
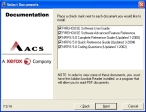
A list of the documentation you can install appears.
-
(Optional) Clear any documents you do not want to install, and then click Next >.
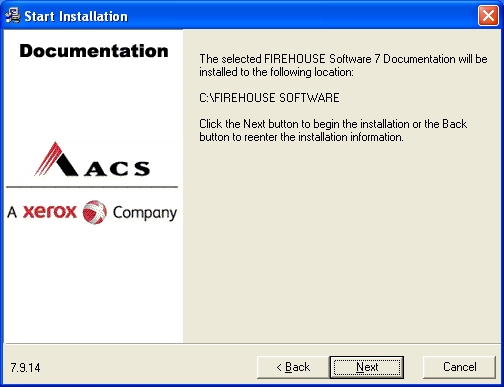
A confirmation screen appears.

-
Read the information on the screen, and then click Next >.
Another confirmation screen appears.
-
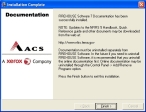
Click Finish >.
The Firehouse installation menu reappears.
-
Continue with one of the following.
This is the first computer you have installed FH on
-
Do one of the following.
If you are Do this Evaluating FH for purchase
- Click Exit.
- Log in to an evaluation copy of FH.
Installing a purchased copy of FH as a standalone installation - Continue with Activate the FH installation.
Installing FH as a network installation
-