Batch-generate invoices with late fees
If you set up invoice item codes to apply late fees to unpaid invoices that have exceeded their payment due date, you can generate a number of invoices with late fees associated with them at one time, instead of manually creating them individually.
Information on setting up invoice item codes to apply late fees is available in Add invoice item lookup codes.
-
Choose File → Invoicing and Payments → Batch Generate Late Fee Invoices.
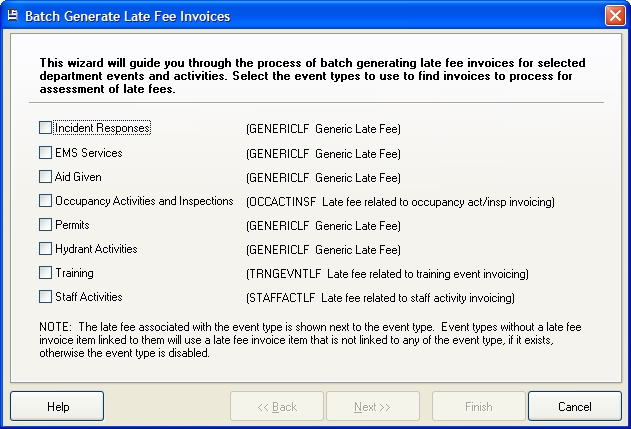
The Batch Generate Late Fee Invoices wizard appears.
Note: The wizard appears only if there is at least one invoice item lookup code configured for late fee invoice processing.
-
Select the billable events FH should check for invoices that need late fees assessed.
The invoice item code used for processing late fees for each billable event appears to the right of the event in the dialog box.
-
Click Next >.
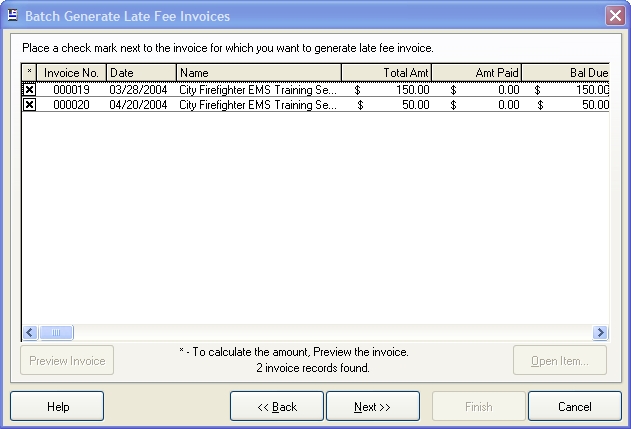
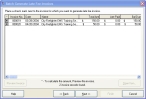
The next screen of the wizard lists all invoice records that qualify for late fees.
-
(Optional) Do any of the following.
 Indicate which invoices to include when batch-generating late fee invoices
- Select or clear the checkbox in the first column of the wizard for each invoice listed.
View an invoice listed in the wizard
-
Select the invoice you want to view, and then click Open Item.
The Invoice dialog box appears, displaying information about that invoice and its items.
-
(If needed) Update the fields in the Invoice dialog box, and then click Save.
Information on the fields in the dialog box is available in Add a new invoice.
-
Click Close.
Display the calculated amount of the late fees on the invoice
-
Select the invoice you want to view, and then click Preview Invoice.
The Invoice PREVIEW dialog box appears, displaying how the late fee invoice will appear when generated.
- Click Close.
-
Click Next >.
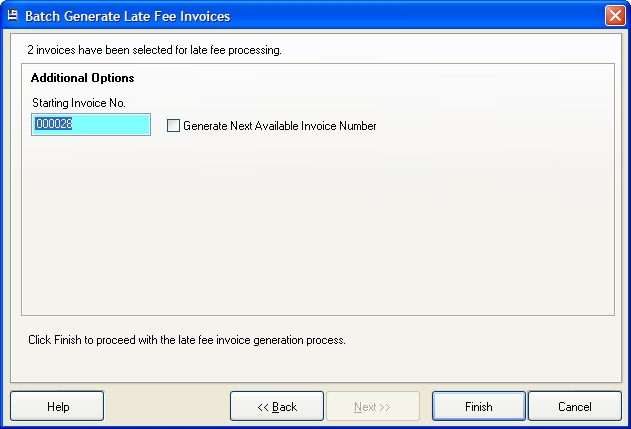
The next screen of the wizard lists the number of invoices selected for late-fee processing, and the proposed number to start generating invoices with.
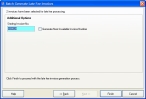
- (Optional) In Specify Invoice No., enter a different invoice number to start generation from, or select Generate Next Available Invoice Number.
-
Click Finish.
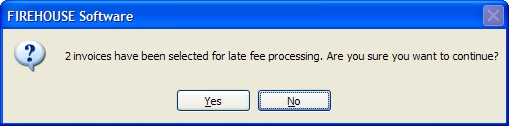
A confirmation message appears, listing the number of invoices selected for processing.

-
Click Yes.
For active accounts with unpaid balances, FH reviews all invoices that do not have a late fee assessed, which have an open status, and in the billable event types selected on the previous screen of the wizard.
A second confirmation message appears, informing you of the number of late fee invoices that were successfully generated.

-
Click OK.
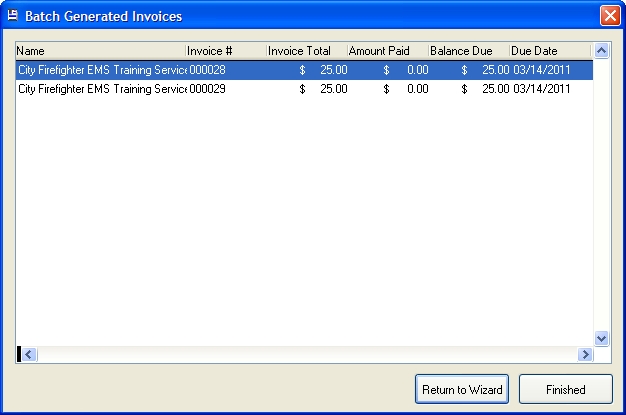
The Batch Generated Invoices dialog box appears, listing the invoices that were created with late fee processing.

-
(Depending on whether you want to batch-generate more late fee invoices) Click either Finished or Return to Wizard.
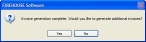
If you selected Return to Wizard, a confirmation dialog box appears asking if you would like the generate additional invoices.
-
(If the confirmation dialog box appears) Click Yes.
The first screen of the wizard reappears, so that you can generate additional invoices.