Filter detector or sensor readings
By default, all detector or sensor readings are included on the map and in the list, often resulting in outdated or irrelevant readings that collect in your list and obscure your map. FH Mobile Response provides a variety of filtering tools to narrow the readings down to display only your most crucial readings.
You can also display and filter sensor readings dynamically, so that you can respond to real-time changes in sensor output.
|
Note: You must have purchased FH Mobile Response Premium to work with detector and sensor information in FH Mobile Response. For information on upgrading from FH Mobile Response Basic to Premium, contact your FH sales representative.
- Display the detectors or sensors you want to work with, as described in Display or hide detector and sensor locations on a map.
-
Do one of the following.
-
Choose Go → Tools → Detectors → List / Filters.
-
On the Incident ribbon, in the Detectors section, click List / Filter.
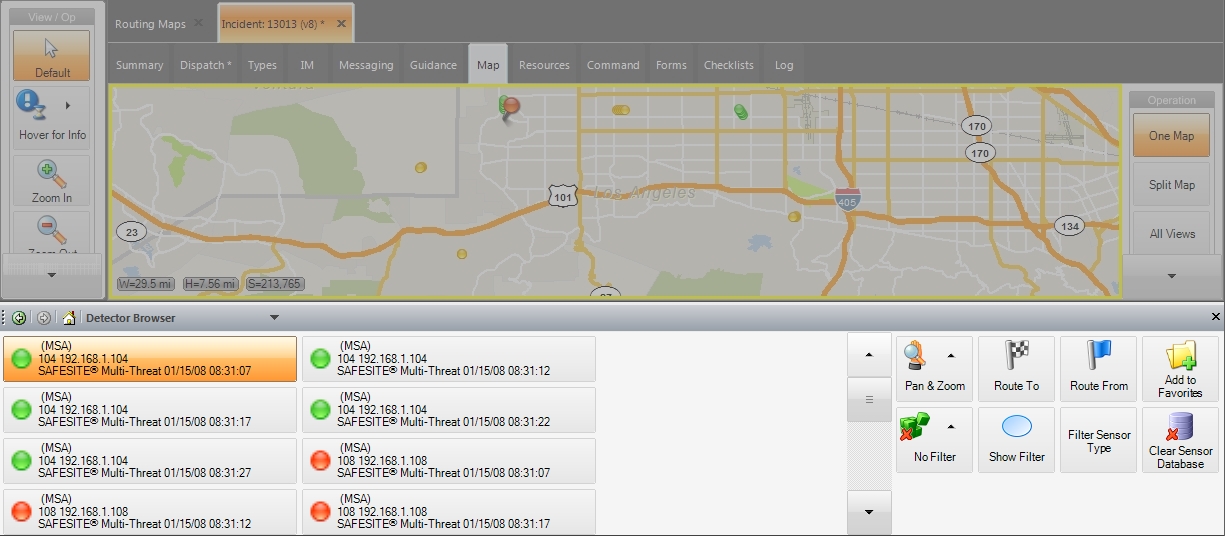
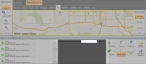
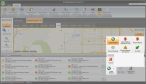
At the bottom of the interface, the Detector Browser appears, displaying a list of all the detectors or sensors. Each entry may display color-coded status, type, ID, porting information, and a time stamp of the reading, depending on the sensor setup.
The selected sensor or detector reading is highlighted in the Detector Browser, and its location on the map marked with a red push-pin icon.
-
-
Filter the list of detectors or sensors in one of these ways.
 Both detector and sensor filters
-
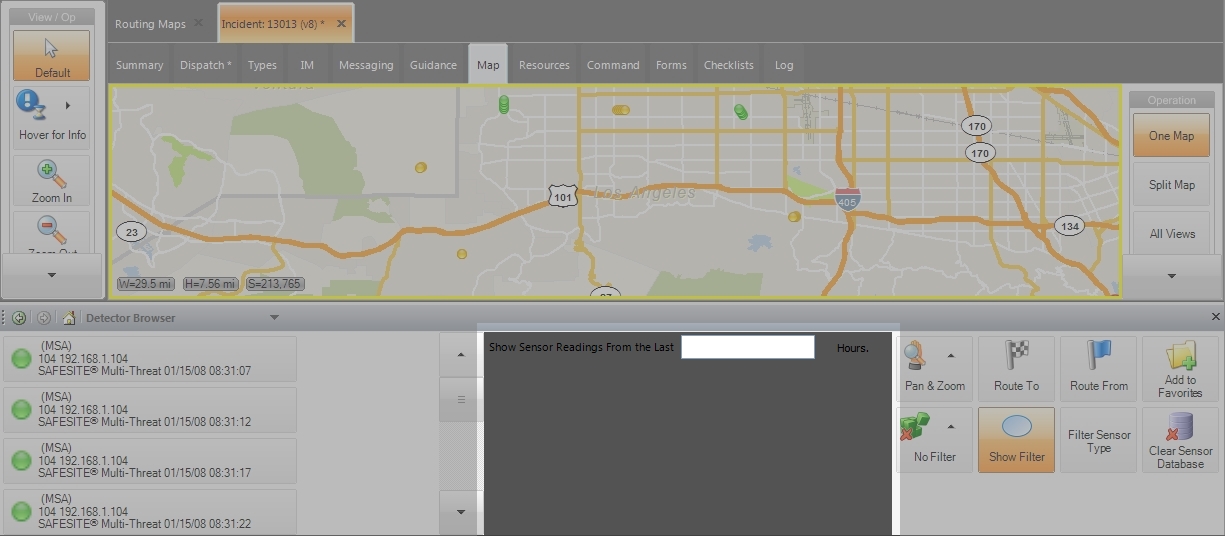
To the right of the list, click Show Filter.
In the middle of the Detector Browser, a dark gray areas with the Show Sensor Readings From the Last ____ Hours field in it appears.
-
In Show Sensor Readings From the Last ____ Hours, type the number of hours to be used to determine the time span for "recent" readings.
Tip: To close the gray area in the center of the Detector Browser, click Show Filter again.
-
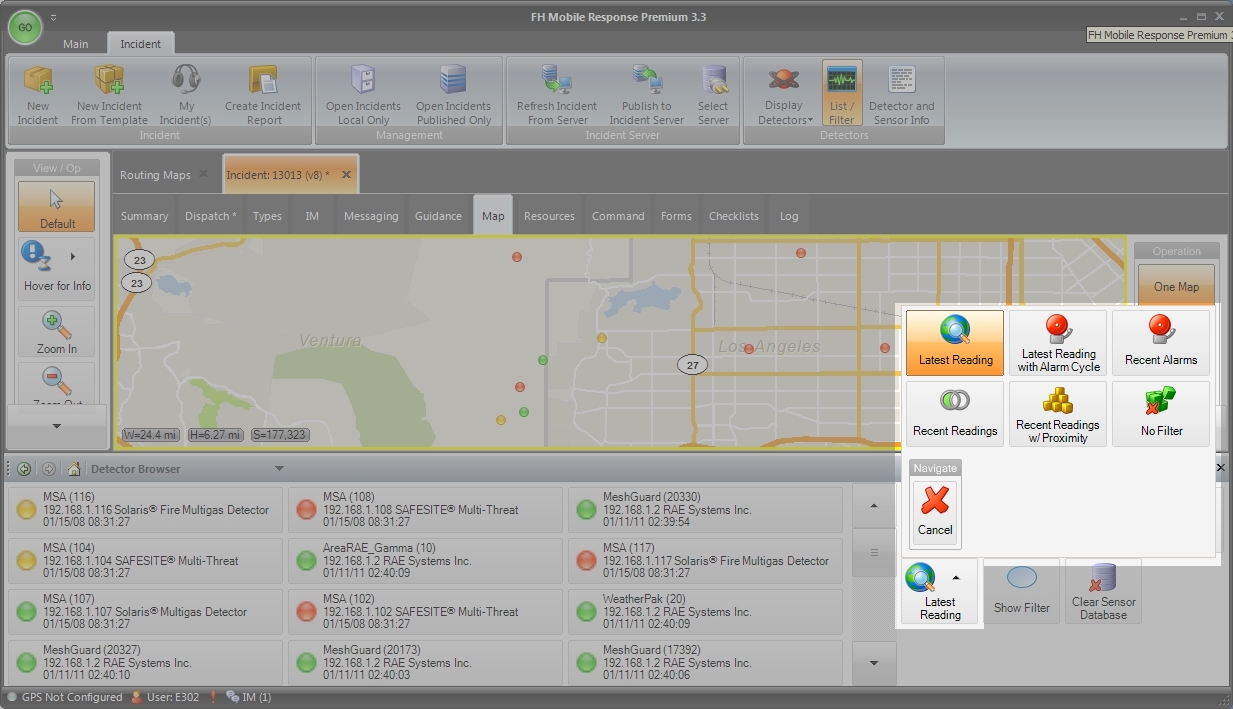
To the right of the list, click the icon to the left of Show Filter, then choose one of the following.
Choose this To do this Recent Alarms Display only the readings from detectors or sensors that have been in an alarm state within the number of hours you specified in the previous step. Recent Readings Display only the readings from detectors or sensors within the number of hours you specified in the previous step, regardless of alarm status. Recent Readings w/ Proximity Display only the readings from detectors or sensors within the number of hours you specified in the previous step, and eliminate readings that are redundant because they were taken at the same location.
Detector-only filters
Some filters are designed to work specifically for detector information.
Latest reading, regardless of detector status
-
To the right of the list, click the icon to the left of Show Filter, and then choose Latest Reading.
The list reduces to display only the most-recent reading for each detectors.
Latest reading from detectors in alarm status
-
To the right of the list, click the icon to the left of Show Filter, and then choose Latest Reading with Alarm Cycle.
The list reduces to display only the readings from detectors currently in an active alarm status. If you have multiple alarms, the information will cycle through the alarms.
Sensor-only filter
You can filter for a specific type of sensor, based on the types found in your database.
-
To the right of the list, click Filter Sensor Type, then choose the name of the substance being sensed from the menu of sensor types that appears.

The list reduces to display only the sensors for that type of substance.
Tip: To display all types of sensors in the list again, choose Filter Sensor Type → No Filter.
-