Review dispatch information
On the Incident tab, the Dispatch sub-tab displays information from the Computer Aided Dispatch (CAD) system integrated with FH Mobile Response. If necessary, you can have the Dispatch sub-tab customized to meet your department's unique needs by FH support.
If your deployment of FH Mobile Response is not integrated with a CAD system, you should hide the Dispatch sub-tab.
Information on displaying or hiding the Dispatch sub-tab is available in Display or hide incident sub-tabs.
Note: You must have purchased FH Mobile Response Premium to work with an incident's Dispatch sub-tab in FH Mobile Response. For information on upgrading from FH Mobile Response Basic to Premium, or for having the Dispatch sub-tab customized, contact your FH sales representative.
- (If an incident is not already open) Open an incident, as described in Open an incident.
-
Click the incident's Dispatch sub-tab.
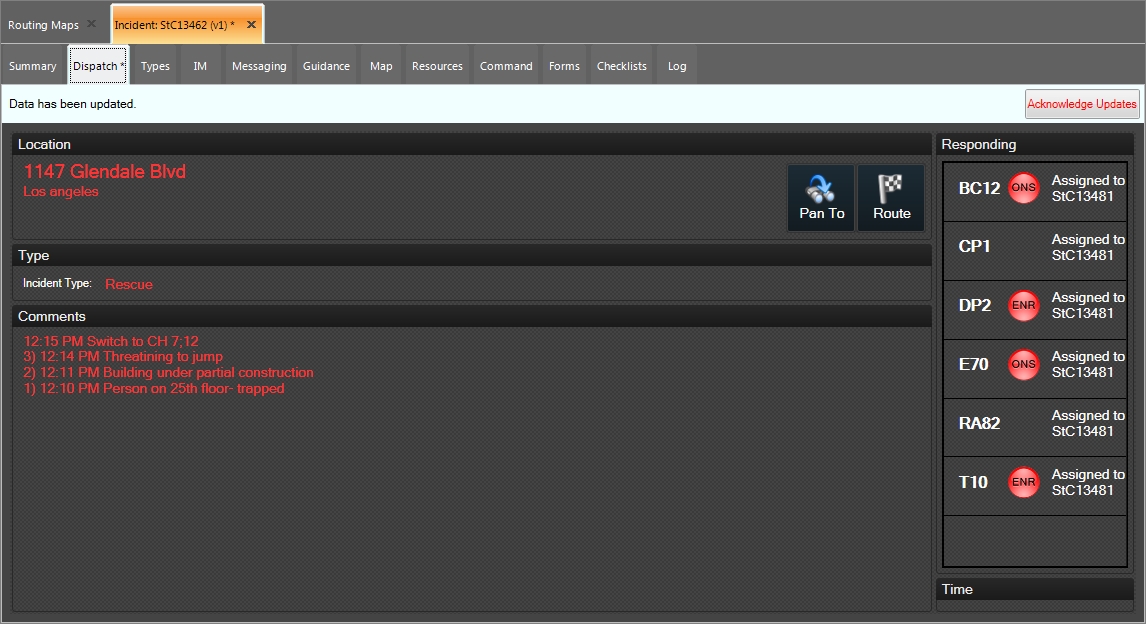
The data sent to FH Mobile Response from the CAD system appears on the tab. If new data is sent from the CAD system, the text on the screen is red and an asterisk appears on the tab's label to indicate that there are changes to the data.
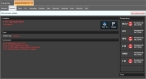
On the right side of the tab, under Responding, a list of the units responding to the incident appears. In the lower right corner, under Time, the dispatch time for the incident (if provided by the CAD vendor) appears. This list and field are for informational purposes only.
Note: If the Dispatch sub-tab does not appear, it may be hidden through a configuration setting in FH Mobile Response. Information on displaying or hiding the Summary sub-tab is available in Display or hide incident sub-tabs.
-
In the upper right corner of the tab, click Acknowledge Updates.
The text on the screen turns white, and the asterisk disappears from the tab's label.
-
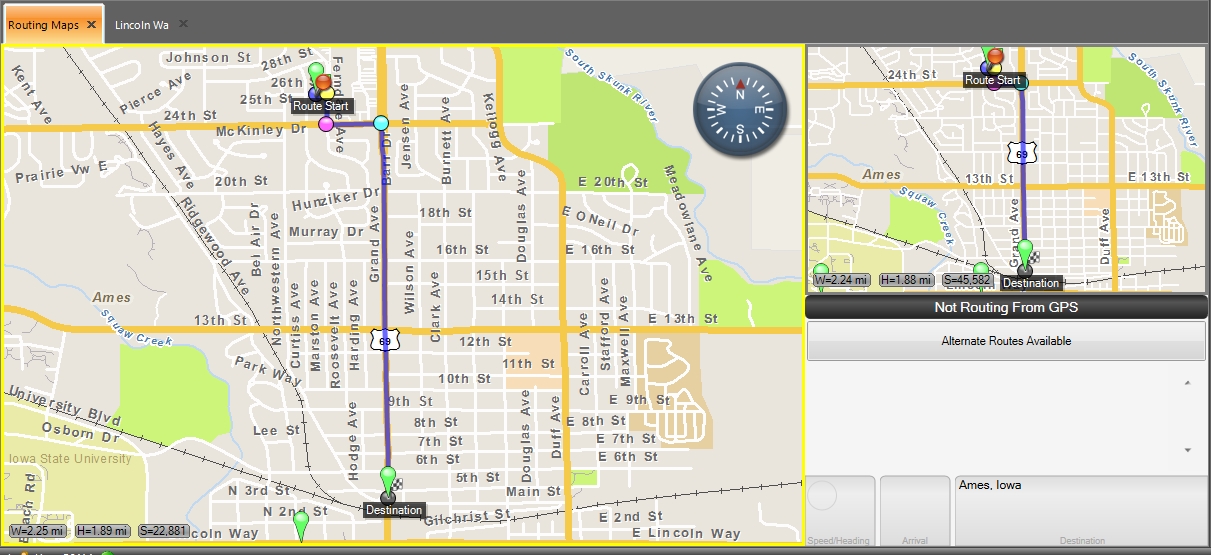
(Optional) In the upper right corner of the tab, click Route.
Note: To route to the incident's location, you must have already defined a starting point for the route in one the following ways.
-
(If you are using a GPS device) Configured a global positioning system (GPS) device to track your current location. Your current location is the starting point for the route.
Information on configuring a GPS device with FH Mobile Response is available in Set up GPS communication with FH Mobile Response.
-
(If you are not using a GPS device) Manually defined a start point on the map.
Information on manually setting a starting point is available in Manually define a starting point for a route.
The Routing Maps tab opens, a
Destinationlabel appears on the map at the location you selected, the route from either your unit's position or a starting point you selected earlier to the incident location appears on the map as a thick blue line, and each turn is identified by a colored dot. The smaller map in the upper right corner of the interface displays the entire route and, if you are using a GPS device, your current location on the route.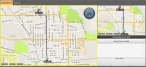
If you manually set the starting point, the turn-by-turn directions pane in the lower right corner displays the message
Not Routing From GPS, and only the address of the found location appears in the pane. If you are using a GPS device, the turn-by-turn directions pane populates with additional information. -
-
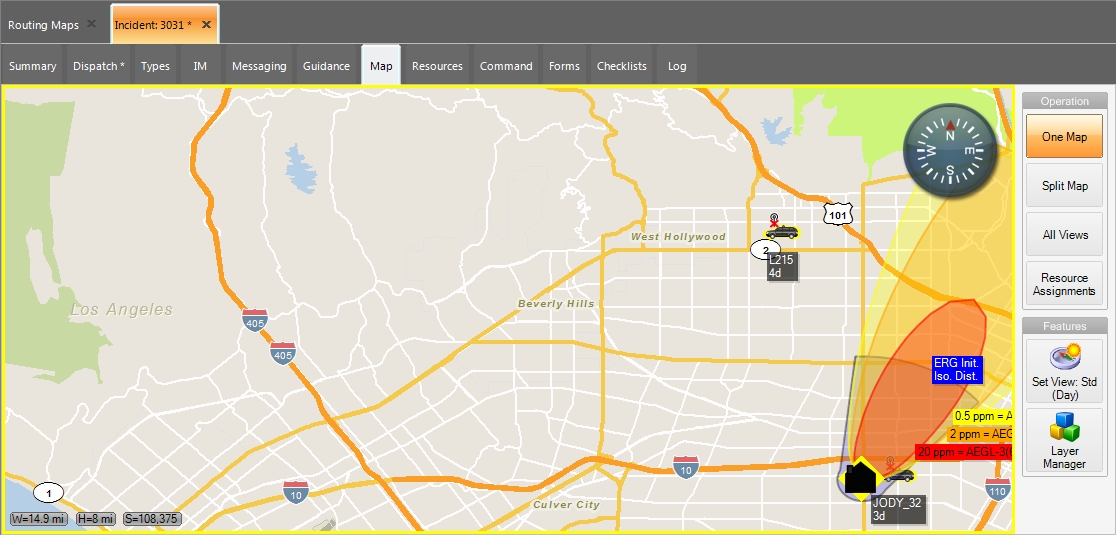
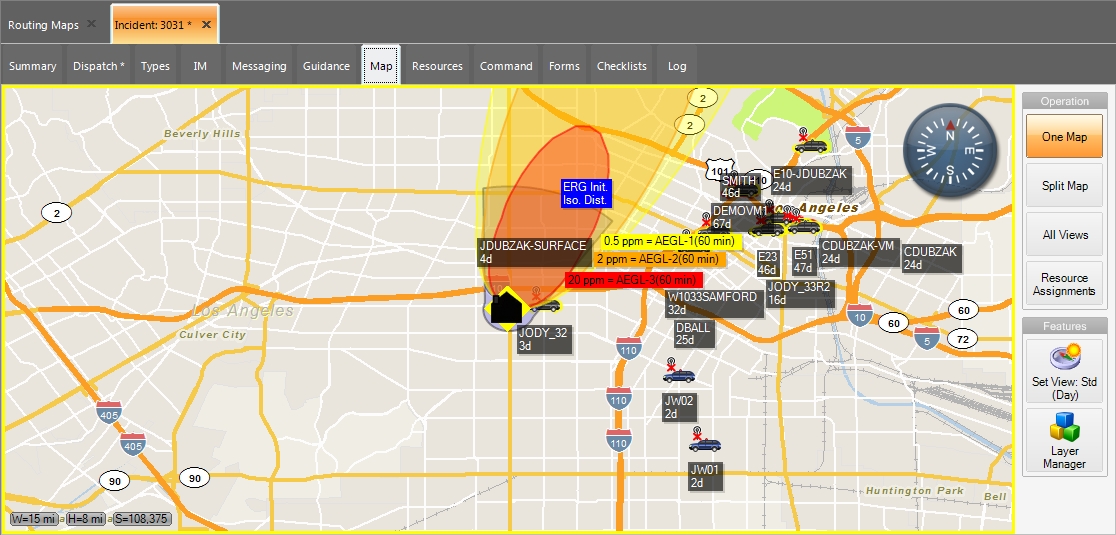
(Optional) In the upper right corner of the tab, click Pan To.
The view in the map moves laterally as needed to center the incident location in the map.
Before panning:
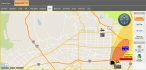
After panning: