Link a status to a routing mode
You can link a unit's computer-aided dispatch (CAD) status to a routing mode. When the status changes (either manually or through a from a CAD file), the routing mode currently in use on the routing map automatically changes to the routing mode linked to the new status.
-
Choose Go → Config→ Options.
The Options dialog box appears, displaying the Server tab.
-
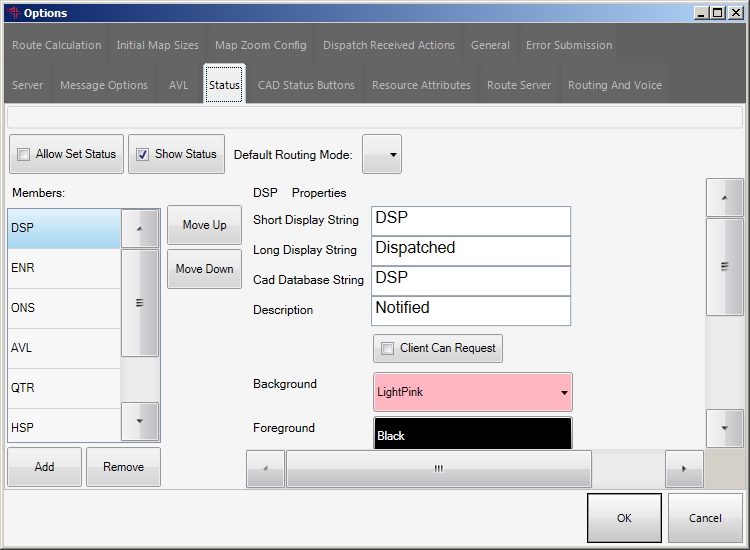
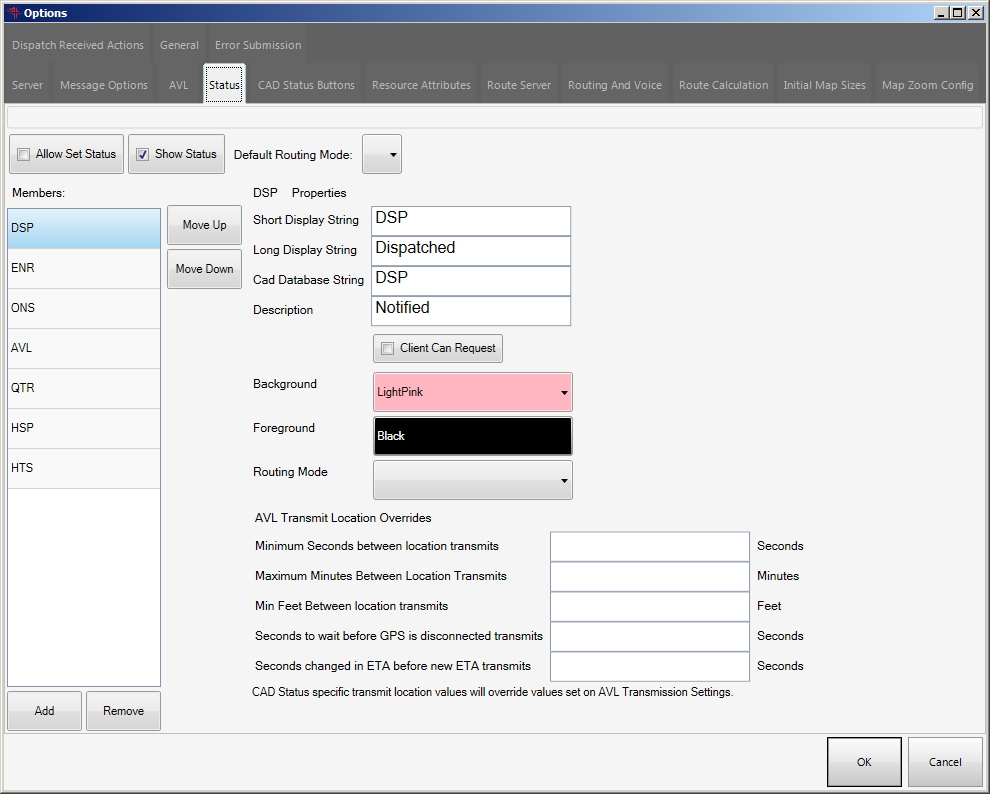
Click the Status tab.
Basic
Premium
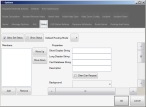
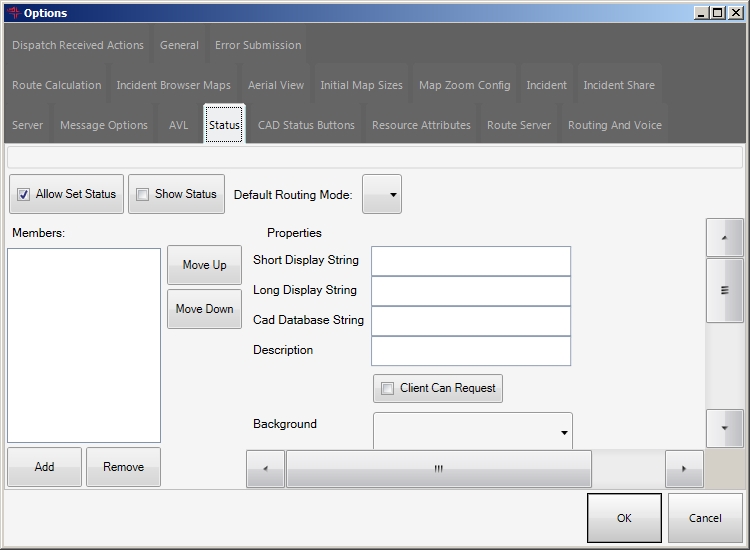
Note: To see all the options on this tab, drag the right side and bottom of the tab out to increase the size of the Options dialog box.
Basic
Premium
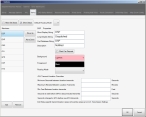
On the left side of the tab, the Members list displays the list of statuses that appears in the Go menu when the status display is enabled, and the order the statuses appear in.
Information on enabling the display of statuses in the Go menu is available in Enable and display status choices.
On the right side of the dialog box, the properties of the status selected in the Members list appear.
- From the Members list, select the status you want to link to a routing mode.
-
From Default Routing Mode, select the routing mode FH Mobile Response reverts to when a status linked to a routing mode is no longer the active status.
Note: If the newly selected status has its own routing mode specified, that status's routing mode overrides the default routing mode.
-
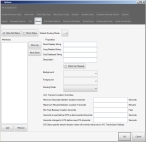
From Routing Mode, select the routing mode FH Mobile Response automatically uses when the selected status is chosen.
Note: Manual routing mode changes are always available from the Main toolbar, in the Routing section, when you select them from the Route menu.
- Click OK.