Request an extended leave
-
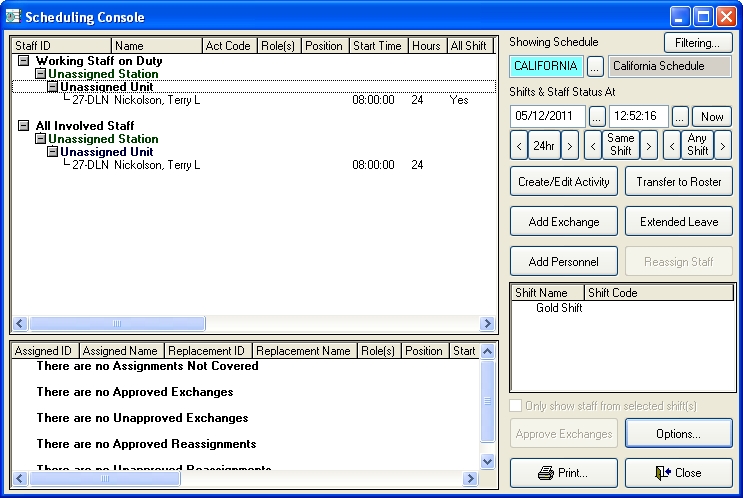
On the main FH toolbar, click Sched.
The Scheduling Console dialog box appears.

-
Click Extended Leave.
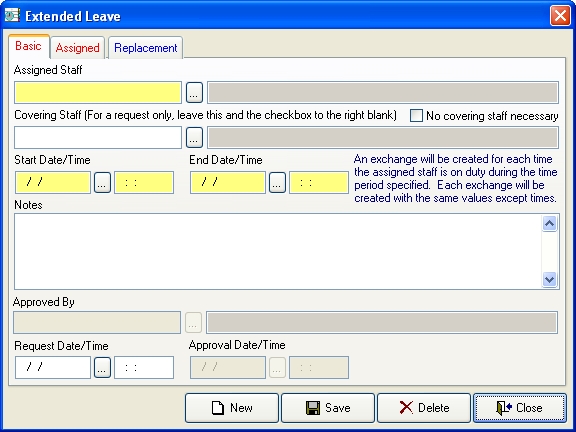
The Extended Leave dialog box appears.
This dialog box is identical to the Shift Personnel Exchange or Exception dialog box used to create an exchange, with the following exceptions:
- On the Basic tab, This is additional staff, not an actual replacement, Track for Trading Time, and Shift Picker do not appear.
- On the Replacement tab, Create Exchange for Replacement does not appear.
-
Go to Add staffing exchange or exception, and follow the instructions from step 4 to the end of the topic to fill out the fields in this dialog box.
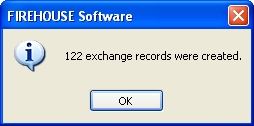
A confirmation dialog box appears to indicate that the appropriate number of exchanges were automatically created.
- Click OK.
- In the Extended Leave dialog box, click Save, and then click Close.
-
Approve the new exchanges created for the extended leave.
Information on approving exchanges is available in Approve a staffing exchange or exception.