Map your existing EMS codes to the NEMSIS code set
|
Note:
|
- Notify all FH users not to use the EMS module until you have completed mapping the existing EMS codes to the NEMSIS code set.
- Log in to FH using an administrator account.
-
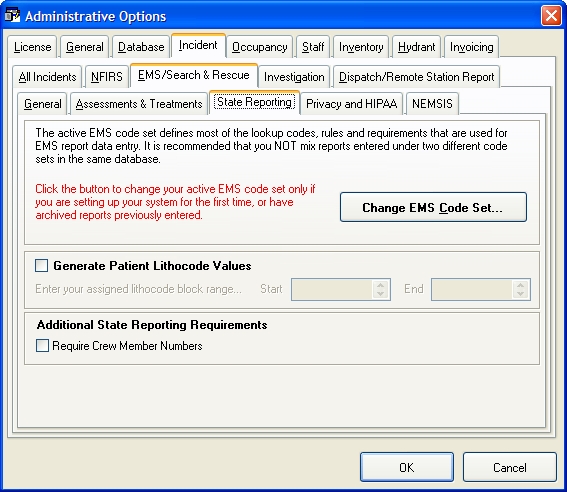
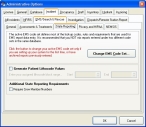
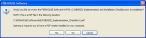
Choose Administration → Administrative Options.
The Administrative Options dialog box appears.
-
Click the Incident → EMS/Search & Rescue → State Reporting tabs.
-
Click Change EMS Code Set.
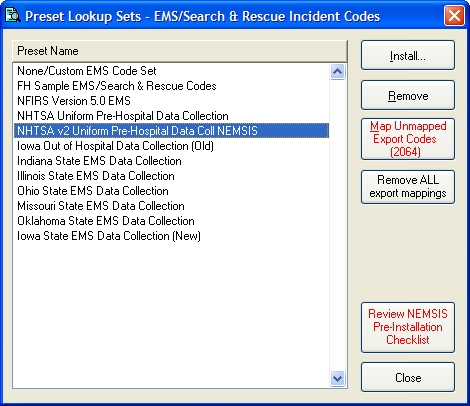
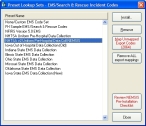
The Preset Lookup Sets - EMS/Search & Rescue Incident Codes dialog box appears.
-
Select NHTSA v2 Uniform Pre-Hospital Data Coll NEMSIS from the list, and then click Install.
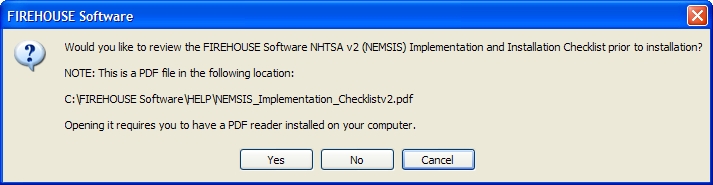
A message appears asking if you would like to review the NEMSIS Implementation and Installation Guide prior to installation.
-
Click No, since you are already reading the NEMSIS Implementation and Installation Guide.
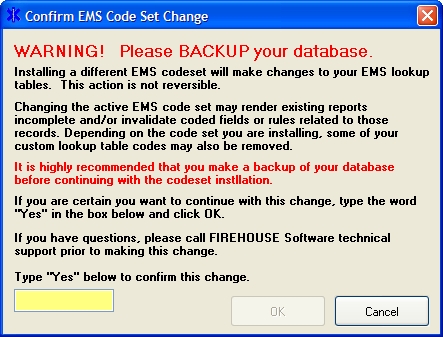
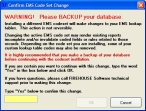
The Confirm EMS Code Set Change dialog box appears.
-
In the yellow field, type
Yesand then click OK.The Map Existing Codes or Replace All Codes dialog box appears.
-
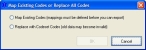
Select Map Existing Codes (mappings must be defined before you can export) and then click OK.
A message dialog box appears informing you that if you have created groupings for your existing codes, the codes will now appear in the lookup list under <Invalid Structure> until you move those codes to the existing pre-defined groups. It also warns that you will not be able to export data containing these codes until that re-grouping has been completed.

Once the NEMSIS code set is installed, there may be codes that you had in locally-acceptable groupings that may need to be regrouped according to the NEMSIS structure.
-
Click OK.
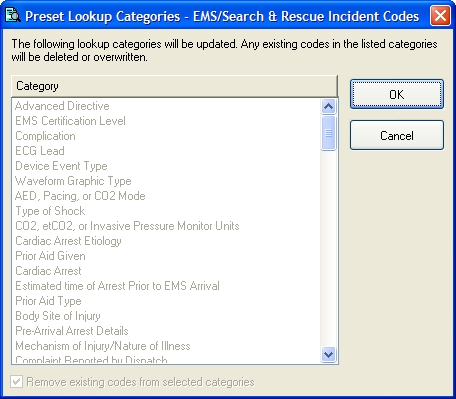
The Preset Lookup Categories - EMS/Search & Rescue Incident Codes dialog box appears.

-
Click OK.
A warning message appears, informing you that existing codes will be overwritten in non-mappable categories, and asking you whether you want to continue.

-
Click Yes.
A series of messages and progress bars appear as the codes are overwritten. When the process completes, another message box appears, informing you that the preset lookup setup set NHTSA v2 Uniform Pre-Hospital Data Coll NEMSIS installed successfully. It also informs you to map your existing codes to state export codes before you export your EMS incidents.

-
Click OK.
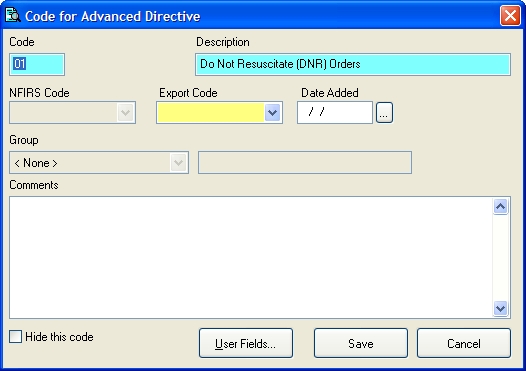
The Code for Advanced Directive dialog box appears.
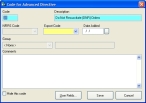
- (If necessary) From Group, select the appropriate group for the displayed existing code.
- From Export Code, select the appropriate NEMSIS export code to correspond with the displayed existing code.
-
Click Save.
The dialog box refreshes so that you can map the next code.
-
Repeat steps 14-16 for the rest of the codes you need to map.
Note: If you must stop mapping codes in the middle of the process, click Cancel. You can re-enter the code mapping process by repeating steps 1-5, and then clicking Map Unmapped Export Codes to continue with the mapping process.
- In the Preset Lookup Sets - EMS/Search & Rescue Incident Codes dialog box, click Close.
- In the Administrative Options dialog box, click OK.
- Notify all FH users you have completed mapping the existing EMS codes to the NEMSIS code set, and that they may use EMS module again.
- Continue with Configure NEMSIS export options and medical devices class codes.