Return a payment
You can cancel a payment that has been received, added, and is then returned (for example, a check is returned for non-sufficient funds).
Caution: Do not mark a payment from a client who has overpaid as returned. Overpayments (like duplicate checks sent for one invoice) should be sent back to the client without adding a payment for the invoice, and add notes to the invoice or account record about the returned payment. If a payment is made on the invoice, refund the payment instead of returning it.
Information on adding notes to the invoice or account record is available in Add notes to a record. Information on refunding a payment is available in Apply a refund.
-
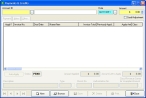
Choose File → Invoicing and Payments → Apply Payments and Credits.
The Payments & Credits dialog box appears.
-
At the bottom of the dialog box, click Browse.
The Query dialog box appears.
-
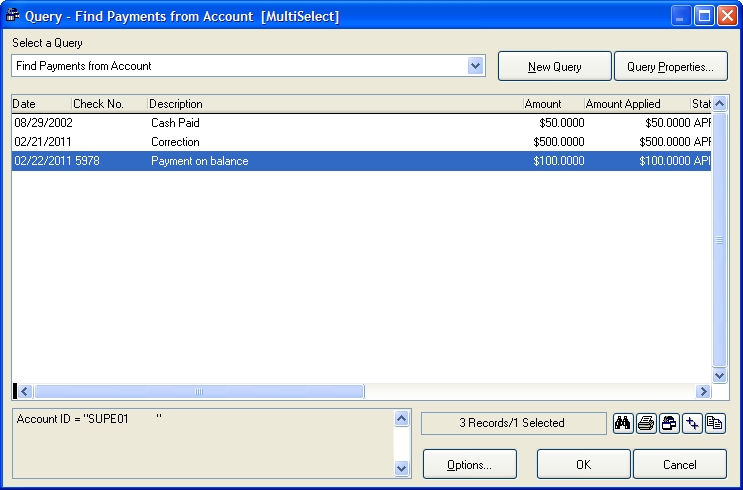
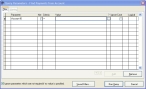
From Select a Query, choose Find Payment from Account.
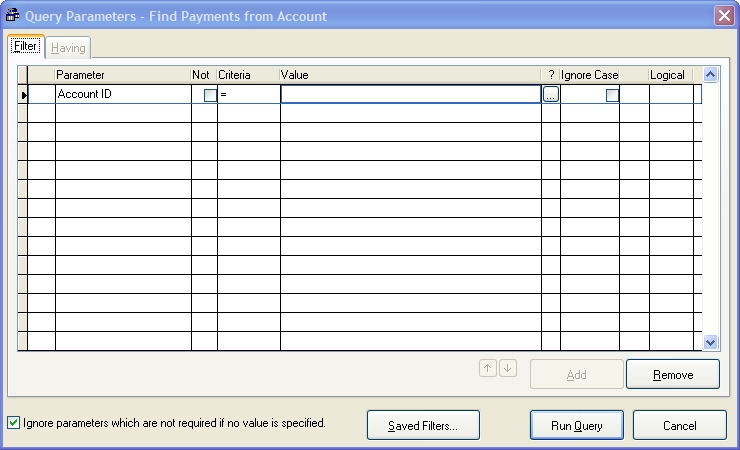
The Query Parameters - Find Payments from Account dialog box appears.
- In the ? column next to the Value column, click the lookup button
 and use the dialog box that appears to select an account record.
 -
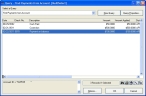
In the Query Parameters - Find Payments from Account dialog box, click Run Query.
The Query - Find Payments from Account dialog box populates with the payments made on that account record.
-
Select the payment you want to cancel, and then click OK.
Warning: Select the payment to cancel carefully. Once a payment is marked as returned, you can not reverse the returned status. If you accidentally select the wrong payment to return, you will need to add new payment for the same amount as the amount you canceled.
The Payments & Credits dialog box populates with information about that payment.
-
Choose Form → Mark Payment As → Returned (Unpaid).
A warning dialog box that the payment is about to be marked as canceled appears.

-
Click Yes.
Another dialog box appears, asking if you would like to add an insufficient funds fee to the invoice.
-
 (If adding an insufficient funds fee) Do the following.
-
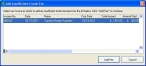
Click Yes.
The Add Insufficient Funds Fee dialog box appears.
-
Click Add Fee.
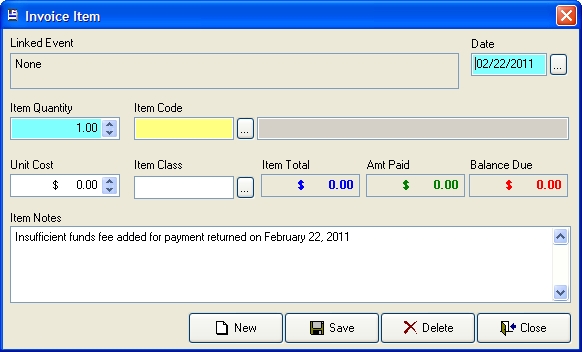
The Invoice Item dialog box appears.
- Fill out the fields as necessary to add an insufficient funds fee invoice item.
- Click Save, and then click Close.
-
-
(If not adding an insufficient funds fee) Click No.
A confirmation dialog box appears, indicating that the payment is marked as returned.

-
Click OK.
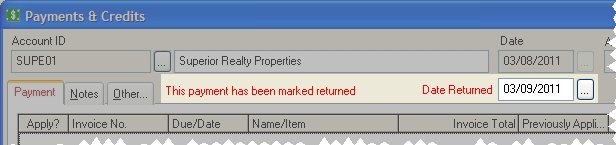
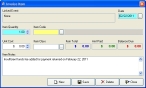
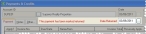
The statement This payment has been marked returned appears in red text, near the top and center of the Payments & Credits dialog box, and the Date Returned field appears.
- (Optional) Change the date to the left of Date Returned, or click the lookup button and use the calendar that appears to select the date.
- In the Payments & Credits dialog box, click Save, and then click Close.