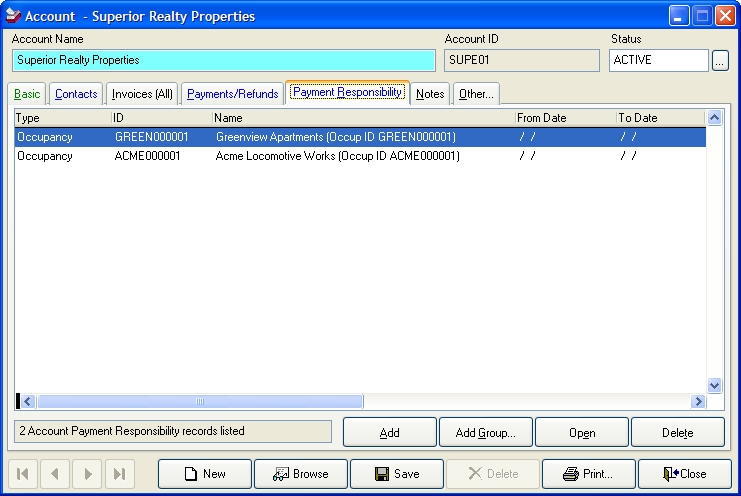
Add payment responsibility to an account record
- (If one is not open already) Open an existing account record.
-
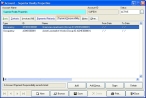
Click the Payment Responsibility tab.
-
Near the bottom of the dialog box, do one of the following.
 Not linked to anyone
- Click Add.
Linked to a group
-
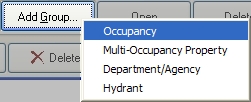
Click Add Group, and then select an option from the menu that appears.
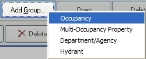
If you select Department/ Agency, the Lookup - Departments and Investigating Agencies dialog box appears. If you select any of the other options, the Query dialog box appear, filtering the list of records as appropriate for your selection.
- Select the record or lookup code you need from the dialog box.
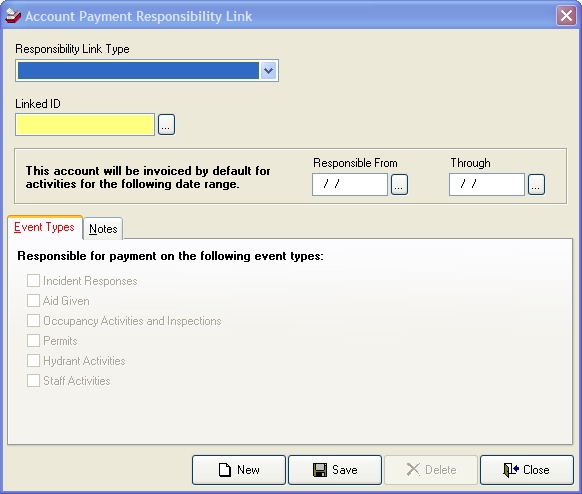
The Account Payment Responsibility Link dialog box appears. If you clicked Add, the Responsibility Link Type is empty. If you clicked Add Group, Responsibility Link Type is already filled in and can not be changed.

-
(If Responsibility Link Type is not filled in) From Responsibility Link Type, select a record type.
On the Event Types tab, the billable events for the record type you selected become active.
- In Linked ID, type the ID associated with the record you want to link the payment responsibility to, or click the lookup button
 and use dialog box that appears to select the ID.
 -
In Responsible From and Through, type the date range that the entity identified in Linked ID is responsible for payments, or click the lookup button
and use the calendars that appear to specify the dates.Note: Leave Responsible From and Through blank if the entity identified in Linked ID should always be responsible for payments.
Caution: If payment responsibility changes from one account record to another (Example: There has been a change of ownership), you need to modify the original account payment responsibility link record. The Through date becomes the last date the original account record is responsible for payments. You will need to add a new account payment responsibility link record, with the Responsible From date set to the first day the new account record becomes responsible for payments.
- Under Responsible for payment on the following event types, select or clear active options as necessary.
-
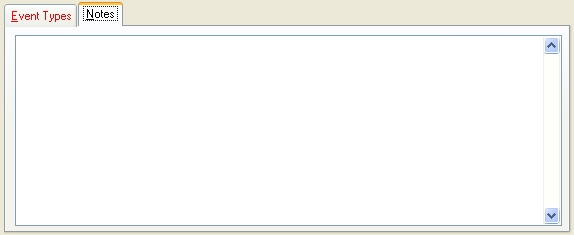
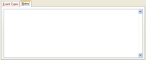
(Optional) Click the Notes tab, click in the large area in the Notes tab, and then type any extra information you want to add to the payment responsibility.
-
Click Save, and then click Close.
The new responsibility information appears on the Payment Responsibility tab.
- In the Account dialog box, click Close.