Restock a vehicle
Medics must restock vehicles so they are ready to go the moment a call comes in. The Inventory module compiles a list of all the items medics recorded as used on calls since the last time the vehicle was restocked, and how many of each item needs to be added to reach max par on the vehicle. The module then displays this list when you need to restock the vehicle, and lets you record the quantities of items you took from various locations to restock the vehicle.
|
Note:
|
-
 If you have not done so already) Access the Inventory module in the ESO Suite.
-
Do one of the following.
-
(If you are already working in the ESO Suite) Click the Home icon in the upper left corner of the screen.

-
(If you have not yet logged in) Log in to the ESO Suite.
-
In a web browser, go to https://www.esosuite.net/EsoSuite.
The ESO Suite login screen appears.
-
Enter your user name, password, and agency name, then click Let's Go.
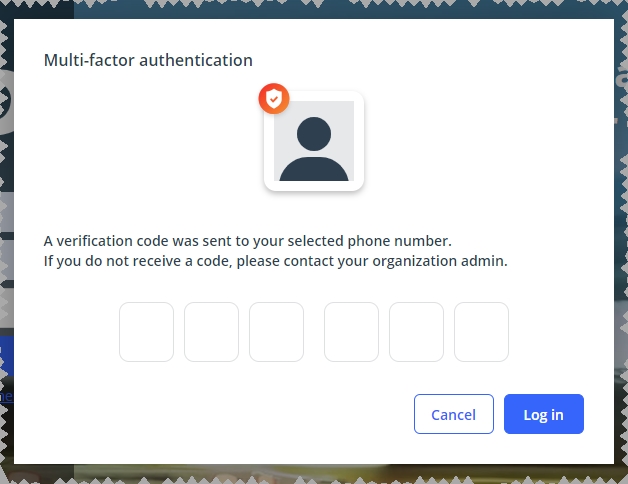
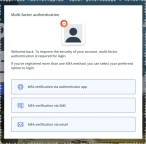
If MFA is enabled, the Multi-factor authentication dialog box appears, displaying one or more methods you can use to verify your login credentials. The number of methods that appear in the dialog box depends on what MFA methods your ESO Suite administrators enabled in the Admin module.
Click graphics
to open them.Information on enabling MFA and specific MFA methods is available in the Admin module online help, in Configure multiple-factor authentication.
Note: If your ESO Suite administrators have disabled MFA ("opted-out"), this dialog does not appear.
-
(If the Multi-factor authentication dialog box appears) Depending on which buttons appear in the dialog box, verify your login in one of the following ways.
With an authenticator application.
-
Click MFA verification via authenticator app.
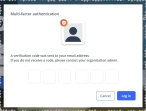
The dialog box updates with boxes for entering the numbers of the authentication code, and the ESO Suite sends an authentication code to the authenticator application installed on your device.

-
Open your authenticator application and note the authentication code currently displayed.
-
Enter the authentication code displayed in the authenticator application.
-
Click Log In.
With a text message (SMS).
-
Click MFA verification via SMS.
The dialog box updates with boxes for entering the numbers of the authentication code, and the ESO Suite sends an authentication code to the phone number recorded in your PM records and identified with MFA codes.

-
Enter the authentication code sent to your MFA-registered phone number.
-
Click Log In.
With an email message.
-
Click MFA verification via email.
The dialog box updates with boxes for entering the numbers of the authentication code, and the ESO Suite sends an authentication code to your agency or department email address, recorded in your PM records.
-
Enter the authentication code sent to your agency or department email address.
-
Click Log In.
-
-
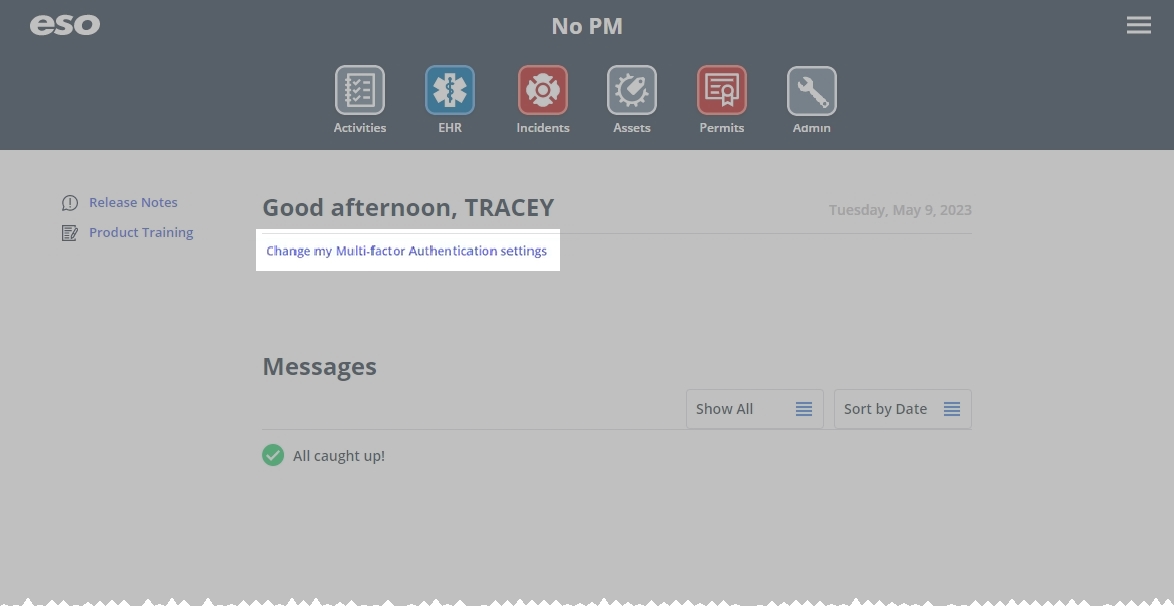
The ESO Suite landing screen appears.
Click graphics
to open them.Note: If MFA is enabled, you can access and manage your MFA options through the PM module, on the Settings > Account page, as described in Manage a user account. If your agency or department has enabled MFA but has not purchased the full-featured version of the PM module, you can access your own MFA settings by clicking Change my Multi-Factor Authentication settings on the landing screen, then using the Settings > Account page that appears. If your agency has not enabled MFA, the Change my Multi-Factor Authentication settings link does not appear on the landing screen.

-
-
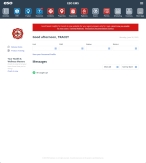
On the top side of the home screen, click Inventory.
 Tip: (On a narrow screen or browser window) Display more module icons.
If your screen or browser window is too narrow to display all your agency's ESO Suite module icons, the More Apps icon appears on the right side of the icon bar. If you click this icon, a menu appears containing additional module icons.

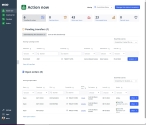
The Inventory module opens, displaying the Action now page.
Click graphics
to open them.
-
-
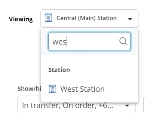
In the upper right corner of the page, from the Viewing menu, choose the location whose item list you want to work with.
 Tip: Search the list of locations.
-
At the top of the menu, in the search field, type the combination of characters you want to search the options for.
As you type each character, the list of menu options reduces to only those whose names contain that combination of characters.
The Manage this vehicle's inventory button appears to the right of Viewing. This button also appears if you are on the Inventory list page and you choose a vehicle. It does not appear if you are on the Transfers or Orders page.
-
-
Click Manage this vehicle's inventory.
The page that appears displays the name of the station or vehicle you selected, and buttons and fields relevant to managing the station or vehicle's supplies. For a station, you can only perform a stock check; for vehicles, you can perform a stock check, list the items used during a call, and restock your vehicle for future calls.
Note: You can only restock a vehicle after you have finished adding to the list of items used in all the calls in the vehicle's time line.
Information on adding items used in a call is available in Add items to a call.
-
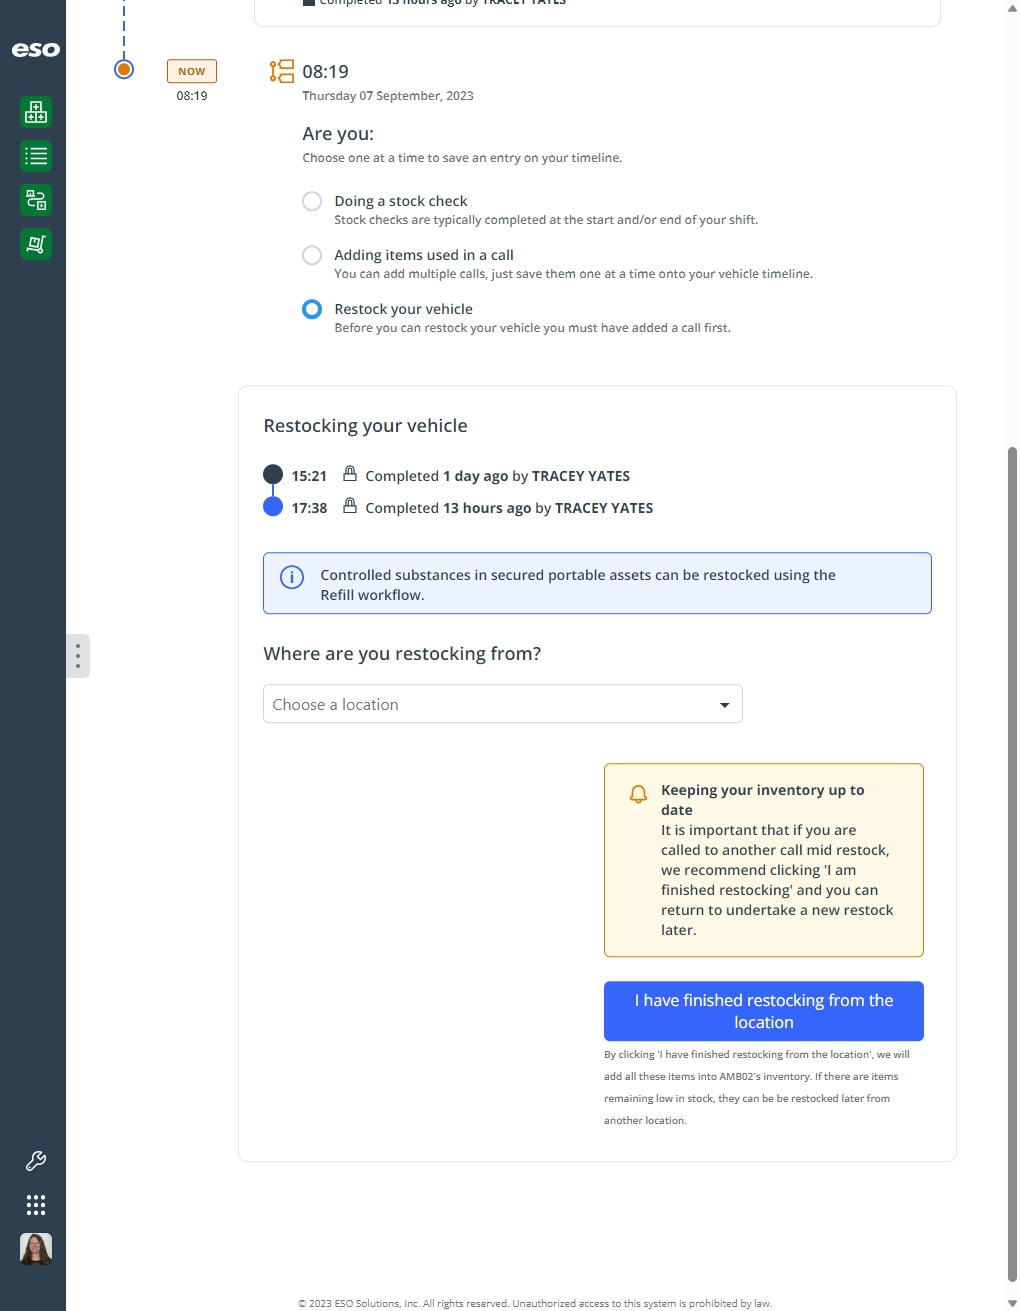
Under Are you, choose Restock your vehicle.
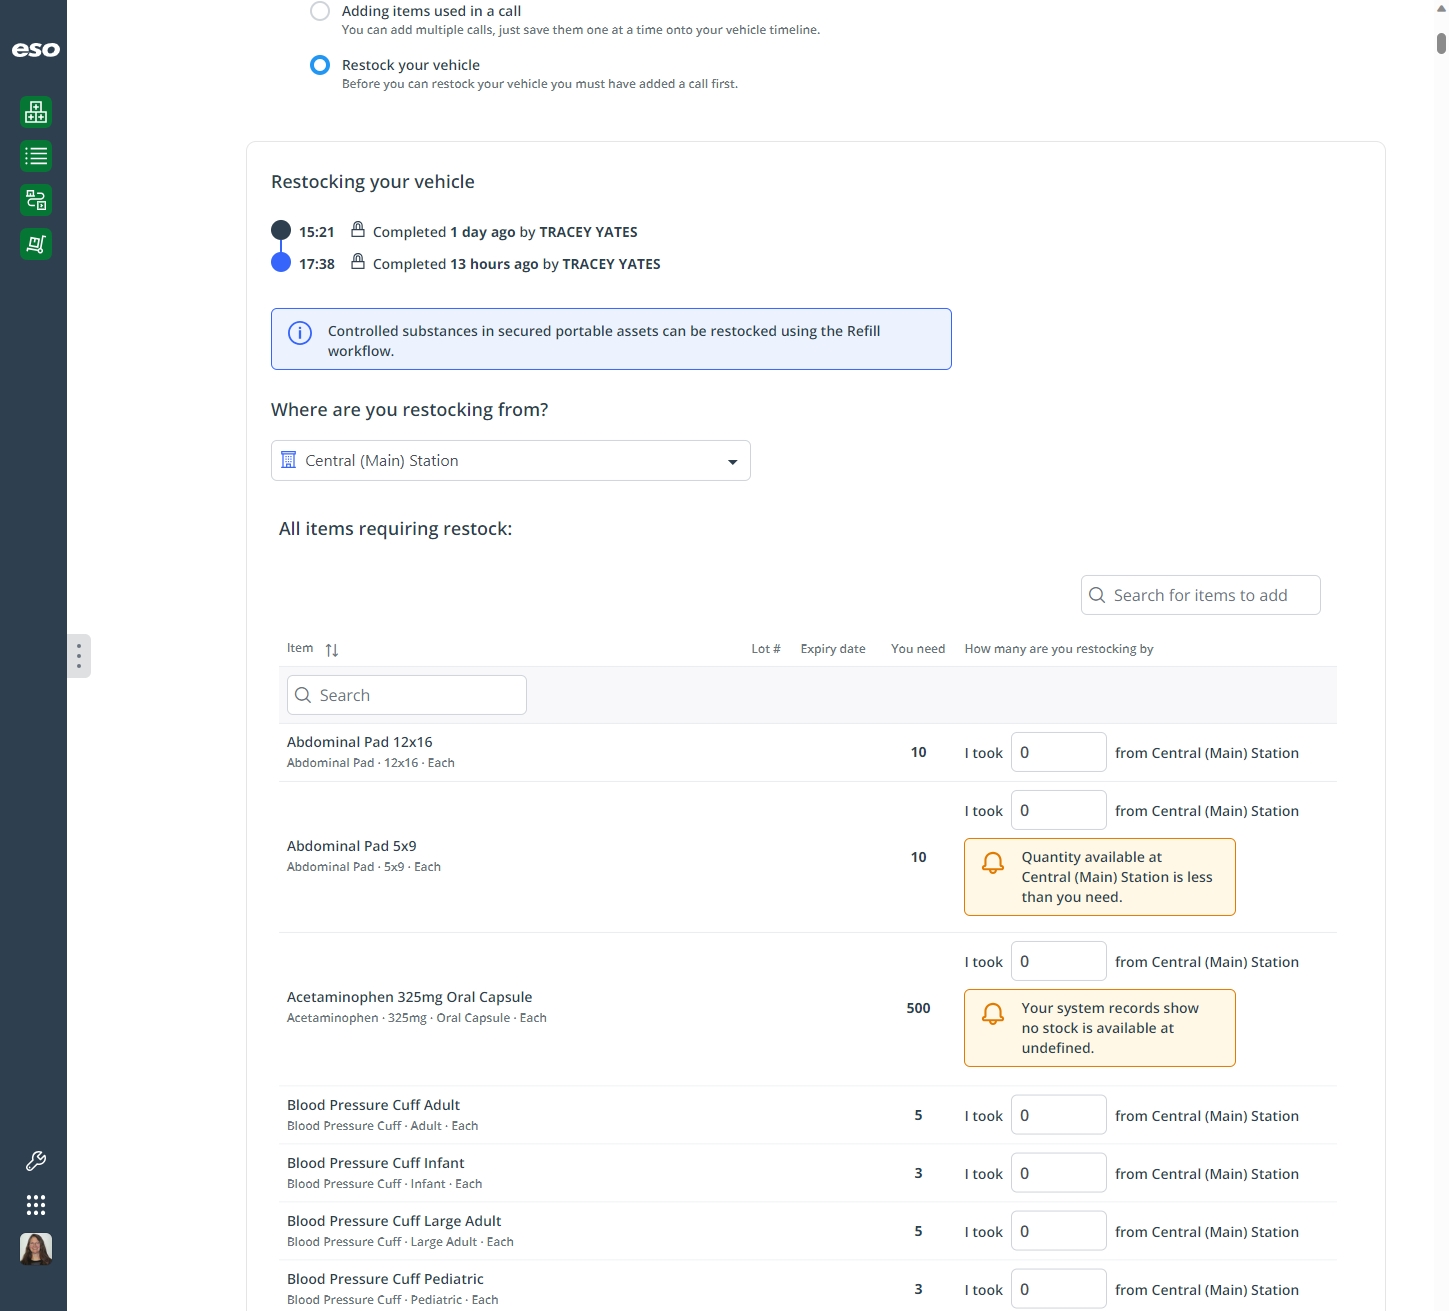
The Restocking your vehicle section appears.

-
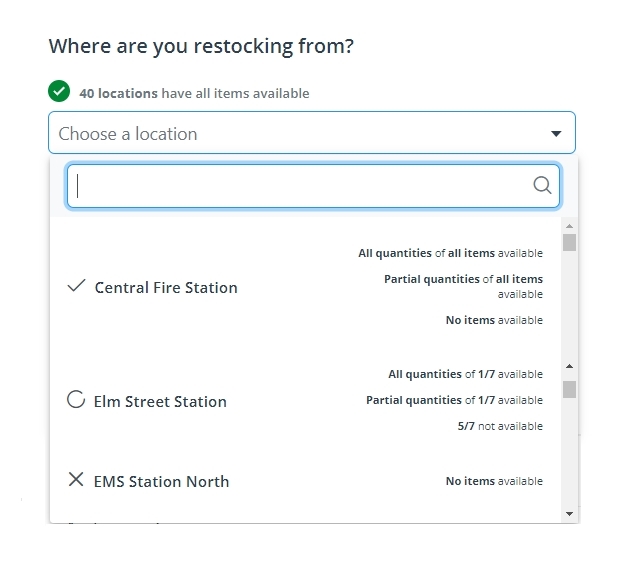
From Where are you restocking from?, choose the location you plan to restock the vehicle from.
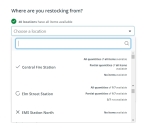
Each location name in the menu has an icon on the left, indicating how much of the vehicle's restocking needs it can meet.
Icon Indicates 
The location has enough of all the items to restock the vehicle.

The location has some of the items needed, but not all.

The location has none of the needed items. If the location can fully or partially supply the vehicle, text appears to the right of the location name to indicate how many of the items the location can supply.
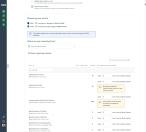
The All items requiring restock table appears, listing all items that require restocking on the vehicle. This table is a summary of all the items you noted as being used on calls since the last time you restocked the vehicle, and how many you need to reach max par on the vehicle. The max par level is the ideal inventory level for the vehicle.
-
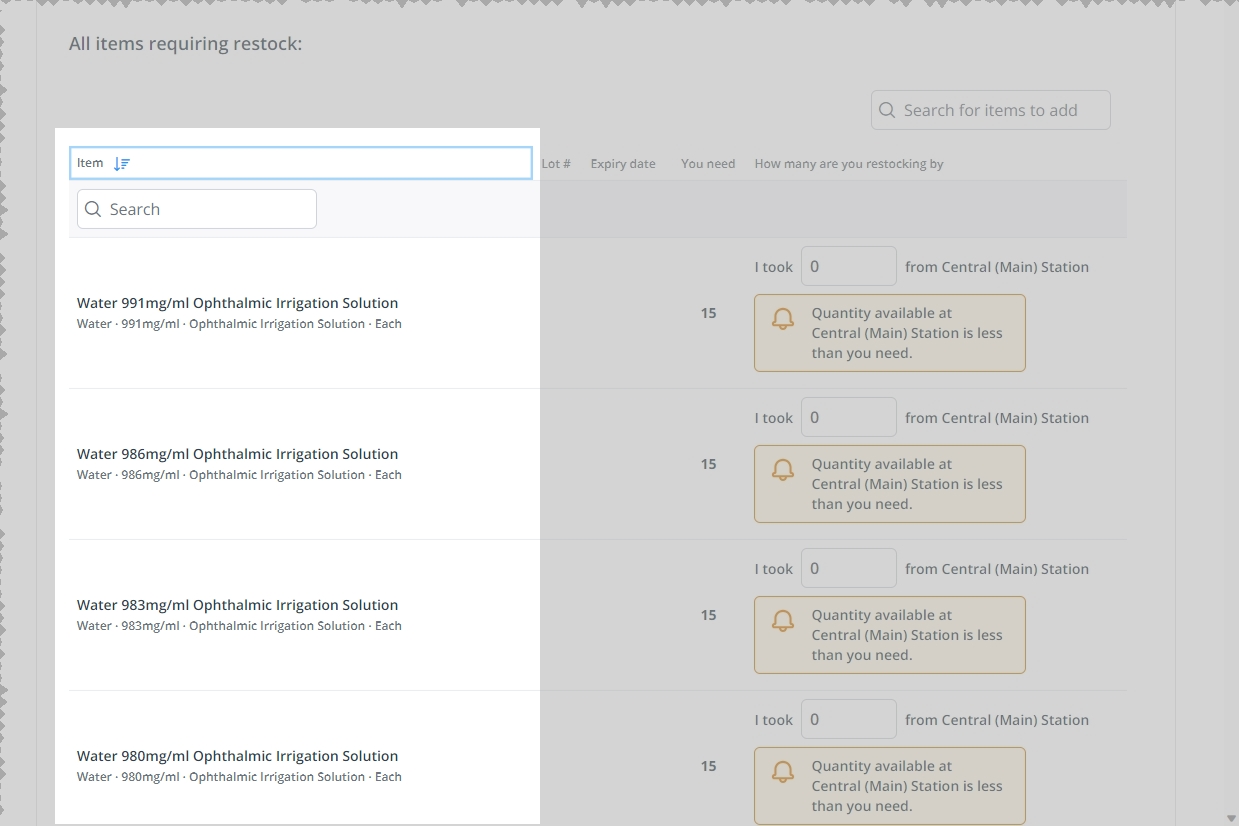
(Optional) Sort the entire list into ascending or descending order, based on the values in a column.
-
At the top of the Item column, click the column sort (
 ) icon.
 The ascending values (
 ) icon appears and the column sorts from A–Z, or from 1 to the highest numerical value.
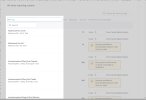
-
Click the ascending values icon to sort the list into descending order.
The descending values (
 ) icon appears and the column sorts from Z–A, or from the highest numerical value to 1.
-
-
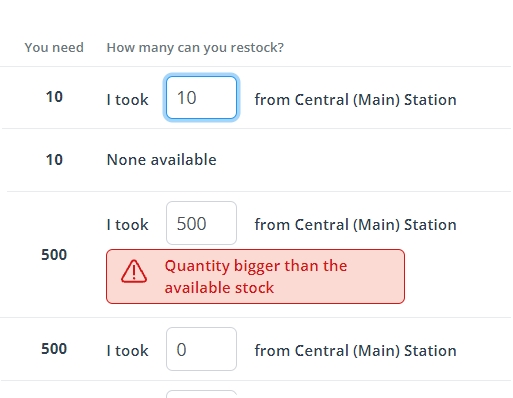
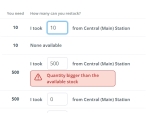
Under All items requiring restock, for every row in the table, in the How many are you restocking by column, click in the field and type the quantity of the item you want to take from that location's inventory, to restock the vehicle.
If you enter a quantity greater than what is available at the location, a message to that effect appears below the field.
-
Scroll to the bottom of the page and, in the lower right corner of page, click I have finished restocking from location name.
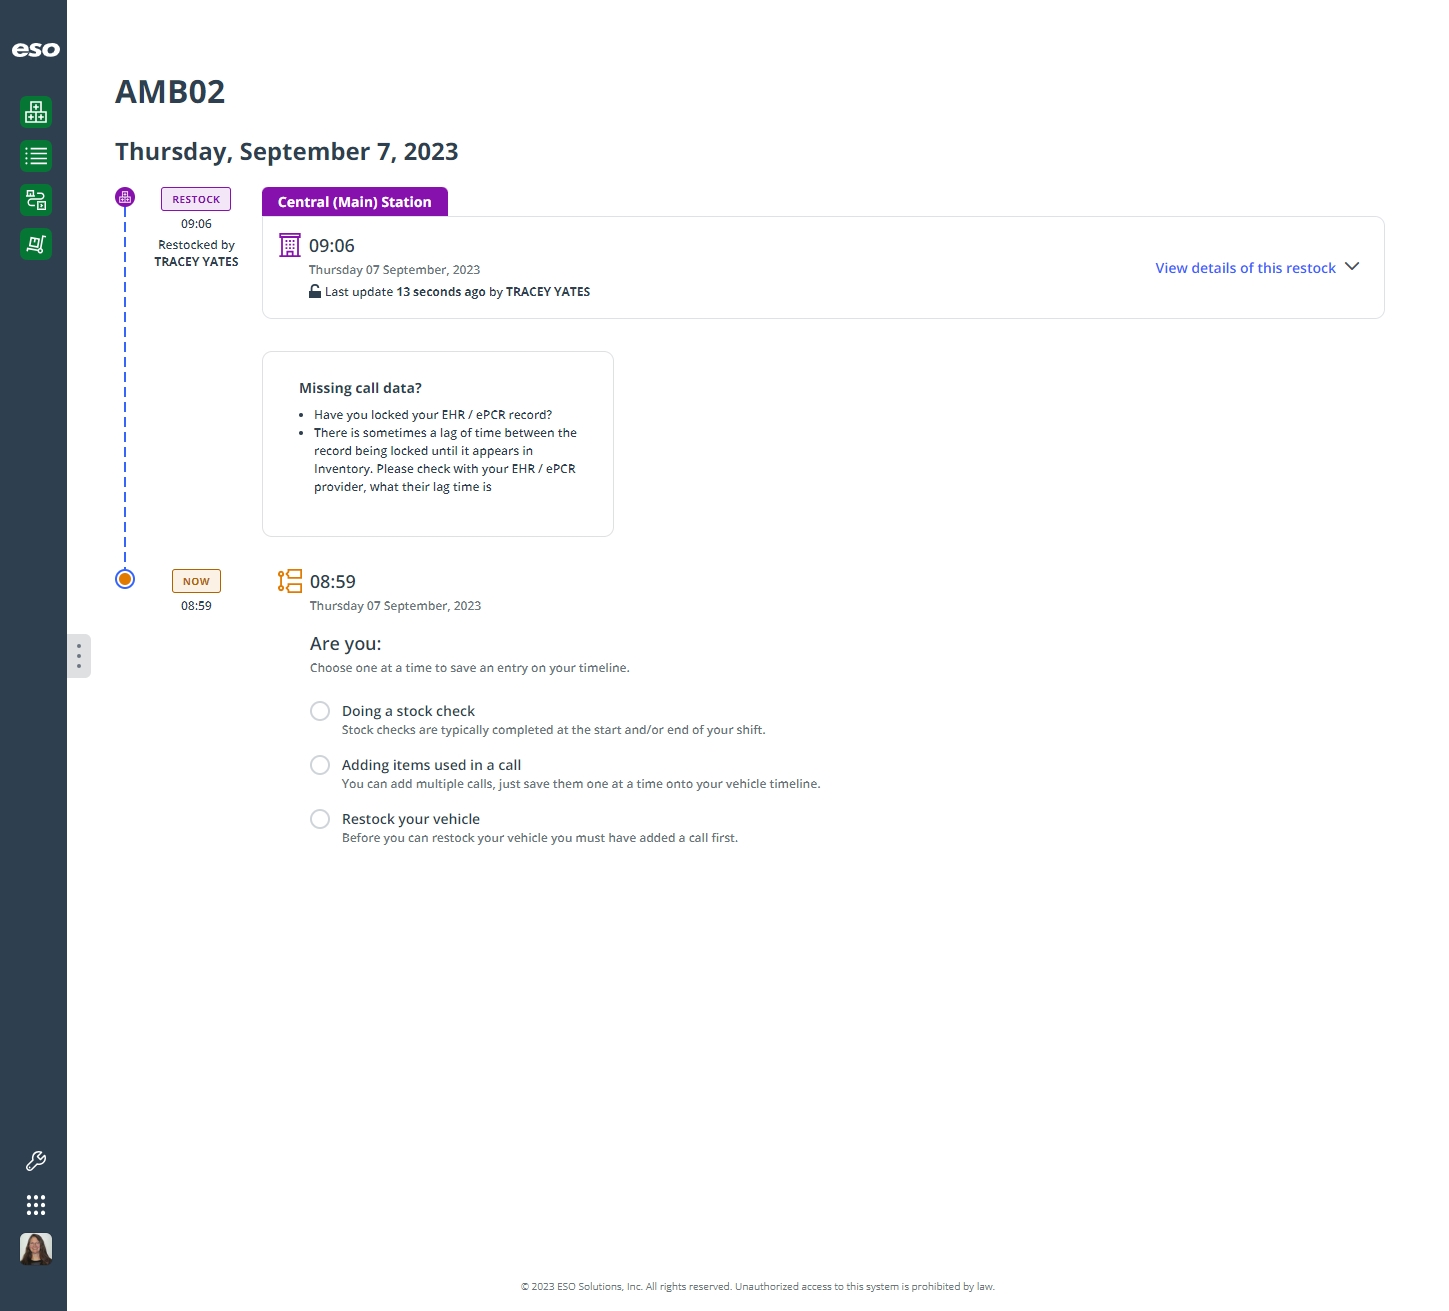
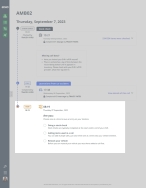
The vehicle's time line page reappears, with the restock icon, label, and station name appearing in purple. The lock icon in the restock entry indicates that the vehicle restock is now locked, and that you need to start a new restocking to add more inventory to the vehicle. The Inventory module updates its records to reflect that you added these items to the vehicle's inventory.

Tip: To review the list of items you stocked from the selected location, on the right side of the time line entry, click View details of this restock. The entry expands, you can review the restock information as needed. If you scroll to the lower right corner of the screen, the I have finished restocking from location name button is renamed to Completed.
-
(If you were not able to fully stock the vehicle) Repeat steps 5–9, selecting a different station for step 6.