Add items to a call
When a medic responds to a patient's needs in the field, they tend to grab the stock they need to treat a patient, and then sometimes later cannot remember exactly what or how much they used. This is particularly true when medics are on back-to-back calls, and then later are trying to remember how much of what stock they used, and on which call.
The Inventory module provides a list of common treatments medical personnel routinely perform. For each of the treatments, an Inventory module administrator can build a list of the inventory items typically used during the treatment, and map those items to the treatment. This list can include item variants (pediatric sizes instead of adult sizes, different needle gauges, and so forth). These item-to-treatment mappings appear as suggested inventory items that a medic may have used during specific treatments, which can then help the medic remember what they used during a call.
Information on mapping inventory items to treatments is available in Map inventory items to treatments.
The medic can still add items that are not in these lists, edit the items on the list if they used different quantities or sizes, and remove items they did not use. Through this process, medics can build a list of items that need to restocked later. The information about items used during a call is valuable for assessing and making future decisions about par levels, examining seasonal trends, and so forth.
Note: You can only add items to a call for vehicles, not for stations.
-
 If you have not done so already) Access the Inventory module in the ESO Suite.
-
Do one of the following.
-
(If you are already working in the ESO Suite) Click the Home icon in the upper left corner of the screen.

-
(If you have not yet logged in) Log in to the ESO Suite.
-
In a web browser, go to https://www.esosuite.net/EsoSuite.
The ESO Suite login screen appears.
-
Enter your user name, password, and agency name, then click Let's Go.
If MFA is enabled, the Multi-factor authentication dialog box appears, displaying one or more methods you can use to verify your login credentials. The number of methods that appear in the dialog box depends on what MFA methods your ESO Suite administrators enabled in the Admin module.
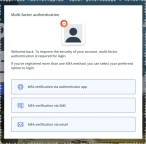
Click graphics
to open them.Information on enabling MFA and specific MFA methods is available in the Admin module online help, in Configure multiple-factor authentication.
Note: If your ESO Suite administrators have disabled MFA ("opted-out"), this dialog does not appear.
-
(If the Multi-factor authentication dialog box appears) Depending on which buttons appear in the dialog box, verify your login in one of the following ways.
With an authenticator application.
-
Click MFA verification via authenticator app.
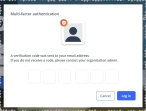
The dialog box updates with boxes for entering the numbers of the authentication code, and the ESO Suite sends an authentication code to the authenticator application installed on your device.

-
Open your authenticator application and note the authentication code currently displayed.
-
Enter the authentication code displayed in the authenticator application.
-
Click Log In.
With a text message (SMS).
-
Click MFA verification via SMS.
The dialog box updates with boxes for entering the numbers of the authentication code, and the ESO Suite sends an authentication code to the phone number recorded in your PM records and identified with MFA codes.

-
Enter the authentication code sent to your MFA-registered phone number.
-
Click Log In.
With an email message.
-
Click MFA verification via email.
The dialog box updates with boxes for entering the numbers of the authentication code, and the ESO Suite sends an authentication code to your agency or department email address, recorded in your PM records.
-
Enter the authentication code sent to your agency or department email address.
-
Click Log In.
-
-
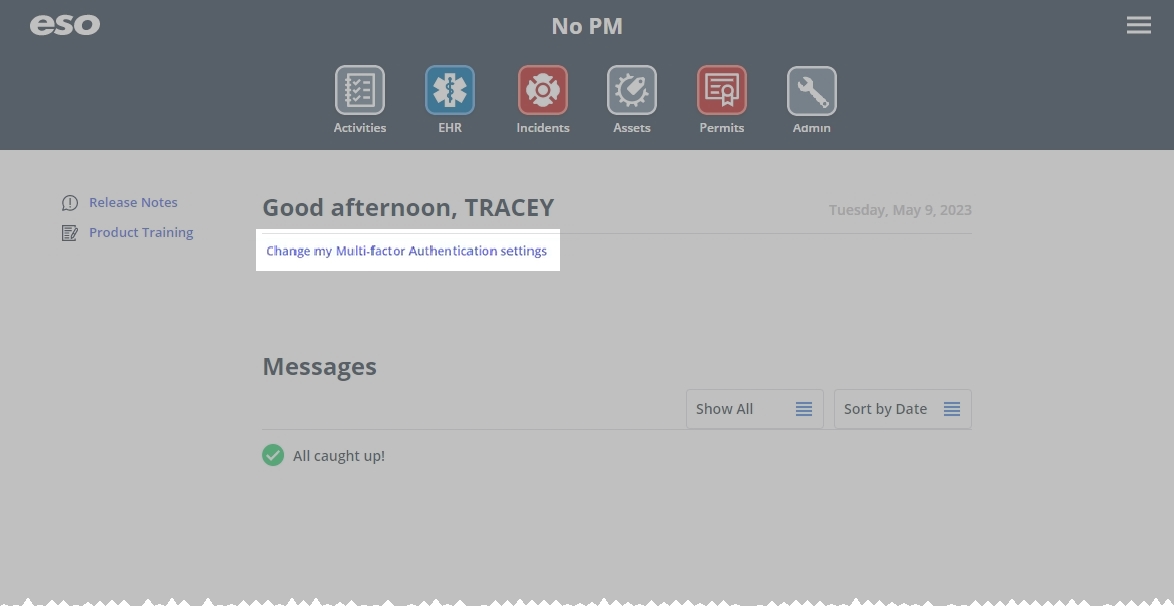
The ESO Suite landing screen appears.
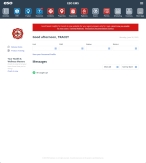
Click graphics
to open them.Note: If MFA is enabled, you can access and manage your MFA options through the PM module, on the Settings > Account page, as described in Manage a user account. If your agency or department has enabled MFA but has not purchased the full-featured version of the PM module, you can access your own MFA settings by clicking Change my Multi-Factor Authentication settings on the landing screen, then using the Settings > Account page that appears. If your agency has not enabled MFA, the Change my Multi-Factor Authentication settings link does not appear on the landing screen.

-
-
On the top side of the home screen, click Inventory.
 Tip: (On a narrow screen or browser window) Display more module icons.
If your screen or browser window is too narrow to display all your agency's ESO Suite module icons, the More Apps icon appears on the right side of the icon bar. If you click this icon, a menu appears containing additional module icons.

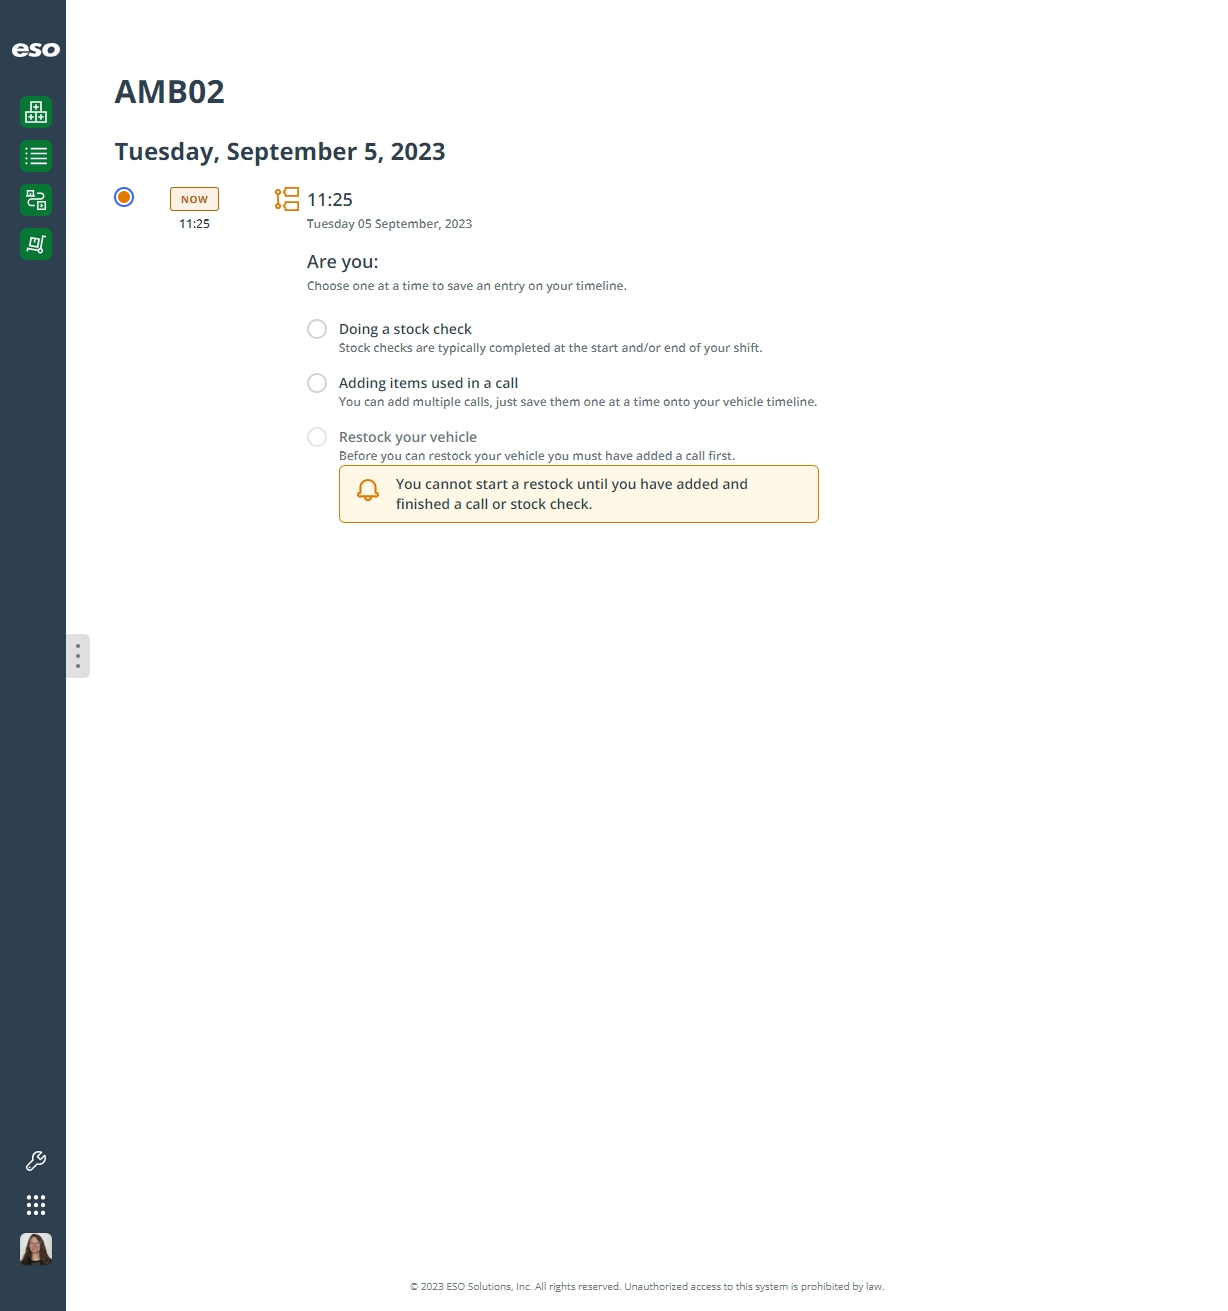
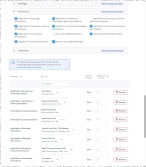
The Inventory module opens, displaying the Action now page.
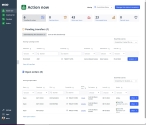
Click graphics
to open them.
-
-
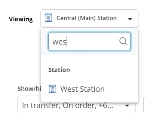
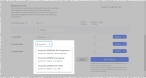
In the upper right corner of the page, from the Viewing menu, choose the vehicle whose item list you want to work with.
 Tip: Search the list of locations.
-
At the top of the menu, in the search field, type the combination of characters you want to search the options for.
As you type each character, the list of menu options reduces to only those whose names contain that combination of characters.
The Manage this vehicle's inventory button appears to the right of Viewing. This button also appears if you are on the Inventory list page and you choose a vehicle. It does not appear if you are on the Transfers or Orders page.
-
-
Click Manage this vehicle's inventory.
The page that appears displays the name of the station or vehicle you selected, and buttons and fields relevant to managing the station or vehicle's supplies. For a station, you can only perform a stock check; for vehicles, you can perform a stock check, list the items used during a call, and restock your vehicle for future calls.

-
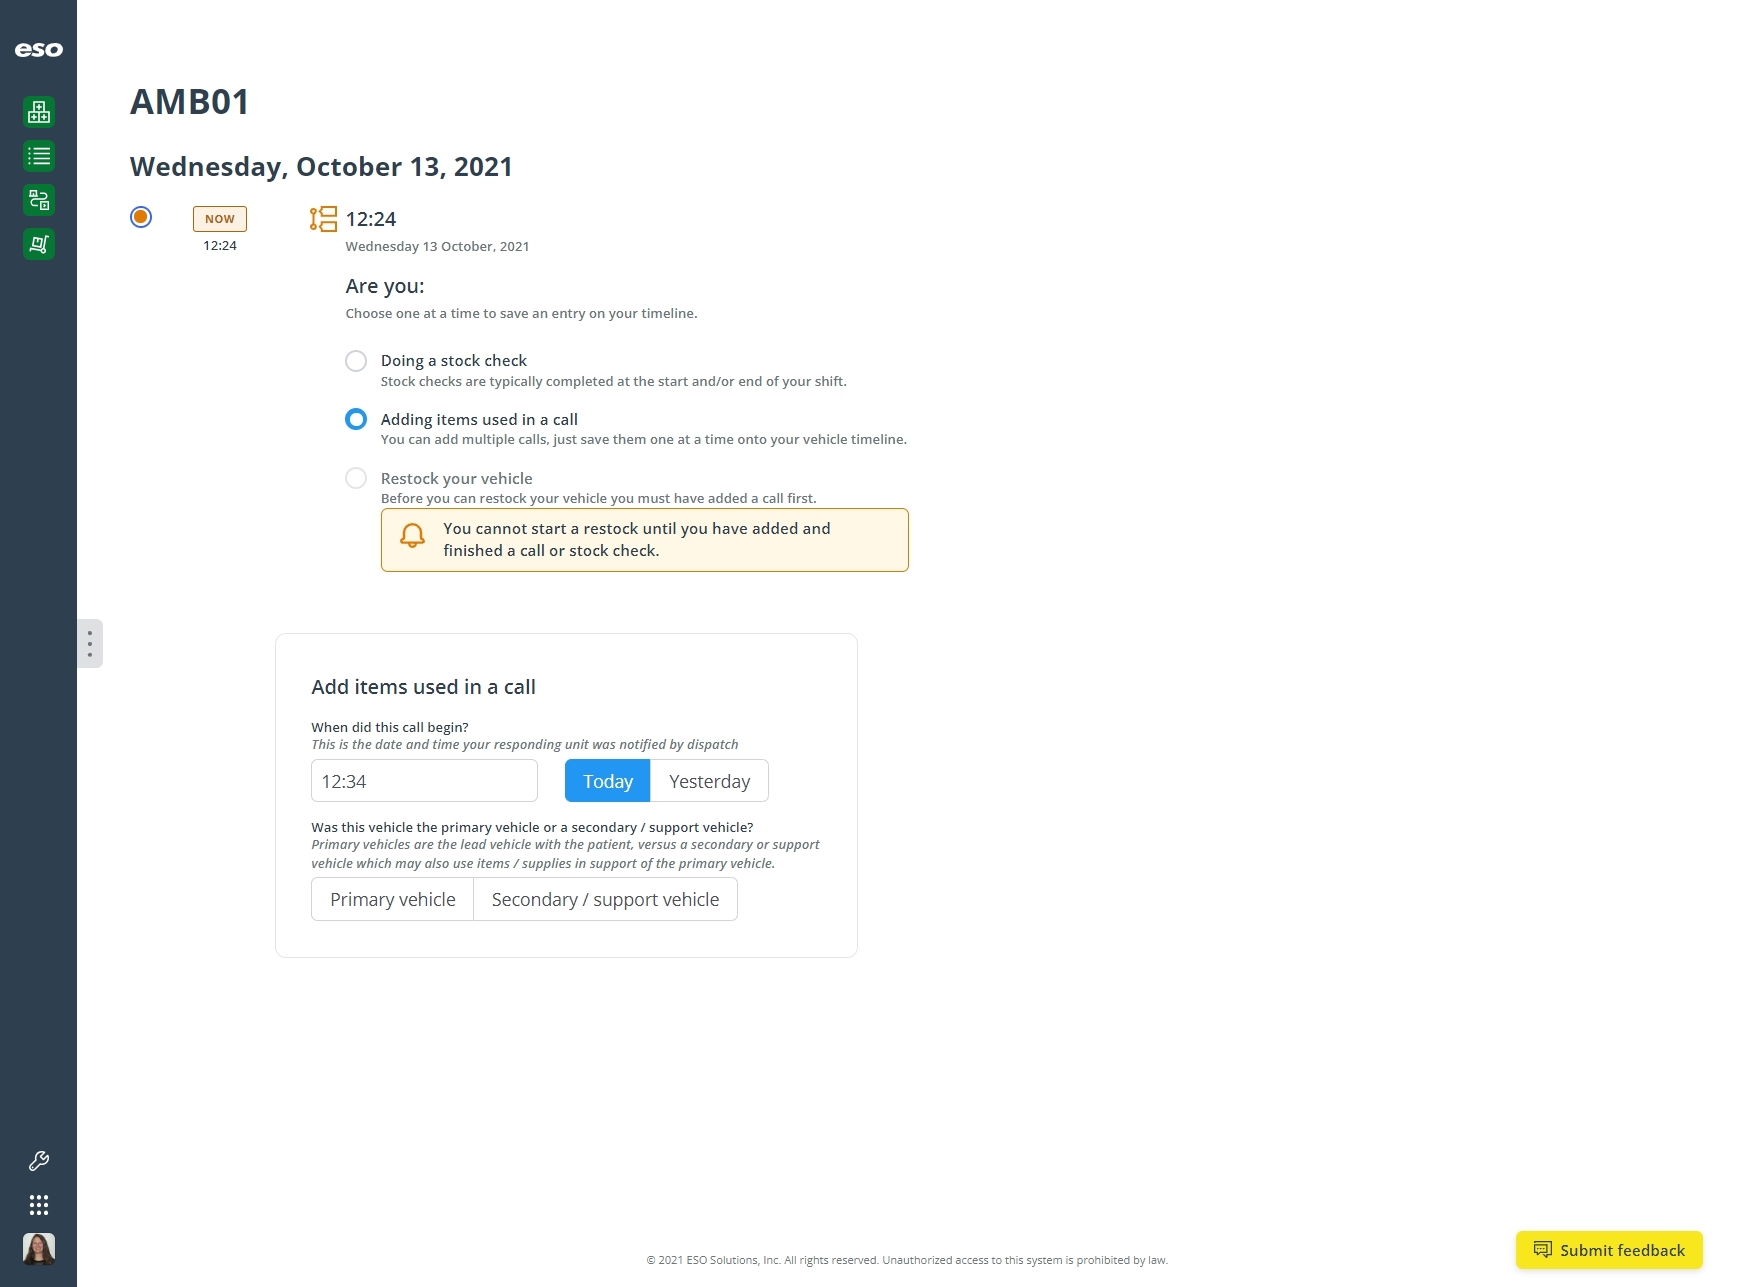
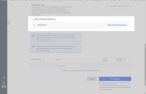
Under Are you, choose Adding items used in a call.
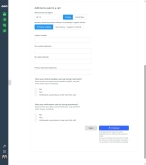
If no calls have been added yet, the Add items used in a call section appears.

-
Specify basic information about the call.
While some of the fields in this section are optional, the information collected here is valuable for reporting purposes.
-
For When did this call begin, click in the field and type the time (in military time) the vehicle was notified by dispatch about the call, or use the up and down arrows in the menu that appears to adjust the time.
-
Click either Today or Yesterday to indicate which day the call began.
-
Under Was this vehicle the primary vehicle or a secondary / support vehicle, choose either Primary vehicle or Secondary / support vehicle.
Additional fields appear for providing more details about the call.
If you choose Primary vehicle, you need to specify the incident number associated with the call.
-
In Incident number, type the number assigned to the call by the 911 dispatch system.
-
In Run number (optional), type your agency's internal EMS response number for this vehicle's response to incident.
-
In Run type (optional), type the name of the type or category of service requested of the agency responding to the incident.
Example:
Emergency Response (Mutual Aid), or Hospital-to-Hospital Transfer -
In Primary impression (optional), type a description of the medic's primary impression of the patient's problem or most significant condition.
-
-
Indicate whether medical supplies or medications were used up during the call.
Determining whether an item is "used up" depends on your agency or department's stocking quantity for the item.
Example: If your agency stocks latex gloves by the box, and if the last of the gloves in the box are used during the call, then you need to add latex gloves to list with a value of
1to indicate that the agency or department needs to replace the box in the vehicle. If the box is opened but there are still gloves left in the box, you should add latex gloves to list with a value of0to indicate that the crew on the vehicle still has access to gloves.-
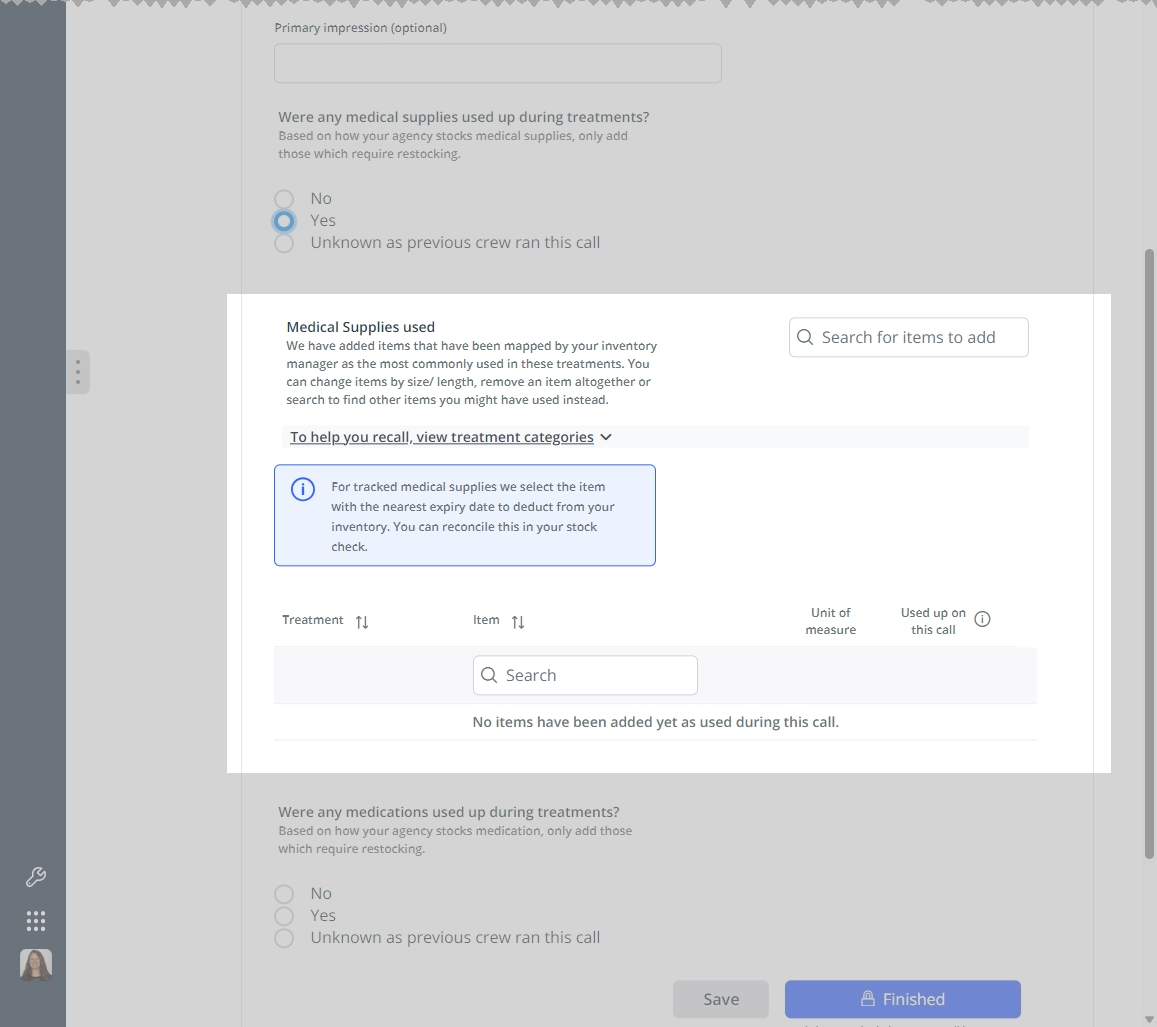
For Were any medical supplies used up during treatments, choose No, Yes, or Unknown as previous crew ran this call.
If you choose Yes, the Medical Supplies Used section appears.
-
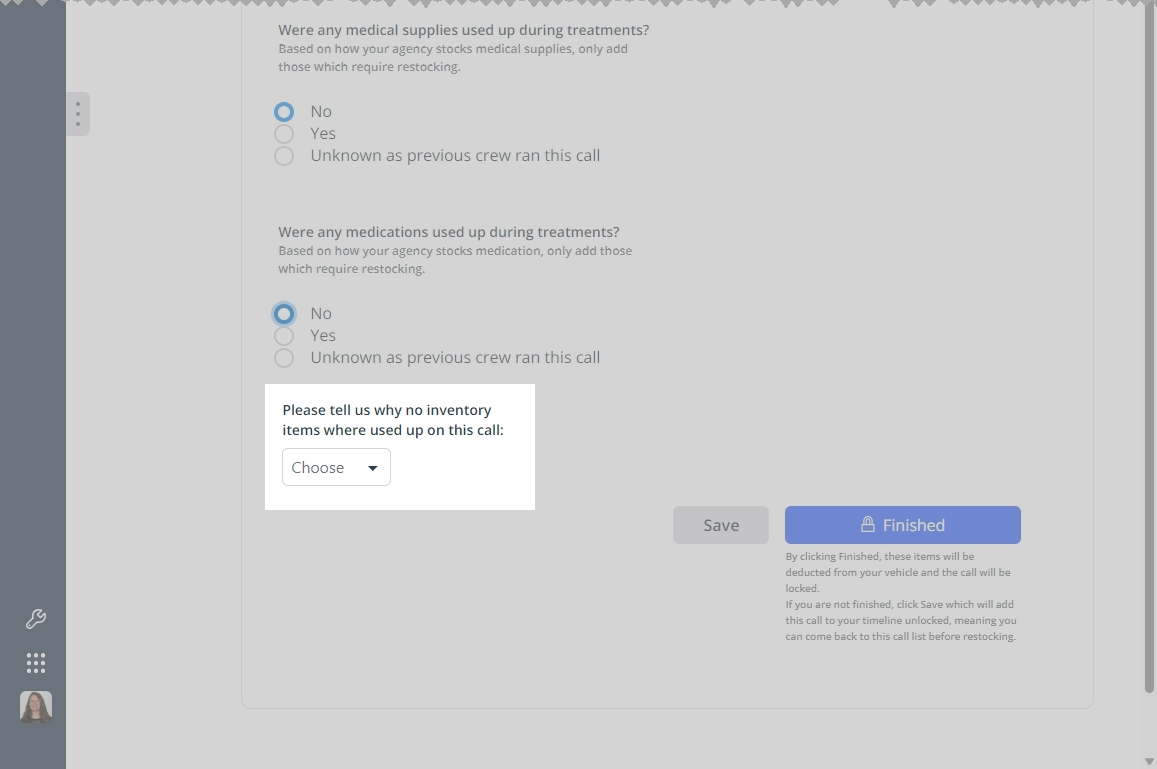
For Were any medications used up during treatments, choose No, Yes, or Unknown as previous crew ran this call.
If you choose No, and if you had chosen No or Unknown as previous crew ran this call in the previous step, Please tell us why no inventory items were used up on this call appears.
If you choose Yes, the Medications used section appears.
-
(If it appears) For Please tell us why no inventory items were used up on this call, choose the option describing why no medical supplies or medications were fully exhausted during the patient's treatment.
-
-
(If the Medical Supplies used section appears) List the medical supplies used on the call.
You can use any item-to-treatment mappings your Inventory module administrator has set up to help build the list of medical supply items used on the call, and you can add additional items to this list as needed. You can also remove unused items included in the item-to-treatment mappings, select variants to the default items, and edit the quantities as needed for a final accurate item list.
-
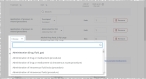
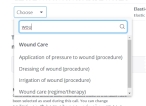
Click To help you recall, view treatment categories.
The section expands to display a list of general treatment categories, and label changes to Close treatments categories.
-
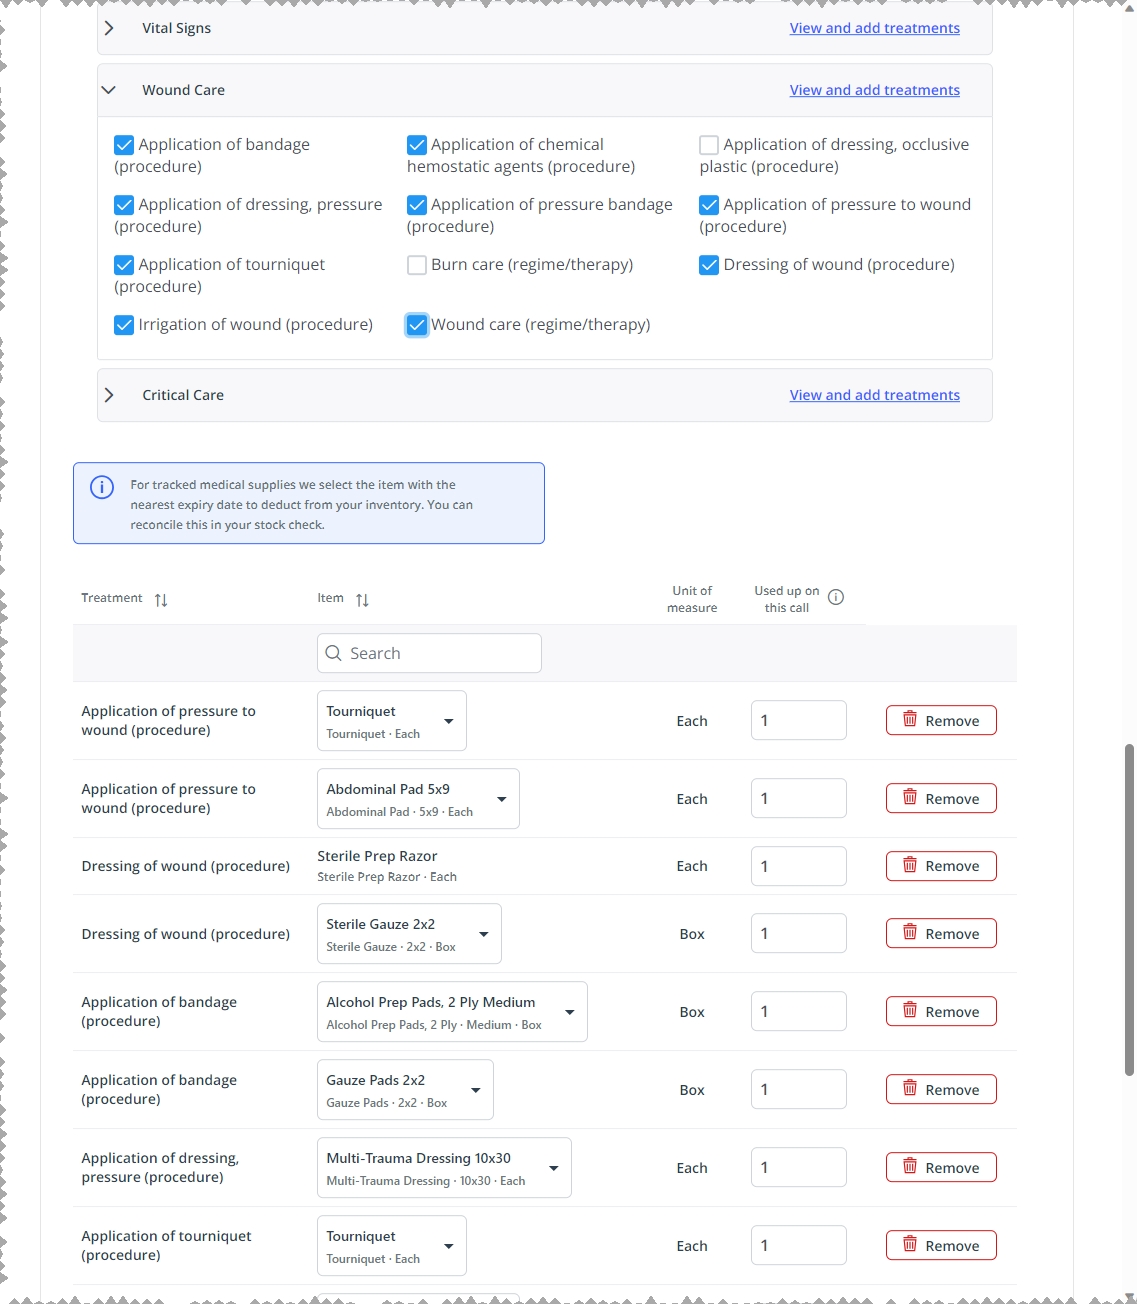
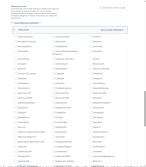
Find the general treatment category related to treatments you performed on the call, and click View and add treatments.
The category expands to provide a list of procedures and regimes/therapies related to that category.
-
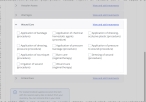
In the expanded category, select all the procedures and regimes/therapies performed on that patient during the call.
Understand the mapping between the treatments and medical supply items.
The medical supply items you map to specific treatments on the Settings > Mappings page appear when you select the names of those treatments on the Manage this vehicle's supplies page, under Medical Supplies used.
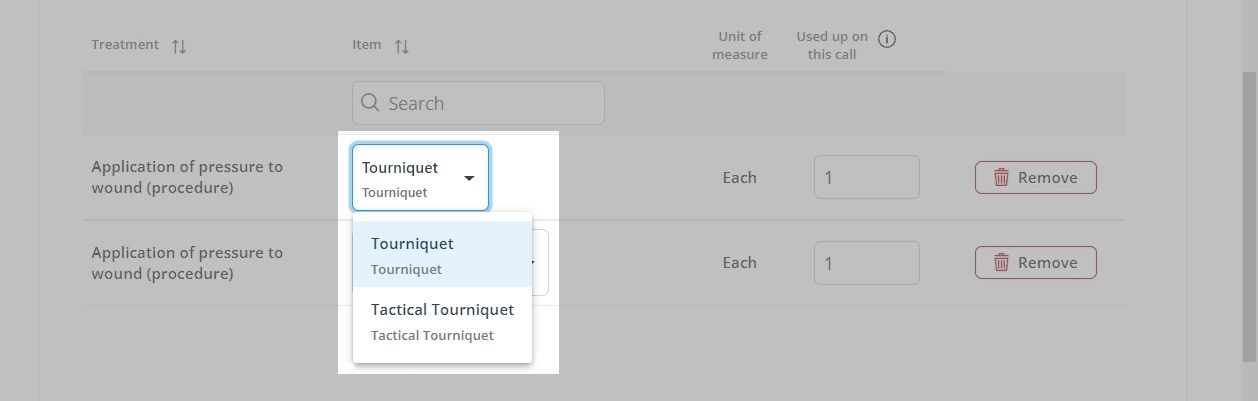
Example: Your agency anticipates that when a medic performs the treatment
Application of pressure to a wound (procedure), that the medic would cover the wound with a large sterile pad such as a 5x9 abdominal pad before applying pressure. If the wound is particularly large, the medic may use a larger 12x16 abdominal pad instead. In the case of severe limb injuries, this treatment may call for the use of a tourniquet or tactical tourniquet to apply pressure until the patient reaches a hospital.If your Inventory module administrator mapped these particular medical supply items to the
Application of pressure to a wound (procedure)treatment, the default items (Abdominal Pad 5x9andTourniquet) appear automatically in the table under Medical Supplies used when you select Application of pressure to a wound (procedure).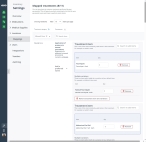

The variant choices of
Abdominal Pad 12x16andTactical Tourniquetappear as menu options in the Item column's menu field for those treatments.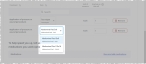

If mapped items appear for a treatment, options appear, or if the treatment does not have a medical supply item that your agency commonly uses for the treatment, contact your Inventory module administrator and ask them to add the necessary mappings. You will need to work closely with your administrator to create and maintain these lists, as your department's needs evolve over time.
Information on mapping inventory items to treatments is available in Map inventory items to treatments.
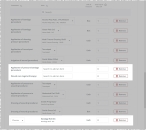
A list of the items mapped by your Inventory administrator to the selected treatments appears below under Medical Supplies used.
-
(Optional) Manage the amount of data displayed in the table.
You can search for specific items within the Medical supplies used table to limit the number of rows in the table, and you can sort some columns in the table into ascending or descending order.
-
Depending on how you want to search or sort the data, do any of the following.
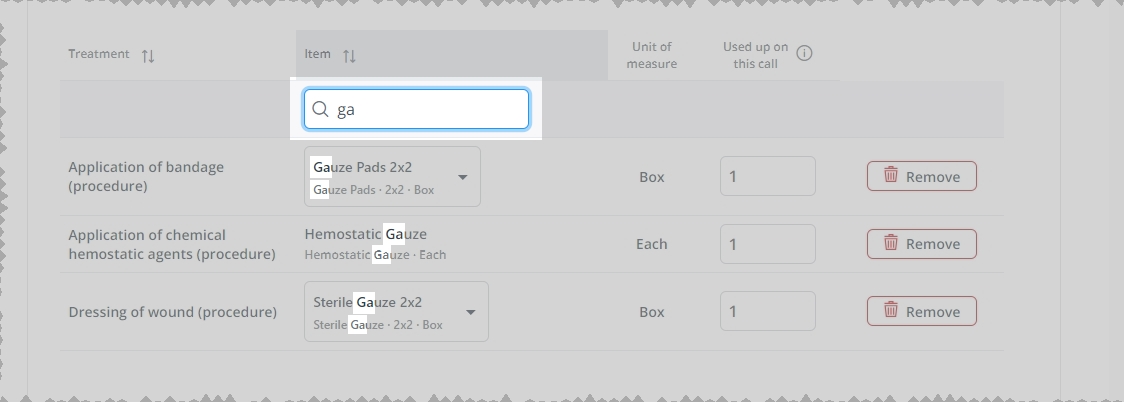
Search the Item column for a character combination.
The text that appears in the Item column is a combination of multiple pieces of data. The text in bold characters is the name of the medicine, ingredient, or medical supply item. If your Inventory module administrator had configured any agency "preferred names" for items on the Settings pages, those names replace the default medicine or medical supply item names. The original (default) names for items still appear as the lighter text below the bold item names.
You can search the Medical Supplies used table for items that are already added to the list. This search includes the item's preferred name, in addition to the medical supply name.
-
At the top of the column you want to search, in Search, type the combination of characters you want to search the entire list for.
As you type each character, the list of items in the column reduces to only those whose names or values contain that combination of characters.
Example: In the Item column if you typed the characters
ga, the entire list reduces to display only the items that contain these characters in the medical supply name.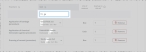
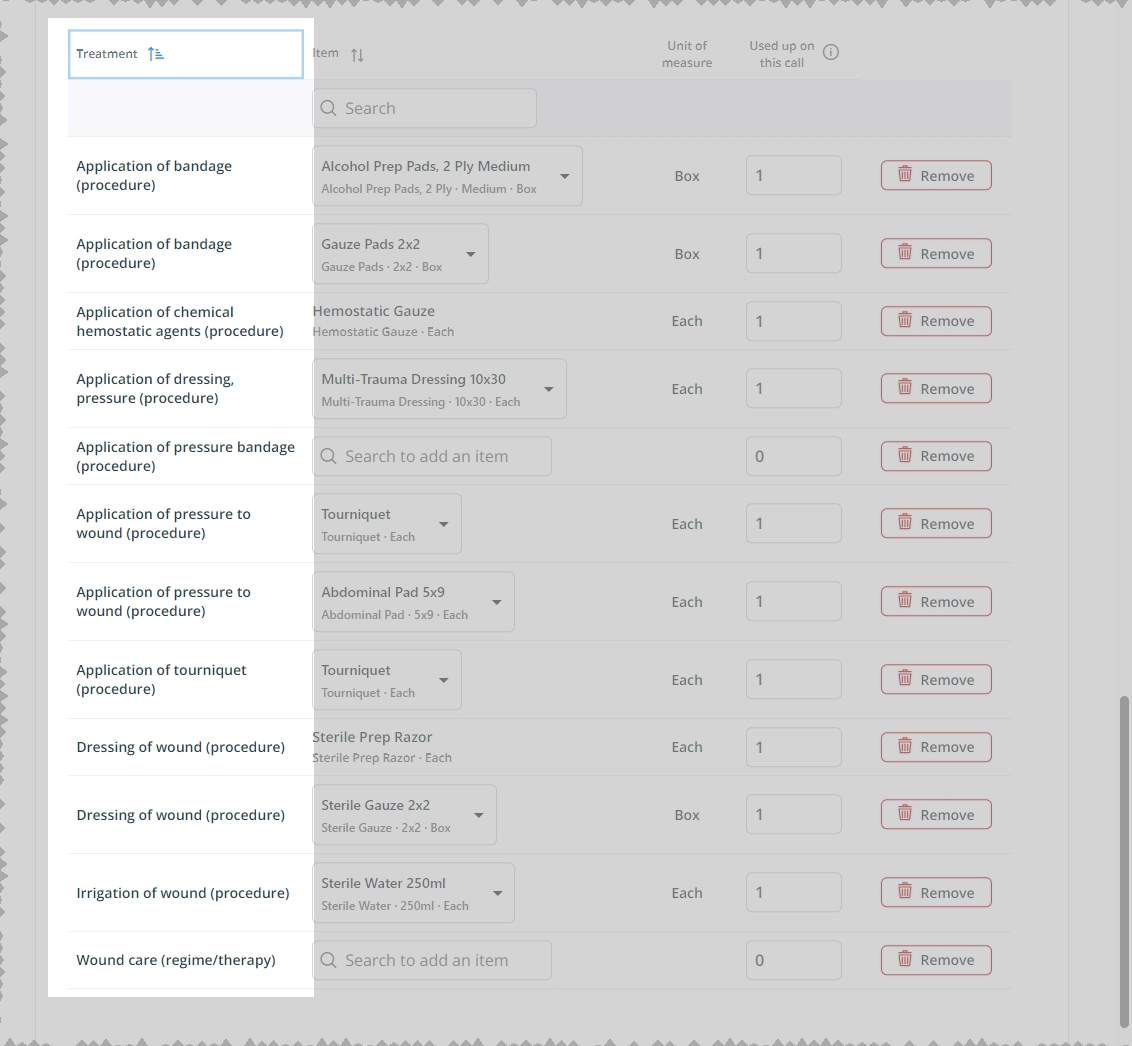
Sort the table into ascending or descending order, based on the values in a column.
-
At the top of the Treatment and Item columns, click the column sort (
 ) icon.
 The ascending values (
 ) icon appears and the column sorts from A–Z, or from 1 to the highest numerical value.
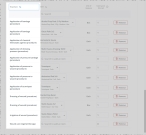
-
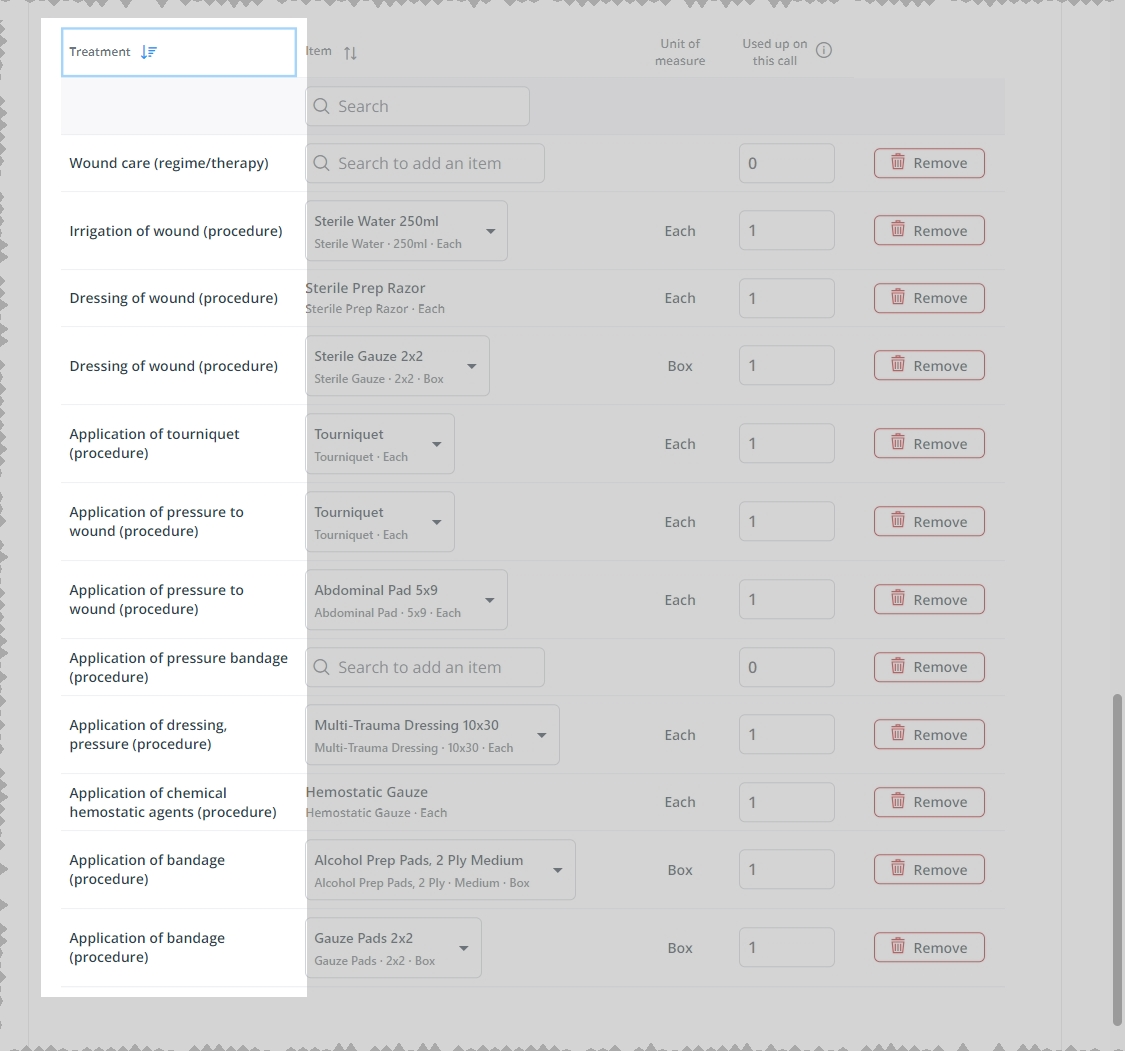
Click the ascending values icon to sort the list into descending order.
The descending values (
 ) icon appears and the column sorts from Z–A, or from the highest numerical value to 1.
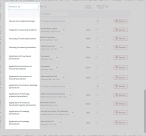
-
-
-
(If necessary) Edit the values of mapped treatment items in the table.
When your Inventory module administrator created the item-to-treatment mappings, they were able to identify a default quantity and size for each item mapped, and one or more variants for the item.
Example: The administrator may have defined the 5x9 size as the default selection for abdominal pads, and included the 12x16 size as a variant, in case a medic needed a larger pad to treat a patient.
If your Inventory module administrator defined variants for an item, that item appears in table a menu. You can override for any item with a menu.

You can also change the number of items that were used, if more or fewer were used than expected.
-
For each row in the Medical Supplies used table that has a value in the Item column, do any of the following as needed.
-
Click Remove if you did not use that particular item during the call.
-
In the item's row, in the Item column, click the menu and choose one of the available options to override the default size or quantity selection.
-
In the Used up on this call column, change the value as needed to reflect the amount actually used.
Note: In cases where units are greater than
Each, such as a box of exam gloves or alcohol prep pads, you do not need to count per-item usage such as two gloves; you only need to count when you have finished the entire larger unit (in this case, the one box of 50 gloves).
-
-
-
Repeat the previous steps as needed to list medical supplies used up on the call, from other treatment categories.
-
Add additional medical supplies to the table.
You can search for medical supply items in the inventory that are not already in the Medical Supplies used table, and add any items from the search results as needed.
Example: During an application of pressure to a wound procedure, the medic used a 4-inch bandage roll to secure a sterile pad in place, and this inventory item was not already listed in the Medical Supplies used table. You can search for the item and add it to the table, so that it is restocked appropriately later.
Note: The search excludes any items that are were already included in the items-to-treatment mappings, or which you added to the Medical Supplies used table, and does not include numerical values from the other columns in the table.
This search includes the item name and any agency "preferred names" the Inventory module administrator configured for items on the Settings pages.
-
To the right of the Medical Supplies Used heading, in Search for items to add, type the combination of characters you want to search the list of items for.
A menu appears below the field, containing options that match the characters currently entered in the field.
As you type each character, the list of options in the menu reduces to only those whose names or values contain that combination of characters.
Example: If you typed the characters
abdominal, the list of menu options reduces to display only the items whose names or values contain these characters, and which have not been added to the order.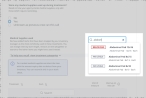
-
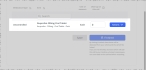
Choose the item in the menu you want to add to the list.
The item appears the end of the Medical Supplies used table .
-
Repeat the previous steps as many times as necessary to add all the medical supply items used in the call to the table.
-
-
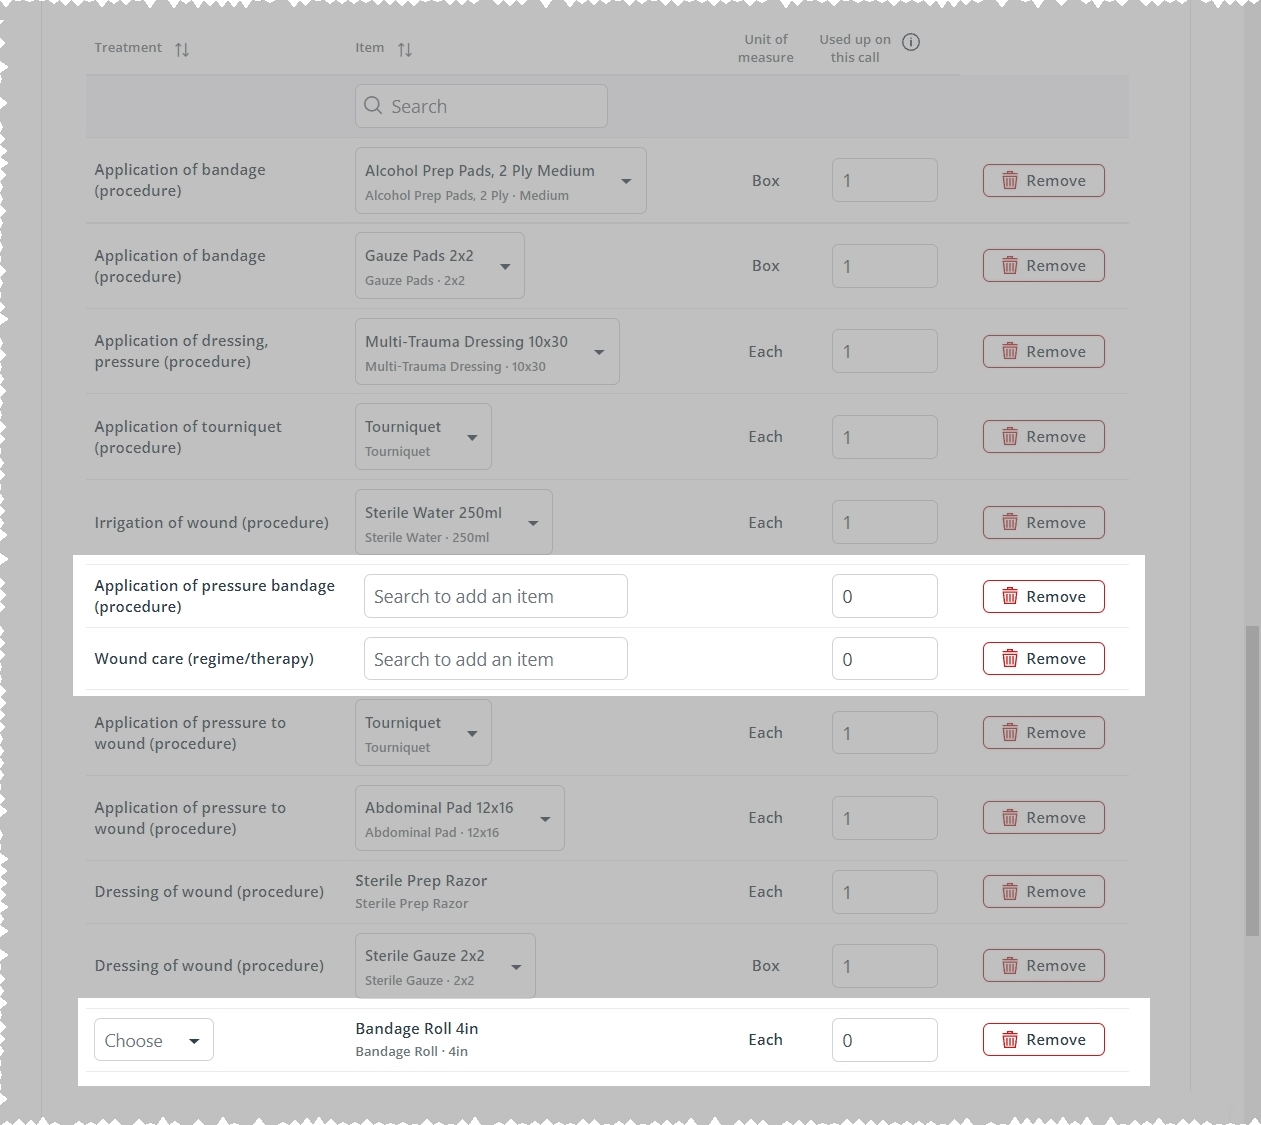
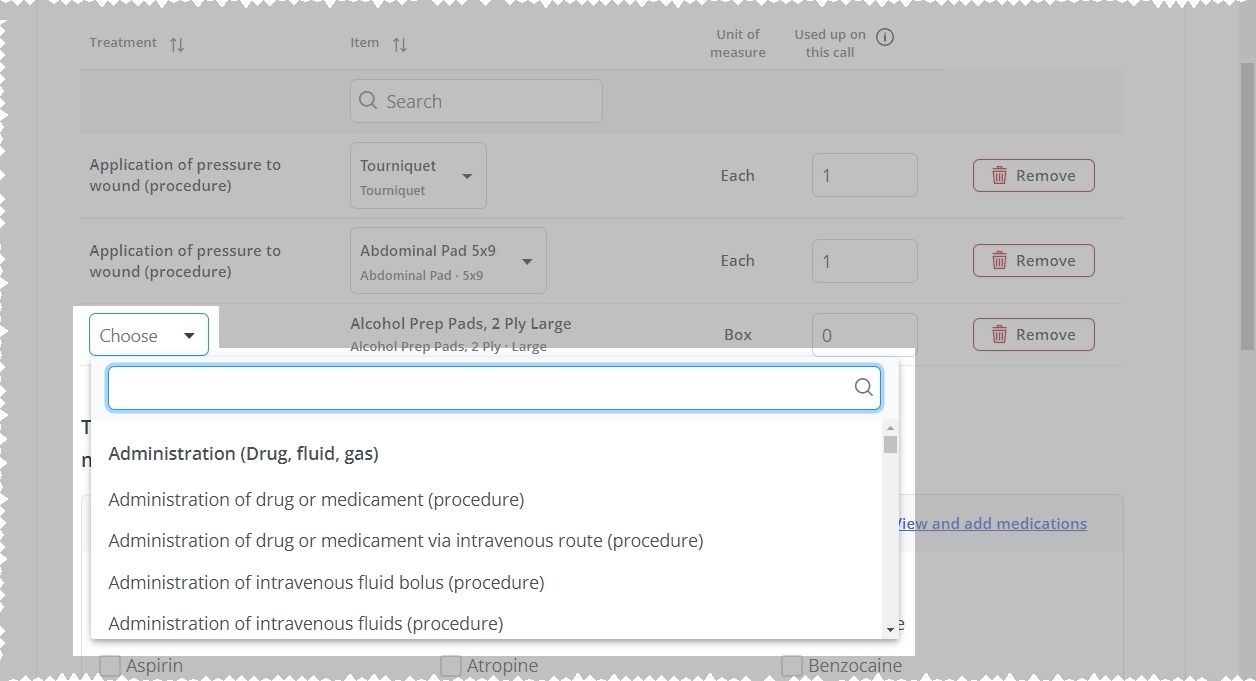
Edit unmapped and additional medical supplies in the table.
If your Inventory module administrator did not map any items to a treatment and you chose that treatment as one performed on a call, that treatment appears in the Medical Supplies used table with no values in the Item, Unit of measure, and Used up on this call columns. Similarly, if you had searched for and added additional items to the list, those items appear with no values in the Treatment, Unit of measure, and Used up on this call columns.
You need to identify these items and the quantities you did use during the treatment.
-
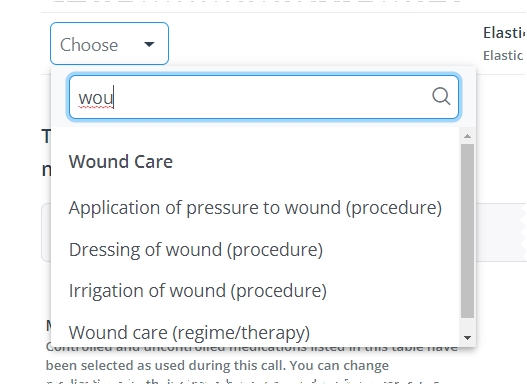
(If necessary) In the Treatment column, click the menu and choose the name of the treatment you used this item for.
 Tip: Search the list of treatments.
-
At the top of the menu, in the search field, type the combination of characters you want to search the options for.
As you type each character, the list of menu options reduces to only those whose names contain that combination of characters.
-
-
(If necessary) In the Item column, in Search, type the combination of characters you want to search the list of unused medical supplies for, and select an option from the menu that appears.
As you type each character, the list of options in the menu reduces to only those whose names or values contain that combination of characters.
Example: If you typed the characters
roll, the list of menu options reduces to display only the items whose names or values contain these characters, and which have not been added to the Medical Supplies used table.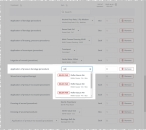
-
In the Used up on this call column, change the value as needed to reflect the amount actually used.
Note: In cases where units are greater than
Each, such as a box of exam gloves or alcohol prep pads, you do not need to count per-item usage such as two gloves; you only need to count when you have finished the entire larger unit (in this case, the one box of 50 gloves). -
Repeat the previous steps for each row that needs a value in any of its columns.
Tip: Click Remove if you did not use that particular item during the call.
-
-
-
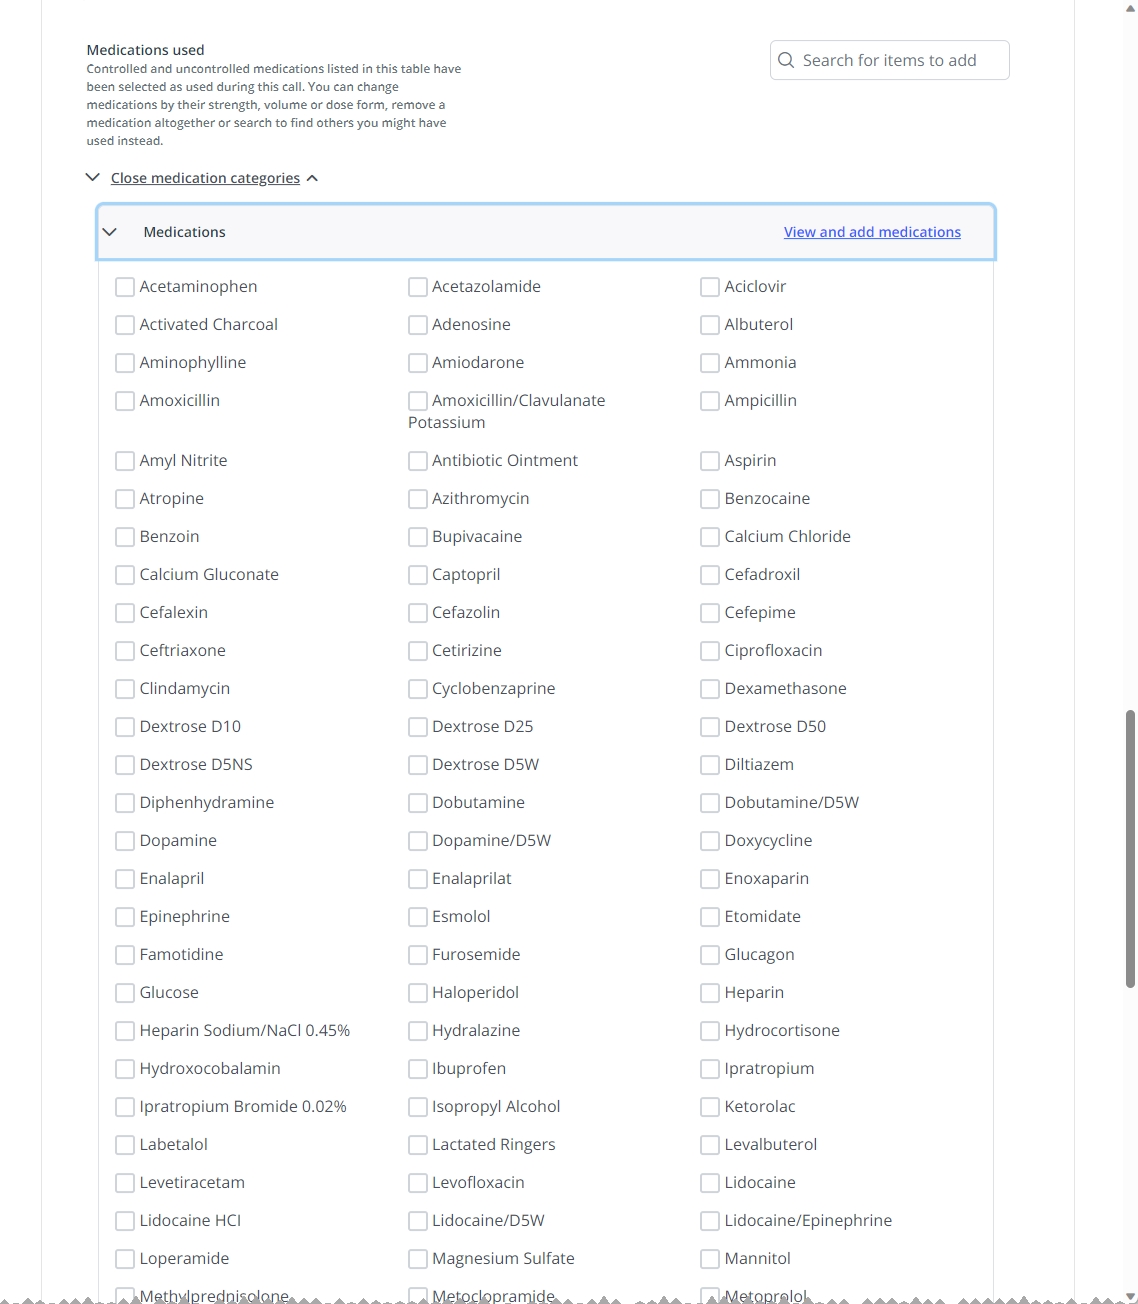
(If the Medications used section appears) List the medications used on the call.
You can build a list of medications used on the call, so that these medications can be restocked on the vehicle for future calls.
-
Scroll to the bottom of the page and click To help you recall, view medication categories.
The section expands to list the Medications category, and label changes to Close medication categories.
-
On the right side of the Medications category heading, click View and add medications.
The category expands to provide a list of medications you can select.
-
Select all the medications used during the call.
A table of the medications you selected appears below under Medications used.

-
(Optional) Manage the amount of data displayed in the table.
You can search for medications items within the table to limit the number of rows in the Medications used table, and you can sort some columns in the table into ascending or descending order.
-
Depending on how you want to search or sort the data, do any of the following.
Search the Item column for a character combination.
The text that appears in the Item column is a combination of multiple pieces of data. The text in bold characters is the name of the medicine, ingredient, or medical supply item. If your Inventory module administrator had configured any agency "preferred names" for items on the Settings pages, those names replace the default medicine or medical supply item names. The original (default) names for items still appear as the lighter text below the bold item names. These original names are particularly important for medicines, as these names include dosage and strength information, which can reduce mistakes that might be introduced from preferred names.
You can search the Medications used table for items that are already added to the list. This search includes the item's preferred name, in addition to the ingredient name.
Note: The search excludes items in the list that do not yet have a specific dosage selected yet from the menu in that column.
-
At the top of the column you want to search, in Search, type the combination of characters you want to search the entire list for.
As you type each character, the list of items in the column reduces to only those whose names or values contain that combination of characters.
Example: If you typed the characters
mor, the entire list reduces to display only the items that contain these characters in the ingredient name.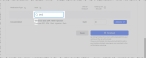
Sort the entire list into ascending or descending order, based on the values in a column.
-
At the top of the Medication Type and Item columns, click the column sort (
) icon. The ascending values (
) icon appears and the column sorts from A–Z, or from 1 to the highest numerical value. 
-
Click the ascending values icon to sort the list into descending order.
The descending values (
) icon appears and the column sorts from Z–A, or from the highest numerical value to 1. 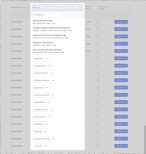
-
-
-
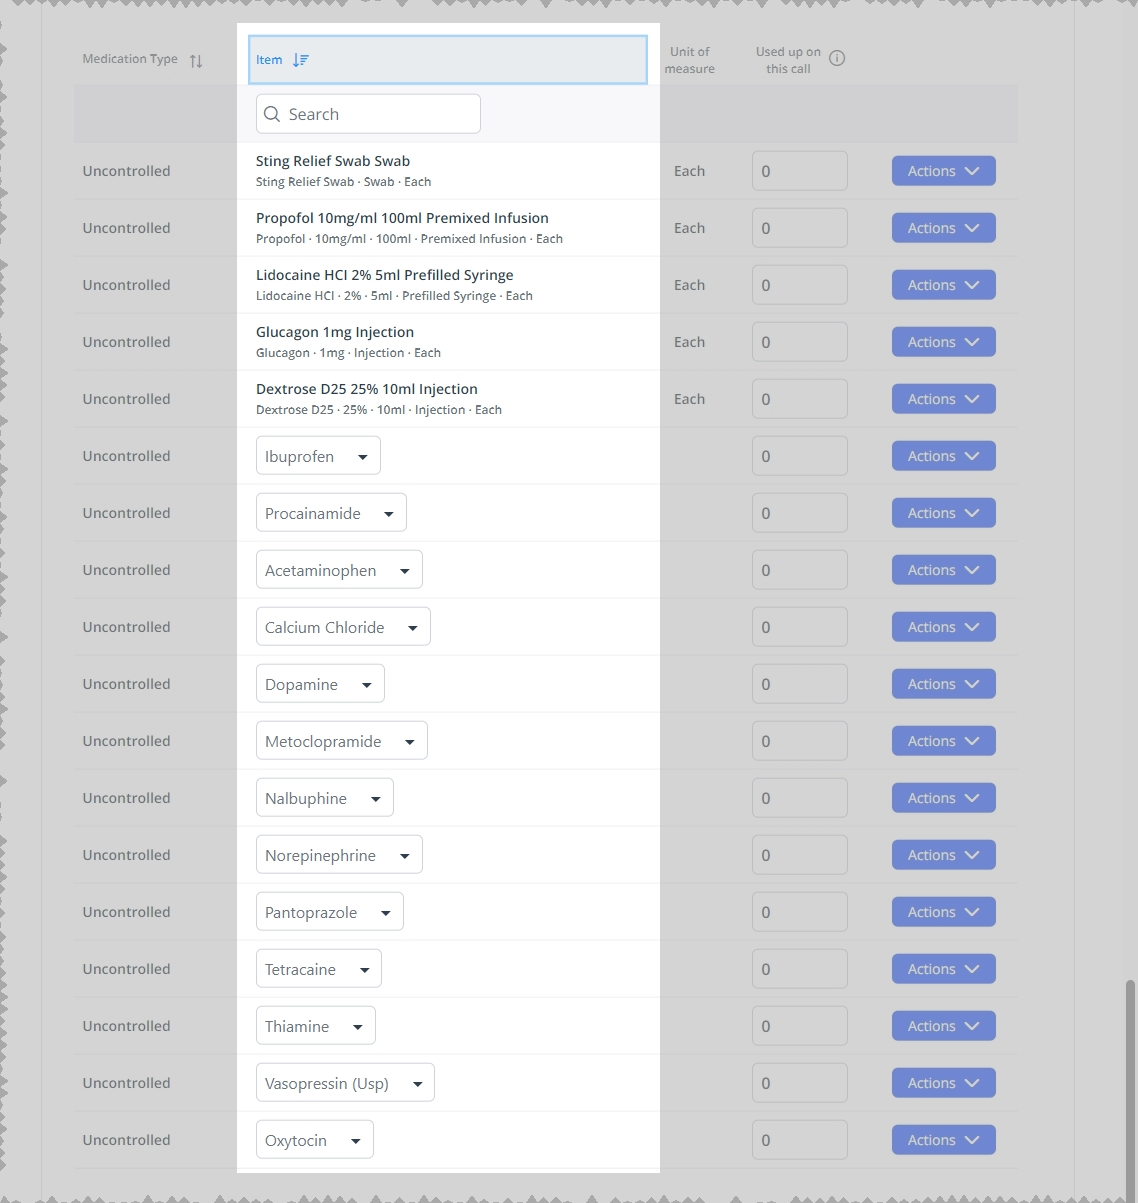
(Optional) Duplicate a medication already in the table.
When you select a medication in the Medications category drop-down, a single row for that table appears below in the Medications used table. If the medic needs to give medication to more than one patient on a call, or multiple doses to the same patient but in different delivery methods, the medic can duplicate the medication listing in the table.
Note: Once you select a specific dosage and delivery method in the Item column for that medication, you can no longer add it again to the table.
-
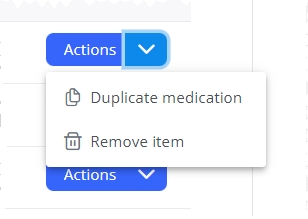
At the end of the row, click Actions, then choose Duplicate medications.

A new listing for the duplicated item appears at the end of the Medications used table.
-
-
Add additional medications not already in the table.
You can search for medications in the inventory that are not already in the Medications used table, and add any medications from the search results as needed.
Note: The search excludes any items that are were already included in the items-to-treatment mappings, or which you added to the Medications used table, and does not include numerical values from the other columns in the table.
This search includes the item name and any agency "preferred names" the Inventory module administrator configured for items on the Settings pages.
-
To the right of the Medications used heading, in Search for items to add, type the combination of characters you want to search the list of items for.
A menu appears below the field, containing options that match the characters currently entered in the field.
As you type each character, the list of options in the menu reduces to only those whose names or values contain that combination of characters.
Example: If you typed the characters
ibupre, the list of menu options reduces to display only the items whose names or values contain these characters, and which have not been added to the order.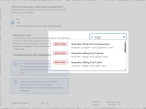
-
Choose the item in the menu you want to add to the list.
A new listing for the item appears at the end of the Medications used table.
-
Repeat the previous steps as many times as necessary to add all the medications used in the call to the table.
-
-
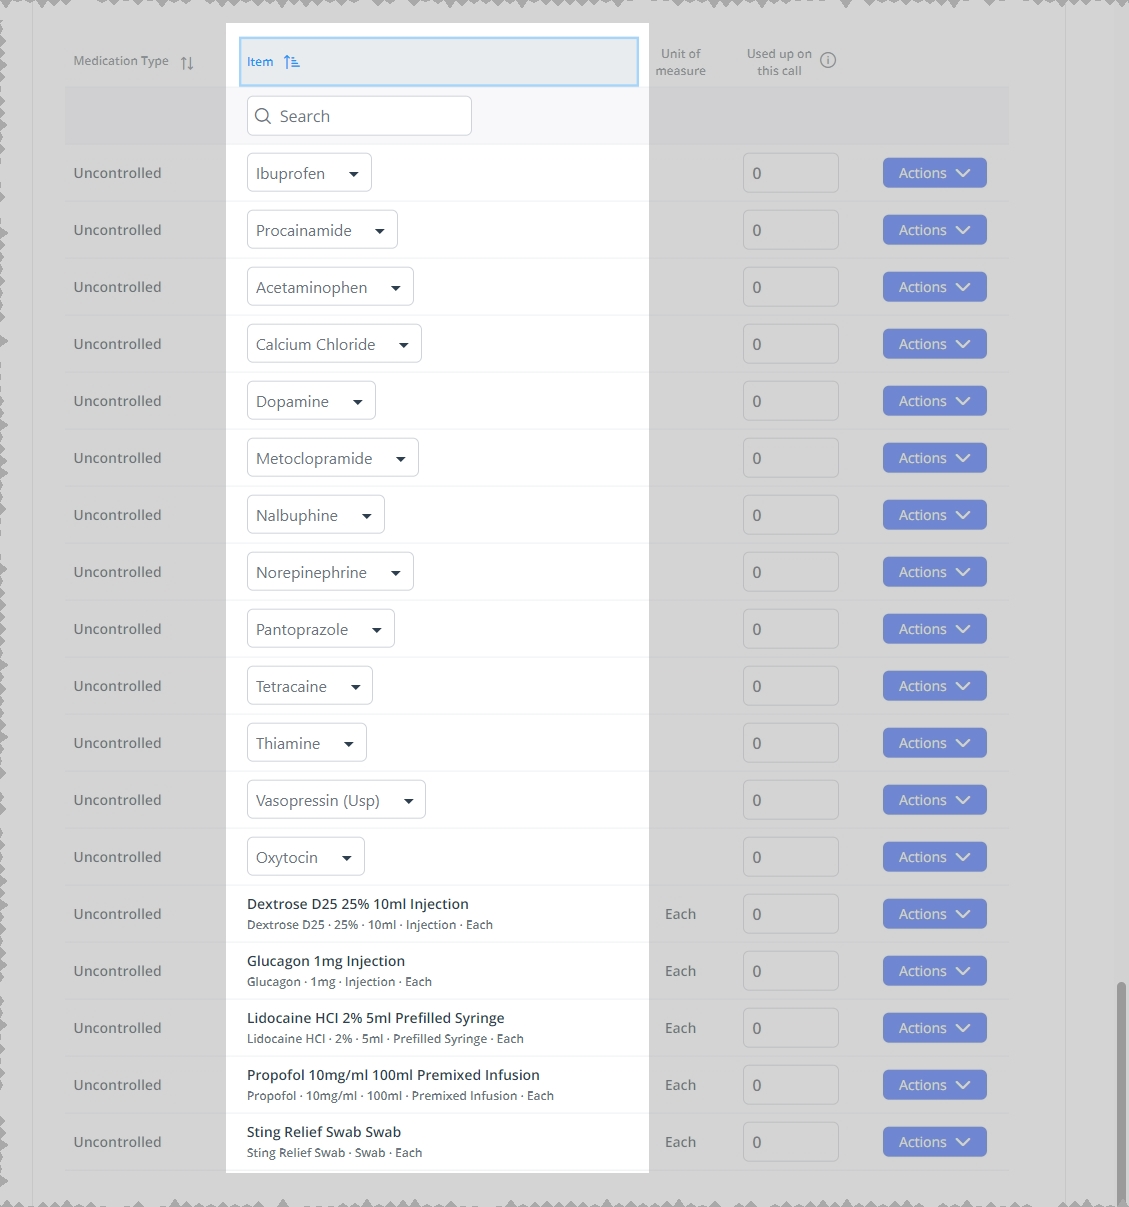
Edit medications in the table.
-
(If a dosage and delivery method is not specified) In the Item column, click the field and choose the precise dosage and delivery method for the medications.
The row updates to list your selection, a value appears in the Unit of measure column, and Remove replaces the Actions button.

-
In the Used up on this call column, change the value as needed to reflect the amount actually used.
Note: In cases where units are greater than
Each, such as a bottle of liquid medication you would fill a syringe from, you do not need to count per-dosage usage such as 5 ml; you only need to count when you have finished the entire larger unit (in this case, the entire bottle of medication). -
Repeat steps i–ii for every row in the table.
-
-
(If necessary) Delete a medication from the table in one of these ways.
Remove all rows of the same medication from the table.
If you have multiple entries of a medication in the Medications used table, you can remove all the entries at once instead of removing the rows individually.
Example: Because a medic had recorded that a patient had been given two or more doses of acetaminophen, in different delivery methods, multiple rows of this medication appeared in the Medications used table. Later, the medic realized that the patient had actually been given ibuprofen, not acetaminophen, and needs to remove all the acetaminophen rows from the Medications used table.
-
In the Medications category drop-down, clear the check box for the medication.
All rows for that medication are removed from the Medications used table.
Remove a single medication row from the table.
You can also remove a single row of medication from the table, as needed.
-
(If it appears) At the end of the row, click Remove.
-
At the end of the row, click Actions, then choose Remove item.
-
-
-
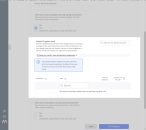
Depending on whether or not you are finished adding items to the call, do one of the following.
Save the list of added items, but do not yet update the inventory on the vehicle or lock the call.
-
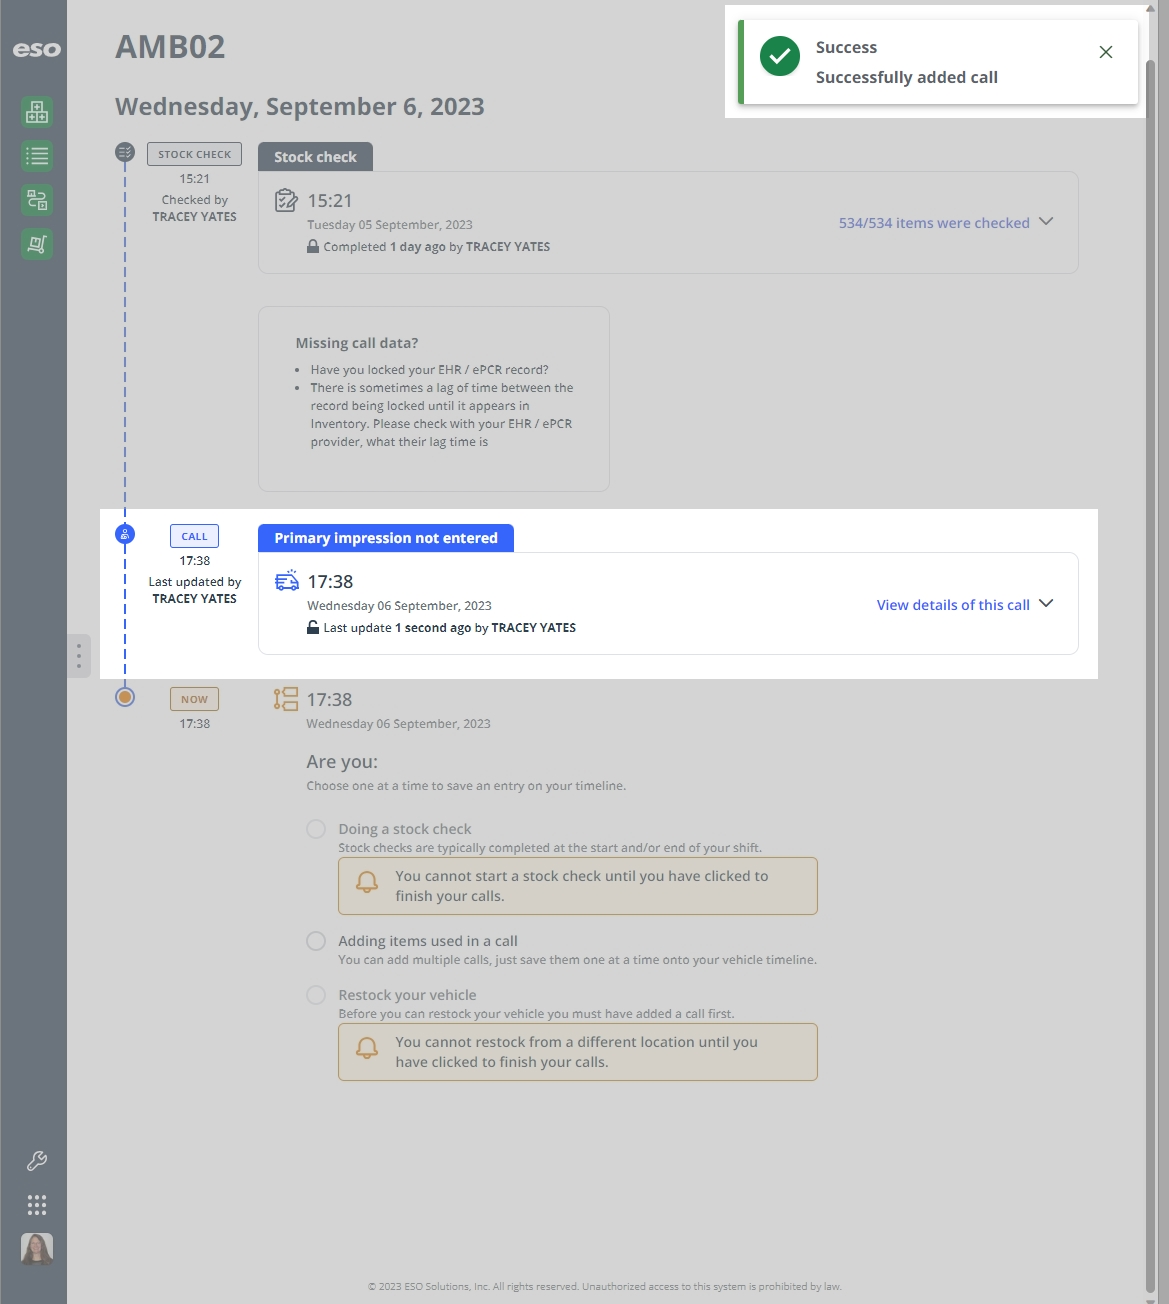
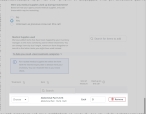
Scroll to the lower right corner of the screen and click Save.
A Success message appears briefly in the upper right corner of the page, then the vehicle's time line page reappears. The call you were adding medical supplies and medications to appears as a new entry in the vehicle's time line, identified by the primary impression for the call. The lock icon in the call's information indicates that the call is not locked (not yet finished), and that you can reopen the call and continue adding medical supplies and medications to it.
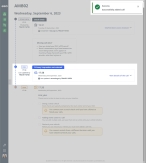
Tip: To reopen the call and continue adding items to it, on the right side of the time line entry, click View details of this call. The entry expands, you can continue working with the fields and items as needed.
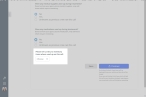
Save the list of items, update the inventory records on the vehicle, and lock the call.
-
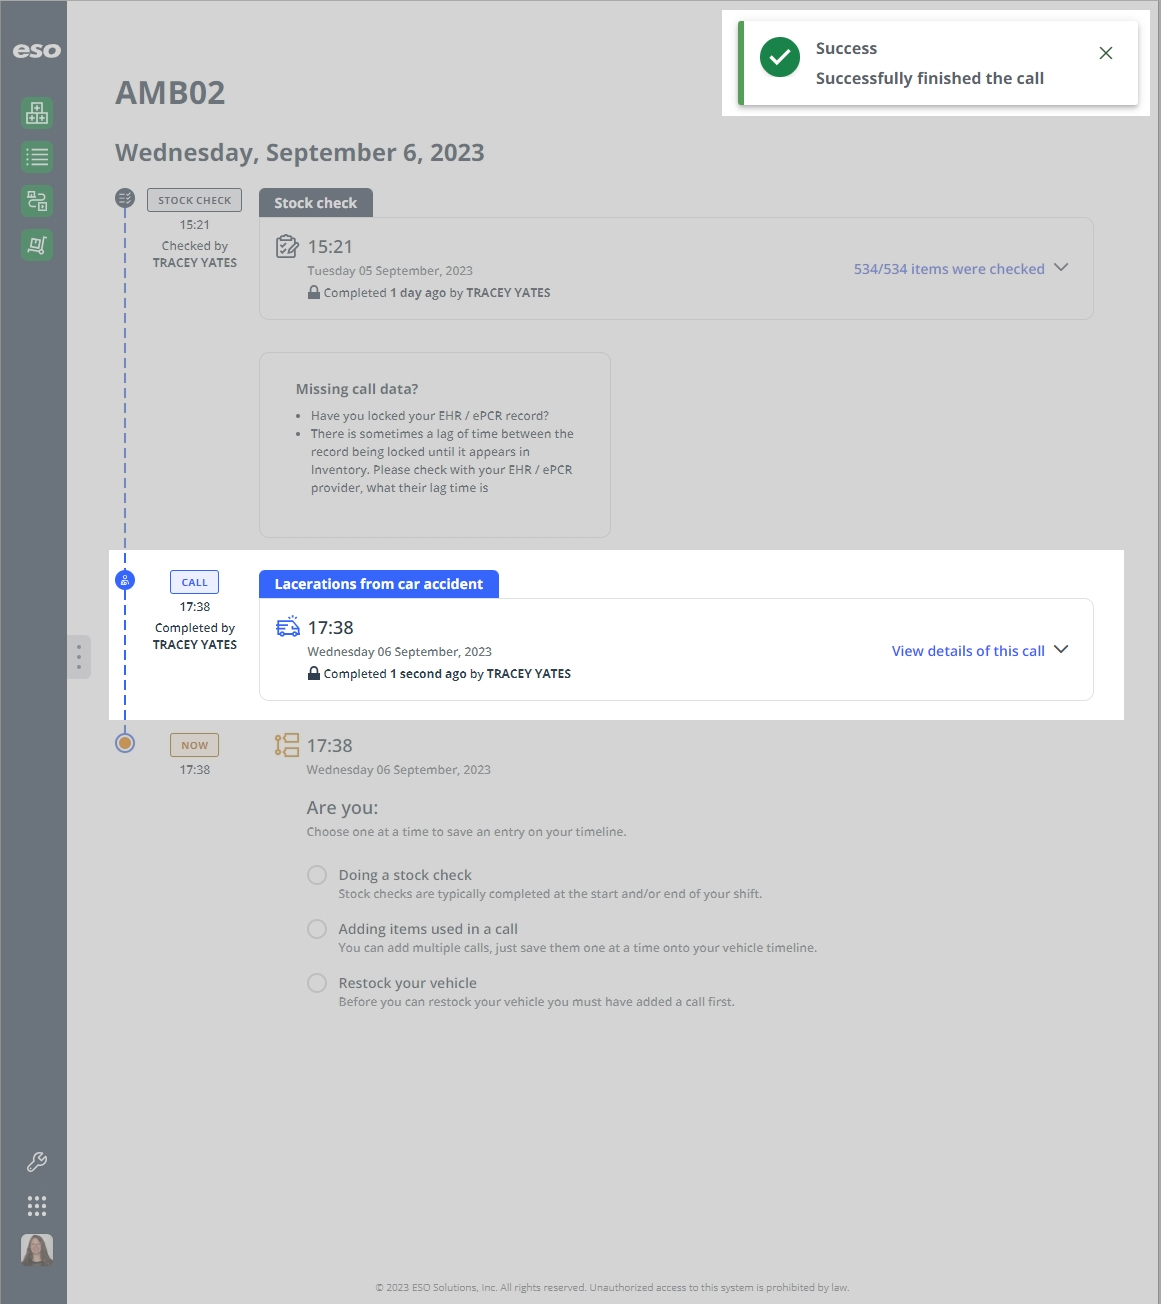
Scroll to the lower right corner of the screen and click Finish.
A Success message appears briefly in the upper right corner of the page, then the vehicle's time line page reappears, with the heading information for the call on a gray background. The lock icon in the call's information indicates that the call is now locked, and that you can no longer add medical supplies and medications to it. The Inventory module deducts the medical supplies and medications you identified as used during the call from the vehicle's inventory.

Tip: To review the list of items used on the call, on the right side of the time line entry, click View details of this call. The entry expands, you can review the call information as needed. If you scroll to the lower right corner of the screen, the Finish button is renamed to Completed.
-