Install FH Mobile Response on a client computer
- (If you have not done so already) Log on to the client computer you want to install FH Mobile Response onto as an administrator.
- Insert the FH Mobile Response USB drive into the appropriate drive.
-
Navigate to the USB drive and double-click the
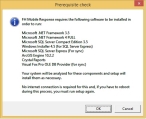
Setup.exefile.The Prerequisite Check dialog box appears.
-
Click OK.
The prerequisite check runs, and if you do not have all the prerequisite software packages, the installation wizard for each of the packages appears.
Example: If you do not have the appropriate version Microsoft .NET Framework installed, the wizard for installing the necessary version appears.
Note: There may be a short wait while FH Mobile Response checks for the prerequisites.
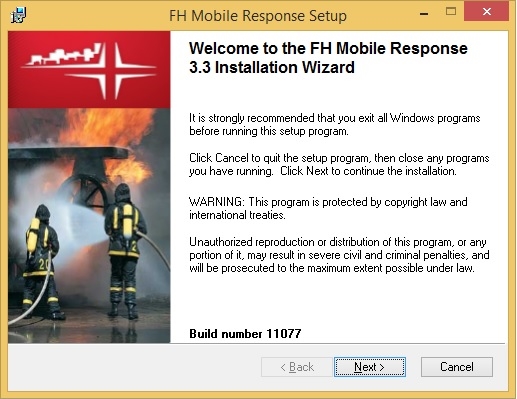
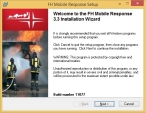
If all the prerequisite software packages are installed, the Welcome screen of the FH Mobile Response client installation wizard appears.
-
(If installation wizards for any of the prerequisite software packages appear) Follow the prompts in the installation wizards, and reboot the computer as the installation wizards require.
When all the prerequisite software packages are installed, the Welcome screen of the FH Mobile Response client installation wizard appears.
-
Click Next >.
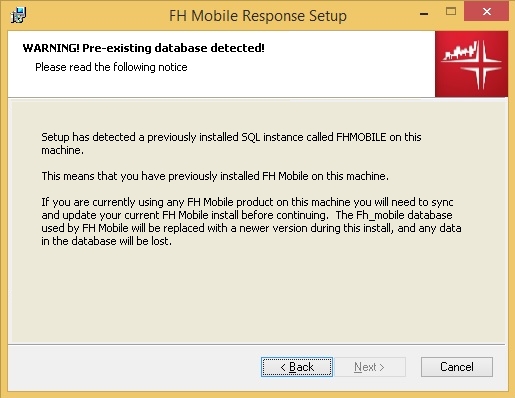
Depending on whether an older version of the FH Mobile database exists on the mobile computer, either the Warning! Pre-existing database detected or the Emergency Response Provider Agreement screen appears.


-
 (If the Warning! Pre-existing database detected! screen appeared) Do the following.
-
(If you want to keep the data in the FH Mobile database) Synchronize the FH database with the FH Mobile database, and then click Next >.
Information on synchronizing the databases is available at http://www.firehousesoftware.com/webhelp/FHMobile/Default.htm, under FH Mobile Installation and Update Guide → Synchronize data.
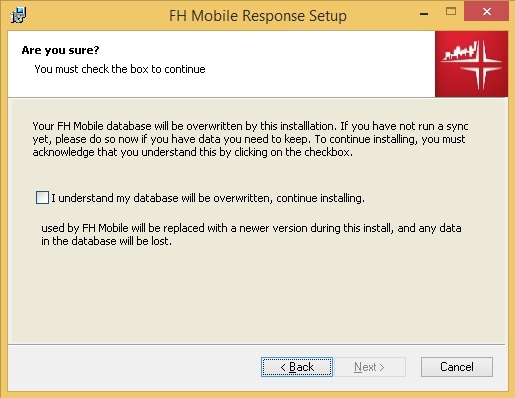
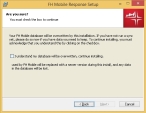
The Are you sure? screen appears.
-
Select I understand my database will be overwritten, continue installing, and then click Next >.
The database is overwritten, and then the Emergency Response Provider Agreement screen appears.
-
-
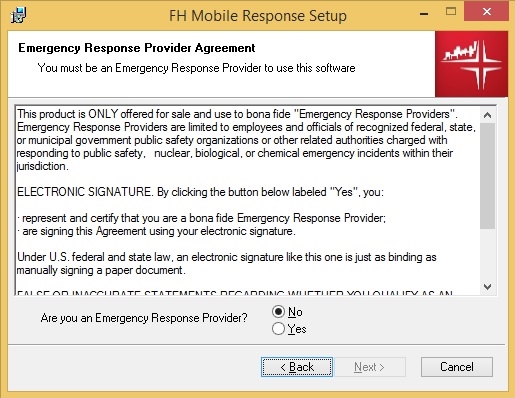
For Are you an Emergency Response Provider, select Yes, and then click Next >.
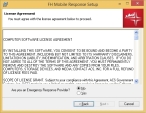
The License Agreement screen of the installation wizard appears.
-
Select I accept the license agreement, and then click Next >.
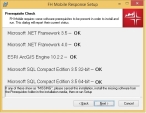
The Prerequisite Check screen of the installation wizard appears.
-
Verify that all the software prerequisites listed display OK to the right, then click Next >.
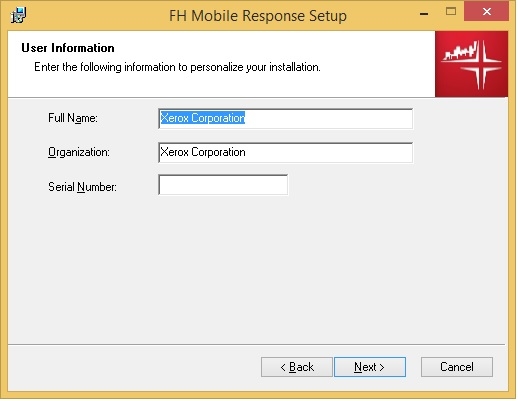
The User Information screen of the installation wizard appears.

- In Full Name and Organization, type your name and organization information.
-
Leave Serial Number blank, and then click Next >.
The Destination Folder screen of the installation wizard appears.
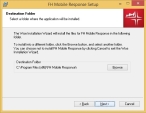
- (Optional) Click Browse, and then use the file browser that appears to change the default installation folder that FH Mobile Response is installed into.
-
Click Next >.
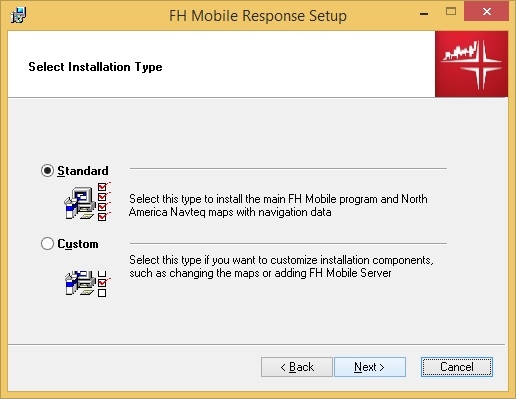
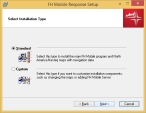
The Select Installation Type screen of the installation wizard appears.
-
Depending on whether or not you want to install the default map set, select either Complete or Custom.
Complete installs the North American map data files and navigation files to a default location. Custom lets you select which files to install, and where to install them.
-
Click Next >.
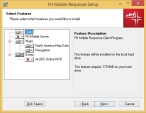
If you selected Complete, the Ready to Install the Application screen of the installation wizard appears. If you selected Custom, the Select Features screen of the installation wizard appears.
-
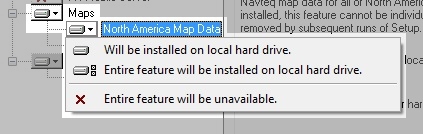
(If the Select Features screen of the installation wizard appears) Do the following.
By default, the FH Mobile Response maps and navigation data are selected and will be installed on the local hard drive.
-
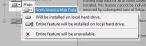
(Optional) Select any map data or navigation files that you want to change the default selection for, and choose the appropriate option for your needs.
-
Click Next >.
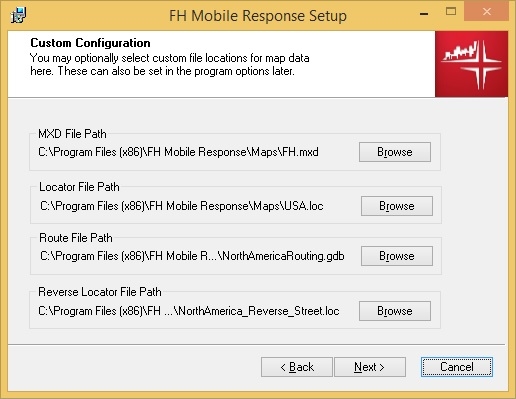
The Custom Map File Configuration screen of the installation wizard appears.

-
For MXD File Path, click Browse, and then use the file dialog box that appears to navigate to and select the
.MXDfile you want to use. - (As necessary) Repeat the previous step for Locator File Path, Route File Path, and Reverse Locator File Path to select the
.LOC,.GDB, and reverse.LOCfiles, respectively. -
Click Next >.
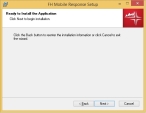
The Ready to Install the Application screen of the installation wizard appears.
-
-
In the Ready to Install the Application screen of the installation wizard, click Next >.
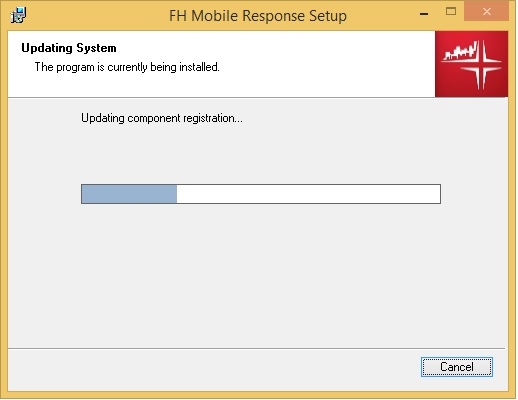
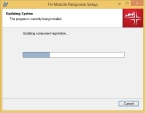
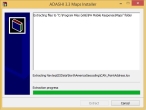
While FH Mobile Response installs, the Updating System screen of the installation wizard appears and displays a progress bar, followed by the 3.3 Maps Installer screen.
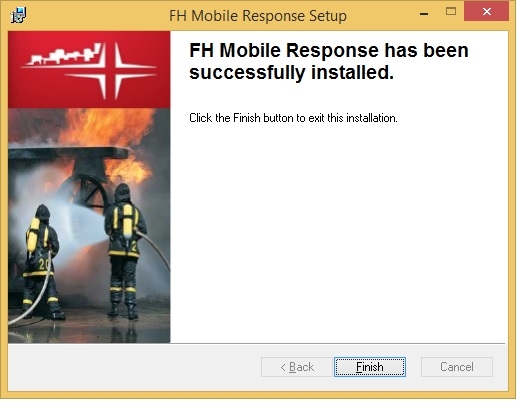
When the installation completes, the FH Mobile Response has been successfully installed screen of the installation wizard appears.
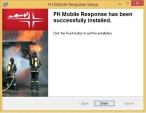
- Click Finish.
- Continue with Configure the client to find the FH database.