Map the FH Web icon to the FH Enterprise client
-
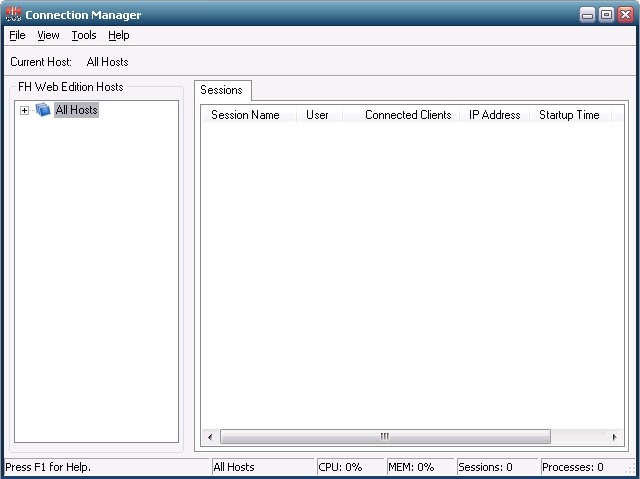
Choose Start → All Programs → FH Web Edition Server → Tools → Connection Manager.
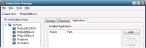
The Connection Manager dialog box appears, showing the Sessions tab in the right pane.
-
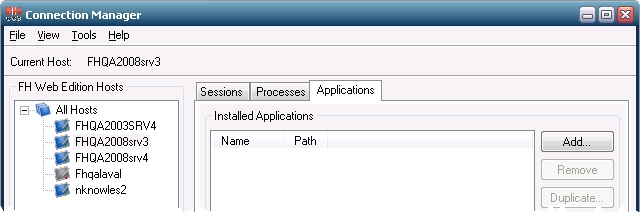
In the left pane, expand All Servers and then select the FH Web server you want to work with.
The Processes and Applications tabs appear next to the Sessions tab.
-
Click the Applications tab.
-
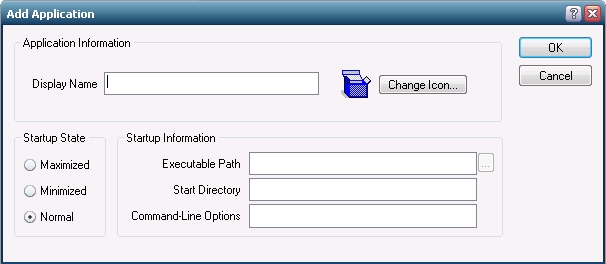
Click Add.
The Add Application dialog box appears.

-
In Display Name, type
FHWeb.Warning: If the display name is anything except
FHWeb, unexpected results may may occur. If you have multiple FH Enterprise databases and need to have a different name for the FH Web icon, contact FH technical support for assistance renaming the icon. -
Click Change Icon.
A file browser appears.
-
Navigate to the installation directory for the FH Enterprise client on the FH Web server, select the FH executable file, and then click Open.
Example:
C:\FIREHOUSE Software\FH.EXEThe image beside Change Icon in the dialog box changes from a blue box to the FH icon.

This icon will appear to represent the FH Web application wherever it exists on the FH Web server.
-
In Executable Path, click the lookup
 button and use the file browser that appears to navigate to the installation directory for the FH Enterprise client on the FH Web server, select the FH executable file, and then click Open.
The Start Directory field populates automatically, based on the path in Executable Path.
- In Command-Line Options, type
/WEBAPP. - Under Startup Size, verify that Normal is selected.
- Click OK.
- Continue with Set up session shutdown, printers, and check security.