Display the Routing Maps tab in different layouts
You can display
Note: You must have purchased FH Mobile Response Premium to change the layout of panes in the Routing Maps tab in FH Mobile Response. For information on upgrading from FH Mobile Response Basic to Premium, contact your FH sales representative.
-
Decide how you want the maps and directions panes inside the Routing Maps tab to display.
To use this layout Do this The panes in the Routing Maps tab automatically arrange themselves based on the shape of your FH Mobile Response window.
Note: The resulting layout may not match the layout shown in the icon for the menu option. If the FH Mobile Response window becomes very narrow, the panes are arranged one on top of the other; if the window becomes very short the panes are arranged side by side.
- Choose Go → Config → Routing Maps Layout → Auto.
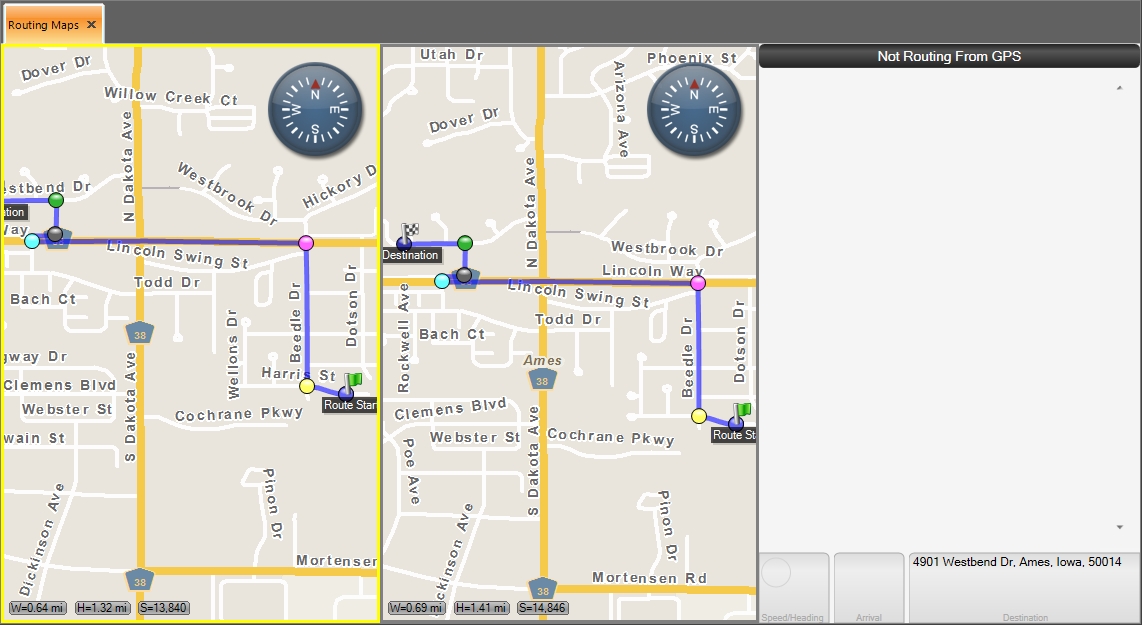
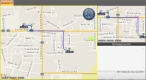
The panes in the Routing Maps tab display with the big map on the left and the other two panes on the right.

- Choose Go → Config → Routing Maps Layout → Main.
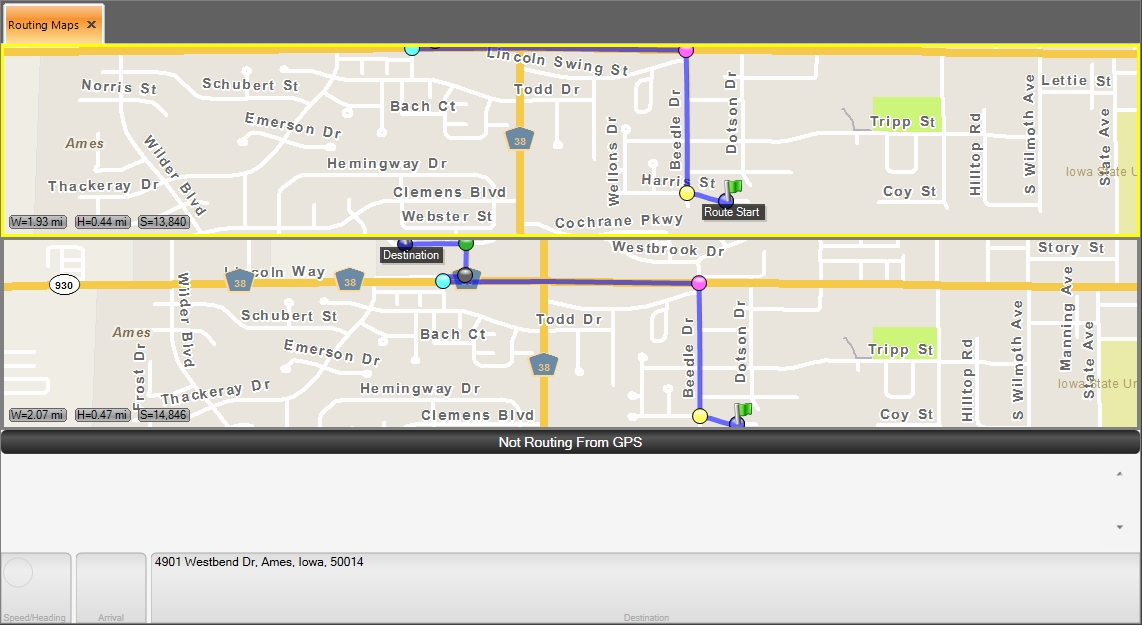
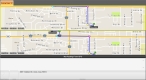
The panes in the Routing Maps tab display one on top of the other (vertically).
- Choose Go → Config → Routing Maps Layout → Vertical.
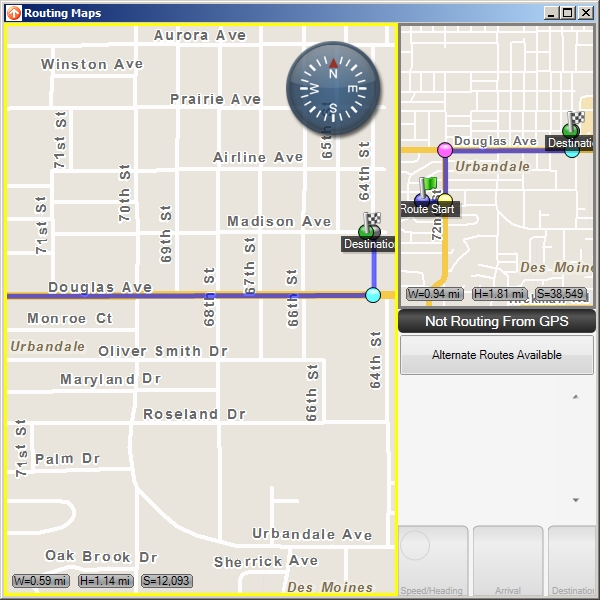
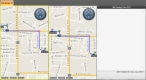
The panes in the Routing Maps tab display side by side (horizontally).
- Choose Go → Config → Routing Maps Layout → Horizontal.
-
Decide where you want the Routing Maps tab positioned in FH Mobile Response
To use this layout Do this 
-
Choose Go → Config → Routing Maps Shown → As Tab.
The Routing Maps tab appears as a tab in the main FH Mobile Response window.

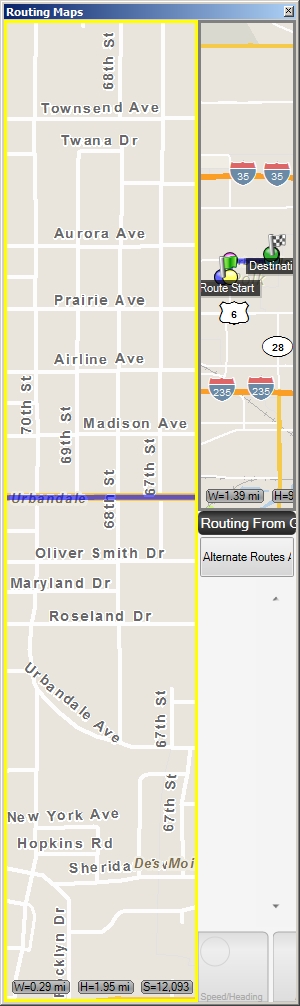
If you have a large screen, or a computer with multiple monitors, you may want to display the Routing Maps tab in a window outside the main FH Mobile Response window.
-
Choose Go → Config → Routing Maps Shown → In Separate Window.
The Routing Maps tab appears as the Routing Maps window in the center of the screen. You can drag this window to any position on your screen, as needed.

-
Choose Go → Config → Routing Maps Shown → Docked Left.
The Routing Maps tab appears as the Routing Maps window, docked on the left side of your screen. This window can not be dragged to a new location.
-