Add, edit, or deactivate logins for medics in the field
When the medic in the field is logging into FH Medic on the mobile application, they must use a user name and password that is already defined on the FH Medic administration site. This list of FIREHOUSE Software logins appears in FH Medic on the mobile computer as the list of possible crew members.
-
(If you have not done so already) Access the list of users/personnel in one of these ways.
-
 Through the Configurations page.
-
In the row of links that appear across the top of every page, click Configurations.

The Configurations page appears.
-
Under FH Medic Configurations, click Click here to access FH Medic configuration options.
The Configurations -> FH Medic page appears.

-
-
Through the Demographics page.
-
(If you have not done so already) In the row of links that appear across the top of every page, click Demographics.
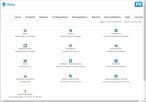
The Demographics page appears.
-
-
-
Click User/Personnel.
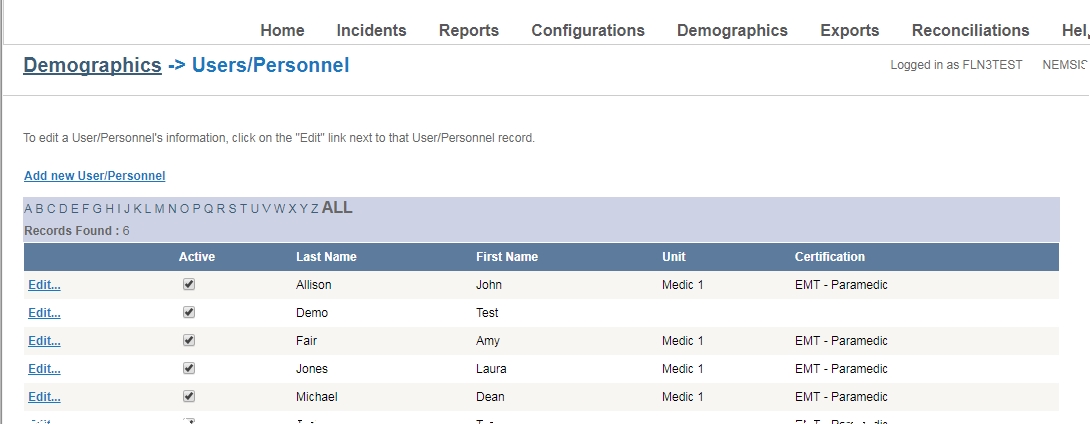
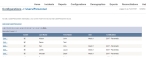
The Configurations -> Users/Personnel or Demographics -> Users/Personnel page appears.
Note: These pages display the same list and have the same functionality—the Users/Personnel icon is available on both the Configurations and Demographics pages as a convenience to the user.

-
Do any of the following.
Add a new user
-
Click Add new User/Personnel.
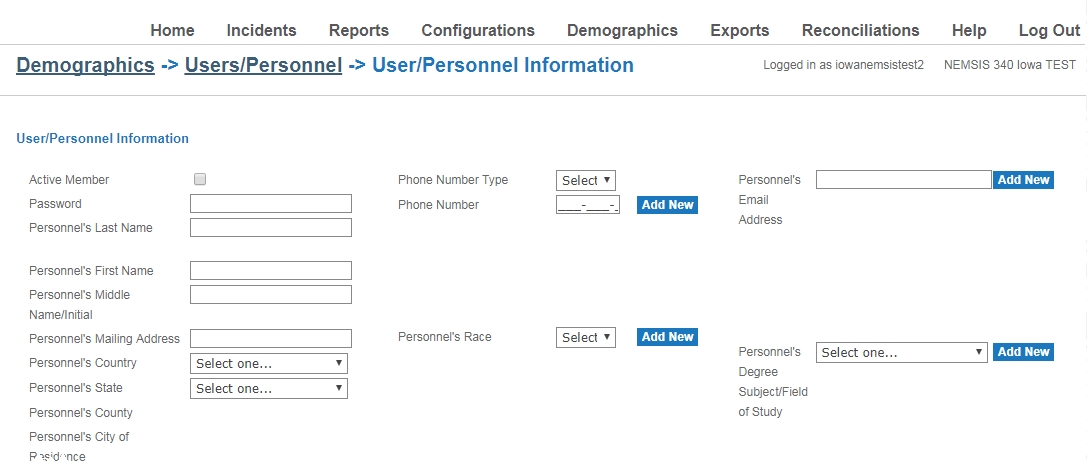
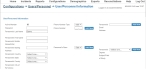
The Configurations > Users/Personnel > User/Personnel Information or Demographics -> Users/Personnel > Users/Personnel Information page appears.

-
Type information for a new user into the fields
Caution: If you plan to import FH Medic data into the FIREHOUSE Software database, the value in User ID Number must match the user's staff ID number in FIREHOUSE Software.
Example: If the FIREHOUSE Software ID number for a staff member you are adding in FH Medic is
30-JEA, then you must enter30-JEAin User ID Number.Information on determining a staff member's ID in FIREHOUSE Software is available in the Determine staff ID numbers.
-
Click Save Changes.
If you added a new user, the new user appears in the list of users on the Configurations -> Users/Personnel or Demographics -> Users/Personnel page.
Edit an existing user
-
(Optional, to filter the list of users by last name) In the row of letters across the top of the user list, click the letter corresponding to the last name of the user you want to edit.
The list refreshes, and only the users whose last name starts with the letter you clicked appear in the list. If none of the users has a last name starting with the clicked letter, the entire list of users appears.
-
On the left side of the row listing the user account you want to edit, click Edit.
The Configurations > Users/Personnel > User/Personnel Information or Demographics -> Users/Personnel > Users/Personnel Information page appears, and the fields populate with existing information for the user.
- Edit the information in the fields as needed.
- Click Save Changes.
-
-
Activate or deactivate a user
-
(Optional, to filter the list of users by last name) In the row of letters across the top of the user list, click the letter corresponding to the last name of the user you want to activate or deactivate.
The list refreshes, and only the users whose last name starts with the letter you clicked appear in the list. If none of the users has a last name starting with the clicked letter, the entire list of users appears.
- Select or clear the check box in the Active column for the user.
-