Pair the Zoll X monitor to the FH Medic mobile computer
-
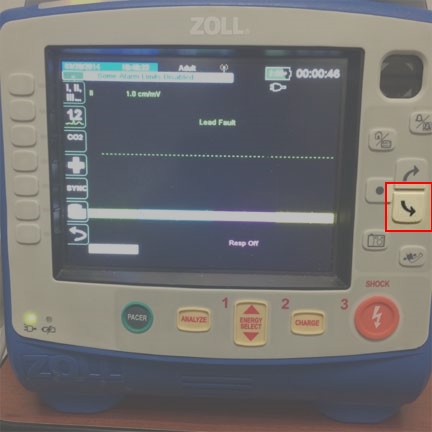
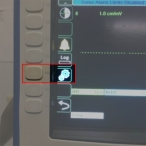
On the Zoll X monitor, press the bottom button on the left side with the back arrow.

-
On the right side of the monitor, press the button next to the gears icon.
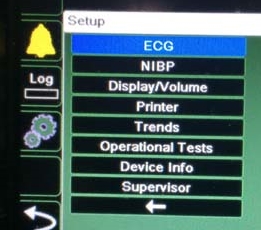
The Setup menu appears.

-
Use the arrows on the right side of the monitor to move down through the menu and highlight Supervisor.

-
On the right side of the monitor, press on the dot button next to the arrows to select Supervisor.

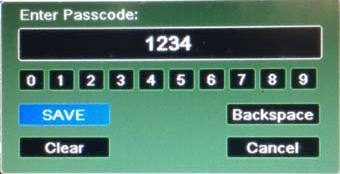
The Enter Passcode dialog box appears for the supervisor passcode number.
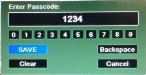
- Use the arrows on the right side of the monitor to move back and forth through the numbers, and press the dot button next to the arrows to select specific numbers.
-
Use the arrows and the dot button to highlight SAVE.
The Supervisor menu appears.
-
Use the arrows and the dot button to select Communications.
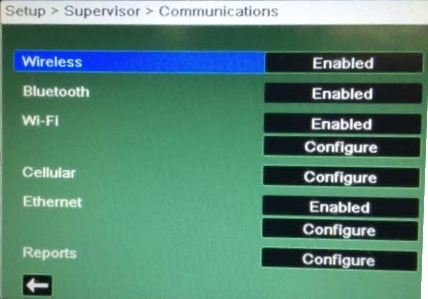
The Communications menu appears.

-
Under Wi-Fi, select Configure.
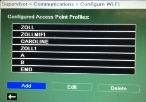
The Configured Access Point Profiles list appears.
-
(If you do not already have an access point profile) Select Add, and then add an access point profile, using the wireless network and password you want to connect to.
Information on adding an access point profile is available in your Zoll X documentation.
-
At the top of the screen, next to Adult, select the WiFi access point symbol.

A list of WiFi access points appears.
-
Scroll down and select the WiFi access point you want to use for transmitting data from the Zoll X monitor to FH Medic.
A list of the access point profiles you created appears.
- Scroll down and select the access point profile to use transmitting data from the Zoll X monitor to FH Medic.
-
At the bottom of access point profile screen, select the back arrow.

- Continue with Transmit the data to the FH Medic mobile computer.