Export and email NFIRS reports
If you know your state reporting agency’s email address, you can generate your monthly National Fire Incident Reporting System (NFIRS) export in FIREHOUSE Software, and then email it to your state’s reporting agency.
-
Choose File → NFIRS 5 Incident Reporting → Export NFIRS 5 Transaction File.
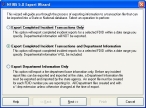
The NFIRS 5.0 Export Wizard appears.
-
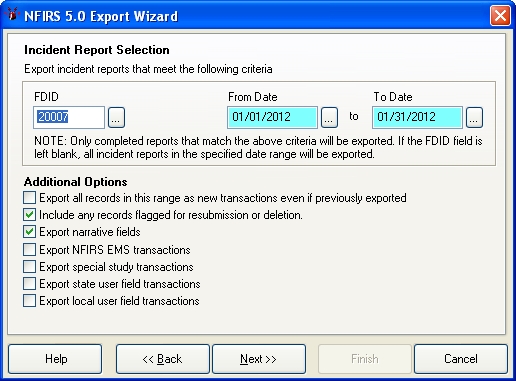
Select Export Completed Incident Transactions Only, and then click Next >.
The next screen of the wizard appears.

- Enter the necessary information in FDID, From Date, and To Date.
- (If you are re-exporting calls) Select Export all records in this range as new transactions even if previously exported.
- Select Include any records flagged for resubmission or deletion and Export narratives fields.
-
Click Next >.
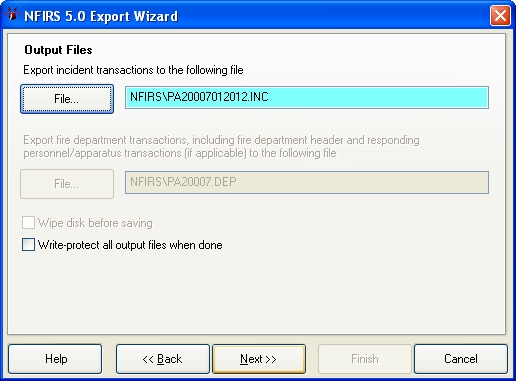
The next screen of the wizard appears. By default, the information is exported to a file in the NFIRS folder, in your FIREHOUSE Software installation folder.
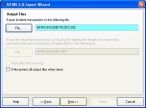
- (Optional) Under Export incident transactions to the following file, click File and use the file browser that appears to change the name of the file and the location where it is saved.
-
Click Next >.
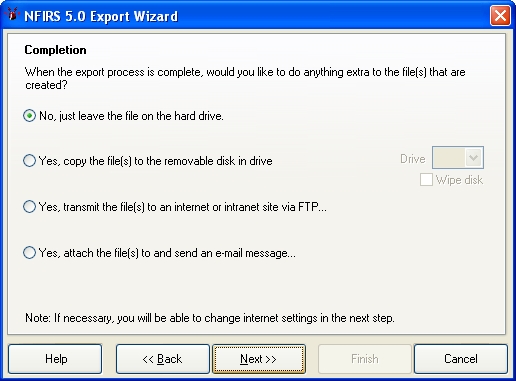
The next screen of the wizard appears.

-
Select Yes, attach the file(s) to and send an email message, and then click Next >.
The next screen of the wizard appears.
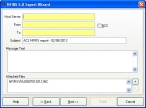
- In Host Server, type
63.101.151.1. - In From, type your email address.
-
In To, type your state reporting agency's email address.
Tip: You may want to email the NFIRS export file to yourself instead, so that you can save a copy of it, open it with a text editor, and so forth. If this is case, type your email address in To, instead of your state reporting agency's email address.
-
In Subject, verify that the text is
ACS FIREHOUSE Software NFIRS export -, and the date the export was generated.Caution: Do not change the text in the text in Subject.
-
In Message Text, type your FDID, department name, and reply email address.
Example: Below is a sample message.
FDID: 20007
Department: Dillon, IAReply email: john.campbell@xerox.com -
In Attached files, verify that the NFIRS file you generated is listed.
Caution: Do not change the attachment or attach additional files.
-
Click Next >.
The next screen of the wizard appears.

-
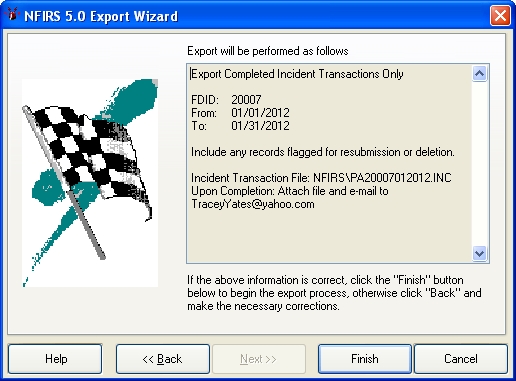
Click Finish.
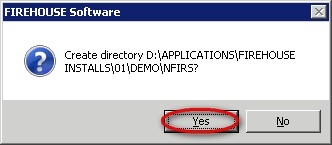
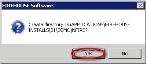
Either a prompt dialog box appears, asking whether to create a directory, or a summary dialog box appears, listing the transactions which will be exported.
-
(If prompted to create a directory) Click Yes.
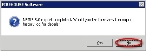
A summary dialog box appears, listing the transactions which will be exported.
-
In the summary dialog box, click Yes to continue the export.
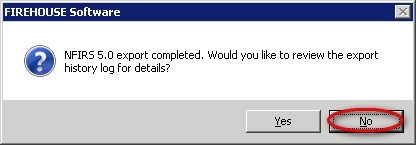
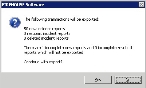
When the summary completes, a dialog box prompting you to review the export history log appears.
-
Click No.
The NFIRS file is automatically emailed as an attachment to the email address you entered in step 12.
-
(Optional, if you emailed the report to yourself) Do the following.
- Check your email, and find the new message with the export file attached.
- Open the message, and then save the attachment to the location of your choice.
- Open the file with a text editor such as Notepad, and review the contents as needed.