Create a FIREHOUSE Software ODBC data source
When you configured
-
Depending whether you are using a 32-bit or 64-bit operating system, do one of the following.
 64-bit
- In Windows Explorer, navigate to
C:\Windows\syswow64\. -
Double-click
odbcad32.exe.The ODBC Data Source Administrator dialog box appears.
32-bit
-
Choose Start → Settings → Control Panel.
The Control Panel window appears.
-
Double-click Administrative Tools.
The Administrative Tools window appears.
-
Double-click Data Sources (ODBC).
The ODBC Data Source Administrator dialog box appears.
Tip: If you are unsure as to whether you are using 32-bit or 64-bit operating system, information on determining this for a number of operating systems is available in Am I Running a 32-bit or 64-bit Version of Windows?.
- In Windows Explorer, navigate to
-
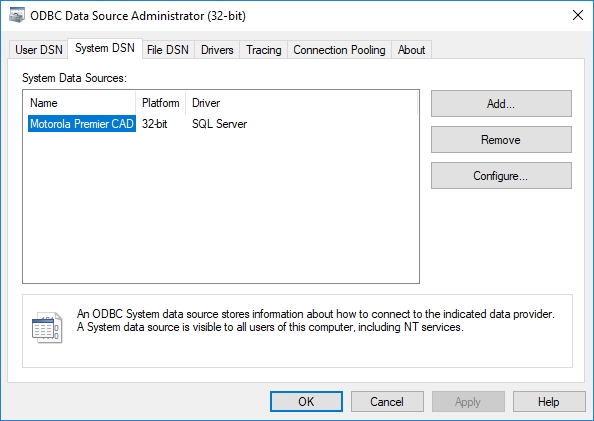
Click the System DSN tab.

-
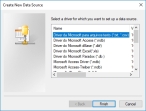
Click Add.
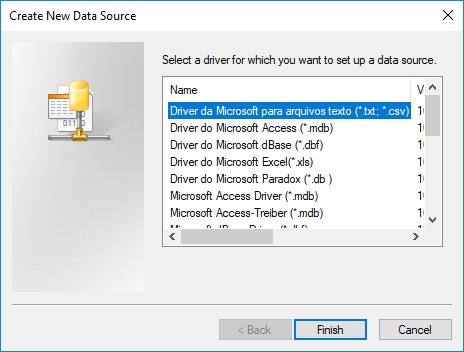
The Create New Data Source dialog box appears.
-
Scroll down through the list and select SQL Server, and then click Finish.
The Create a New Data Source to SQL Server dialog box appears.
-
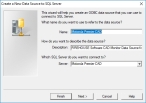
In Name and Description, type a name and a description for the ODBC data source you are creating for FIREHOUSE Software.
Example:
FIREHOUSE Software ODBC data source -
From Server, select the name of the SQL server your FIREHOUSE Software database exists on.
Caution: Include the full name of the SQL instance where the FIREHOUSE Software database exists.
Example:
SERVER1\SQLEXPRESS -
Click Next >.
The next screen of the Create a New Data Source to SQL Server wizard appears.
-
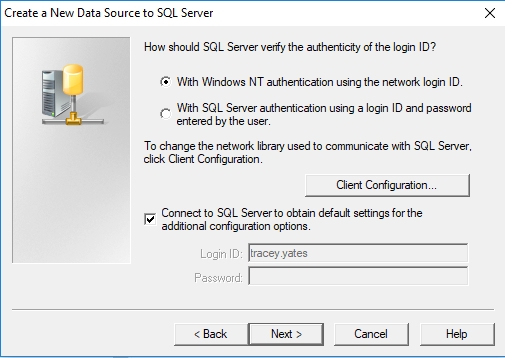
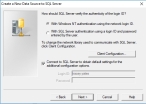
Define which SQL Server login credentials to use in one of the following ways.
The current or active Windows user account
-
Select With Windows NT authentication using the network login ID.
Note: This option is only available for Windows networks, and the logged-in user must have an SQL security login added for their Windows login.
Example:
advsetup@sqlserv
Unique SQL Server login credentials
- Select With SQL Server authentication using a login ID and password entered by the user.
- Select or clear Connect to SQL Server to obtain default settings for the additional configuration options to indicate whether or not to use default settings from SQL Server.
- (If you selected Connect to SQL Server to obtain default settings for the additional configuration options) In Login ID and Password, enter the user name and password for SQL Server.
Warning: Do not click Client Configuration and change the connection parameters between
-
-
Click Next >.
The next screen of the Create a New Data Source to SQL Server wizard appears.
-
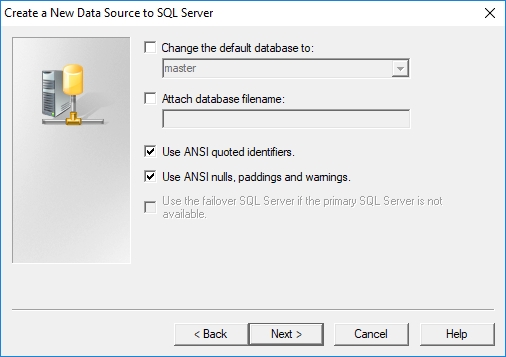
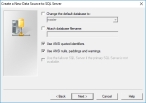
Select Change the default database to, and then choose the name of the FIREHOUSE Software database the ODBC data source you are creating will work with.
Warning: Do not change any of the other settings on this screen of the wizard.
-
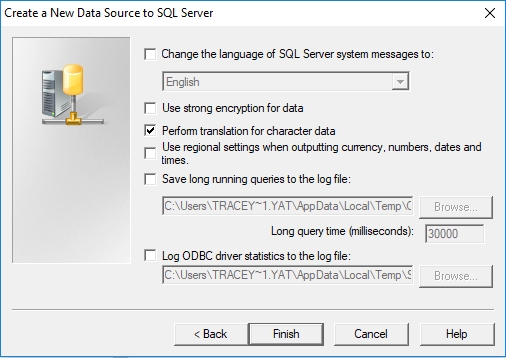
Click Next >.
The next screen of the Create a New Data Source to SQL Server wizard appears.
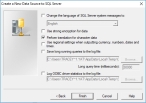
Warning: Do not change any settings on this screen of the wizard.
-
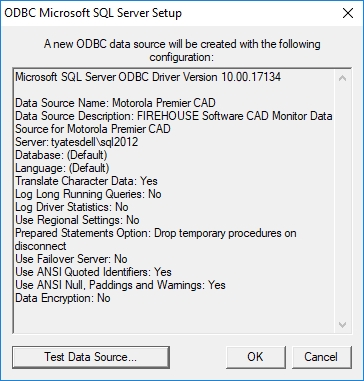
Click Finish.
The ODBC data source is created, and the ODBC Microsoft SQL Server Setup dialog box appears.
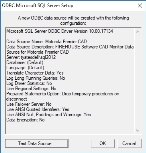
-
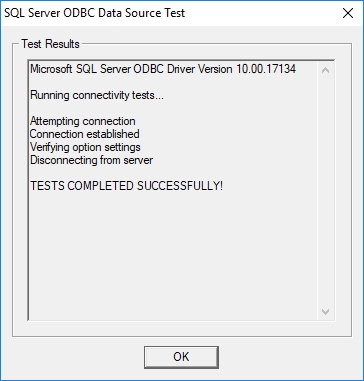
Click Test Data Source.
The SQL Server ODBC Data Source Test dialog box appears.
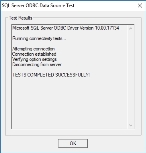
- Click OK.
- In the ODBC Microsoft SQL Server Setup dialog box, click OK.
-
In the ODBC Data source Administrator dialog box, click OK.