Install FH to a non-default location
- Log into the computer as an administrator.
- (Depending on how you obtained your copy of FH) Do one of the following.
- (CD) Insert the FH CD into your CD/DVD drive and navigate to it.
- (Download) Navigate to the expanded contents of the ZIP file on your hard drive.
-
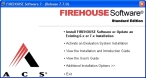
Double-click
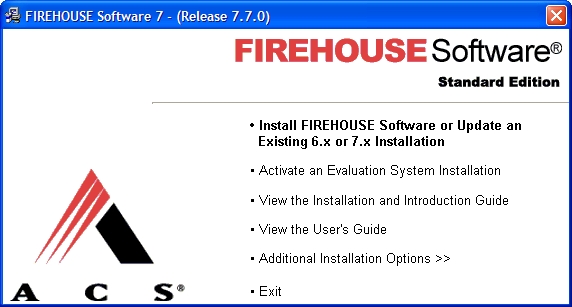
AutoRun.exe.The FIREHOUSE Software installation dialog box appears.
-
Click Install FIREHOUSE Software or Update an Existing 6.x or 7.x Installation.
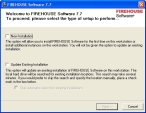
The Welcome screen of the installation wizard appears.
-
Select New Installation, and then click Next >.
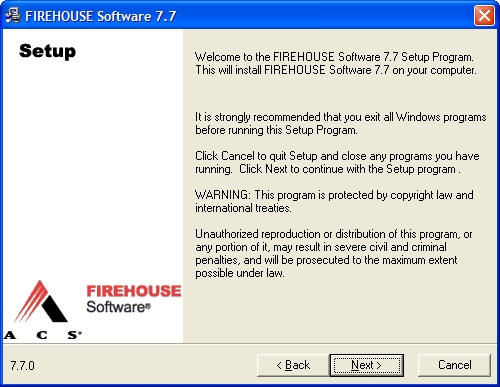
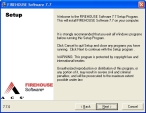
The Setup screen of the installation wizard appears.
-
Click Next >.
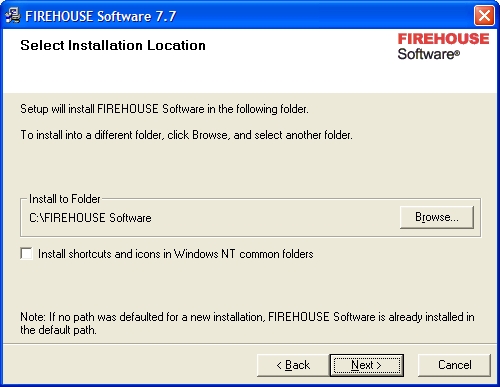
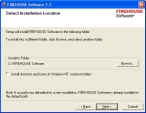
The Select Installation Location screen of the wizard appears.
-
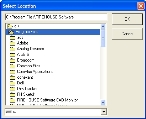
Click Browse.
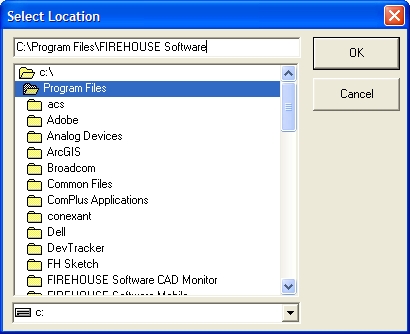
The Select Location dialog box appears.
-
Use the dialog box to navigate to a location outside of the
C:\Program Filesdirectory or any Windows directories.Tip: Set the location to
C:\FIREHOUSE Software -
Select Install shortcuts and icons in Windows NT common folders, and then click Next >.
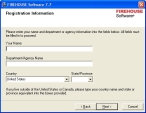
The Registration Information screen of the wizard appears.
-
Fill in the fields as appropriate for your department, and then click Next >.
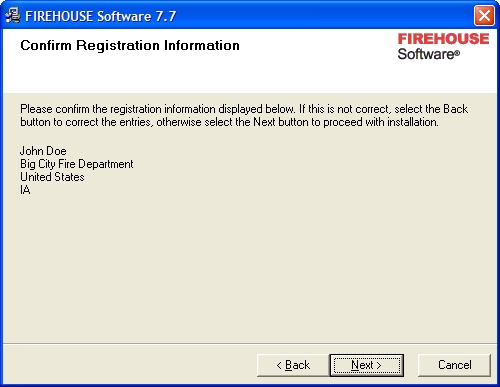
The Confirm Registration Information dialog box appears.

-
Review the information on this screen, and then click Next >.
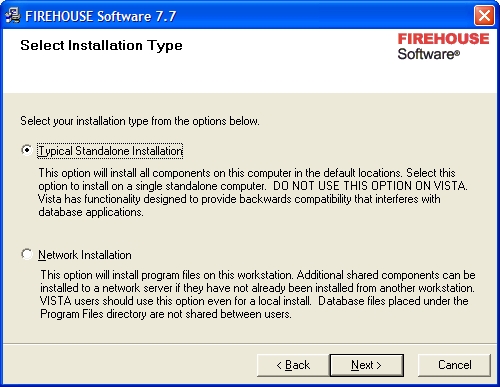
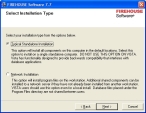
The Select Installation Type screen appears.
-
Select the option appropriate to the type of installation you want for this workstation, and then click Next >.
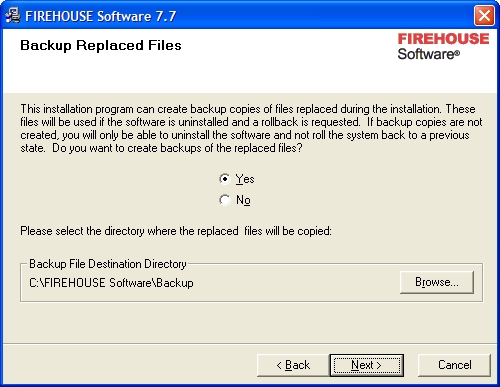
The Backup Replaced Files screen appears.

-
Select the option corresponding to whether or not you want to make backups of replaced files, and then click Next >.
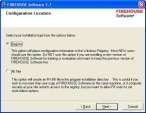
The Configuration Location screen appears.
-
Select INI File, and then click Next >.
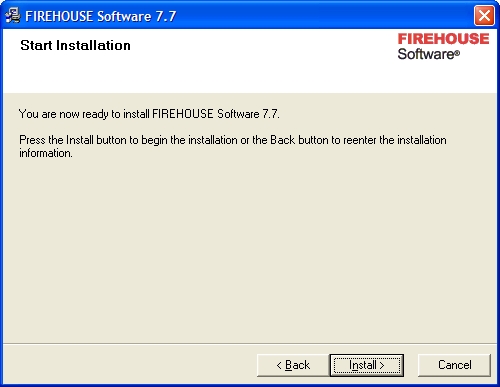
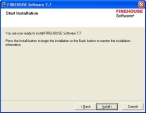
The Start Installation screen appears.
-
Click Install.
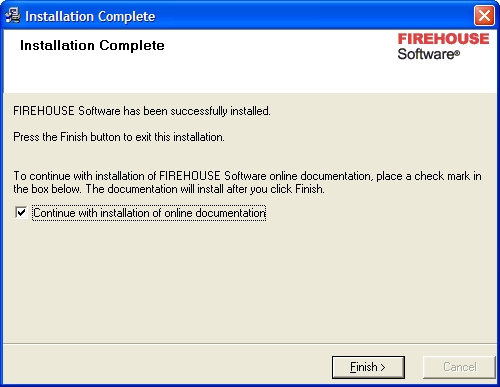
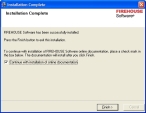
A series of progress bars and dialog boxes appear as FH installs, and then the Installation Complete screen appears.
-
Click Finish >.
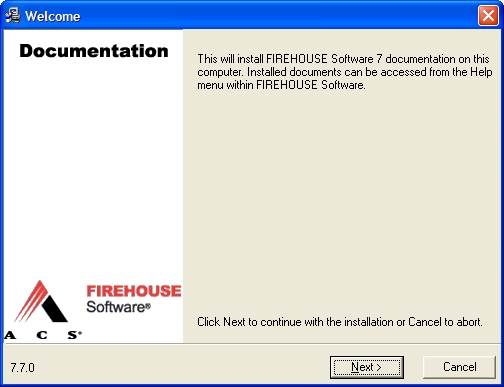
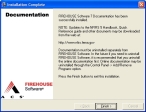
The Documentation screen appears.

-
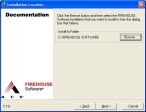
Click Next >.
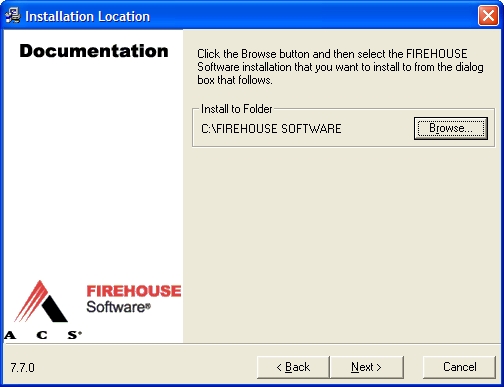
The Documentation screen updates to display the location the documentation will be installed.
-
Click Next >.
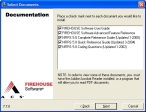
The Documentation screen updates again to display what documents will be installed.
-
Click Next >.
The Documentation screen updates again to summarize the selections you made.

-
Click Next >.
The Documentation screen updates to indicate that the documentation has been installed.
- Click Finish.
-
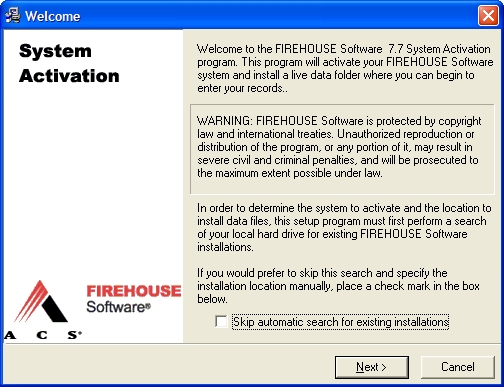
In the FIREHOUSE Software installation dialog box, click Activate an Evaluation System Installation.
The System Activation dialog box appears.

- Follow the instructions you received with the license activation code.