Export NEMSIS data for state and national reporting
-
Choose File → EMS/Search & Rescue Reporting → Export EMS Transaction File.
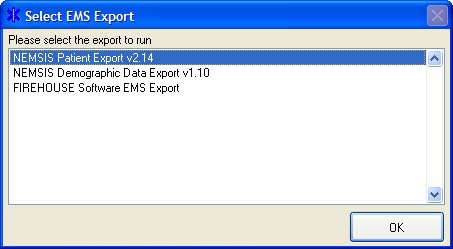
The Select EMS Export dialog box appears.

-
Select NEMSIS Patient Export, and then click OK.
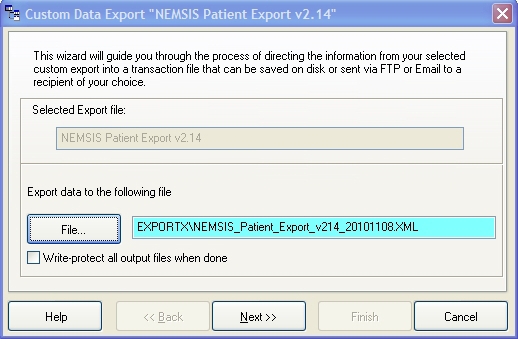
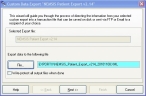
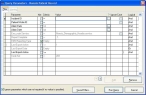
The Custom Data Export dialog box appears, listing the name of the file the data will be exported to.
-
Verify the path to export the file to, and change if you want to.
By default, the XML file is exported to
C:\Program Files\FIREHOUSE Software\Exportx\filename.XML. - Click Next >.
-
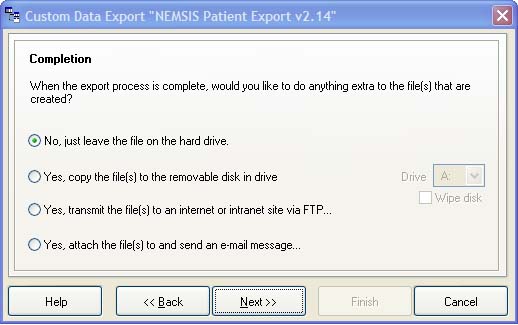
Select an option for the export to perform when the process is completed.
Note: It is recommended that you select No, just leave the file on the hard drive.
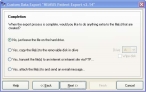
- Click Next >.
- Review the summary export settings information.
- Click Finish.
-
(If prompted to create the
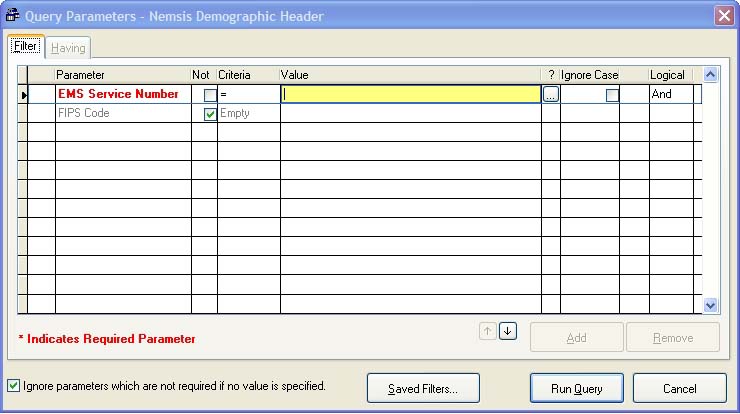
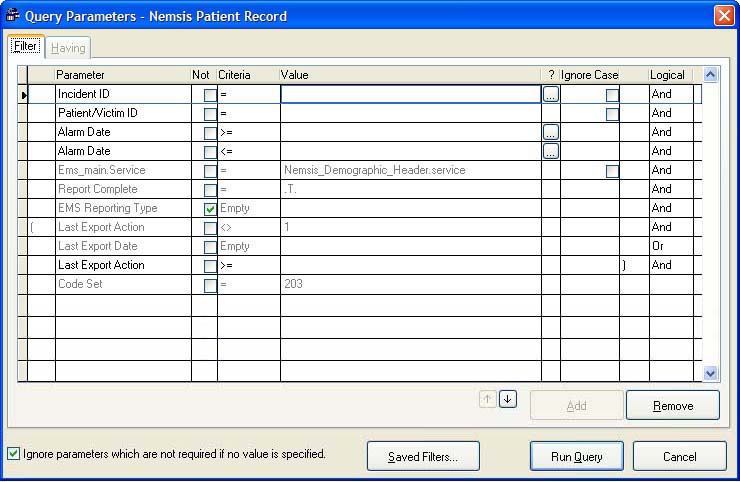
\Exportxdirectory) Click Yes.The Query Parameters - Nemsis Demographic Header dialog box appears.
- In the highlighted field in the Value column, enter the EMS service number or use the lookup
 button next to the field to select it.
 -
Click Run Query.
The Query Parameters dialog box populates with data.
-
Click Run Query.
A dialog box with a message regarding your export appears.
Note: If errors appear and you need assistance resolving them, contact Technical support.
- (If the validation produced no errors) Click OK to display the log file for the export.
- Repeat steps 1-13 for the NEMSIS Demographic Data Export file.
- Submit the files to your data collection agency by their preferred method.