Install NEMSIS patient and demographic export
utilities
-
In a web browser, go to
http://www.firehousesoftware.com/download/NemsisPatientExportv2.FHz.The File Download dialog box appears.
Caution: Do not click Open in the dialog box.
-
Click Save.
The Save As dialog box appears.
- Navigate to the location on your hard drive where you want to save the file.
-
In File name, change the extension of the file from
.zipto.FHz.Warning: It is very important to change this file extension to
.FHz, for FH to recognize the file. You do not need to unzip this file after it is downloaded. - In Save as type, select All Files.
-
Click Save.
The Download Complete dialog box appears.
- Click Close.
-
In a web browser, go to
http://www.firehousesoftware.com/dwnld/NemsisDemographicExport.FHz. - Repeat steps 2-6 to download the next
.FHzfile. - (FH Enterprise) Verify that the user name and password for Remote Connection Configuration is for a SQL administrator account.
-
Log into FH as an administrator.
-
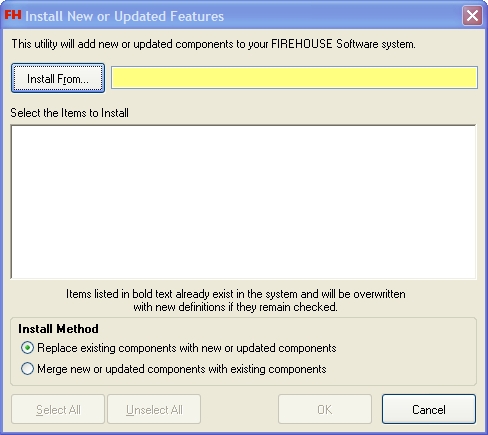
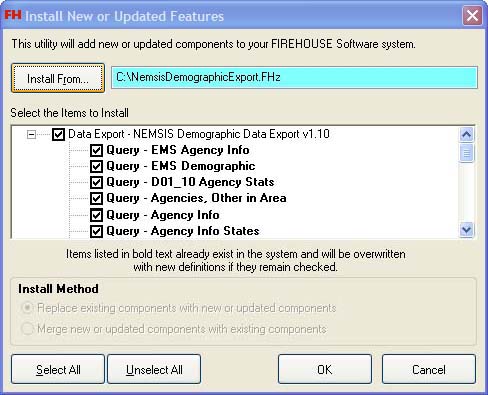
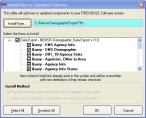
Choose Administration → Install New or Updated Components.
The Install New or Updated Features dialog box appears.

-
Click Install From.
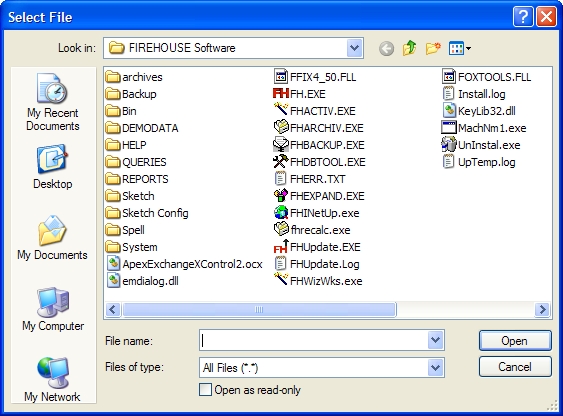
The Select File dialog box appears.
-
Use the dialog box to find and open the
NemsisDemographicExport.FHzfile you saved to your hard drive.It may take a few moments for the Install New or Updated Features dialog box to list the items that will install.
Note: Wait until this window is filled with items to begin the installation.
-
Click OK.
A series of dialog boxes and status bars displaying the progress of the installation appear and then close automatically. The installation process can take some time to complete, depending on your computer configuration and the number of codes included.
- Repeat steps 12-15 with
NemsisPatientExportv2.FHz. - Continue with Verify the NEMSIS configuration.