Update an existing installation of FH
At this point, you are in the FH installation and update wizard, at the Welcome screen.
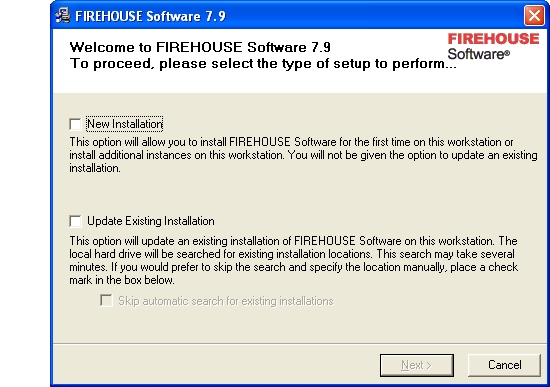
- Select Update Existing Installation.
- (Optional, if you are sure there is only one installation of FH on the machine) Select Skip automatic search for existing installations.
-
Click Next >.
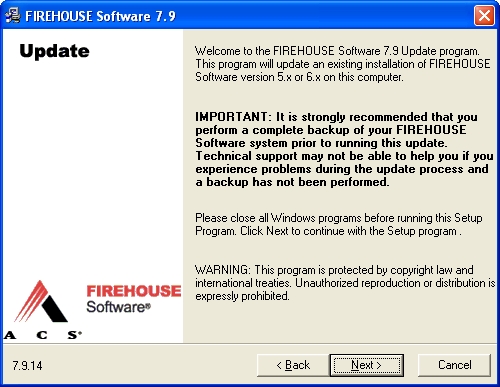
The Update screen of the wizard appears.
-
Read the information on the screen, and then click Next >.
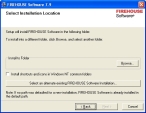
The Select Location screen of the wizard appears. If you selected Skip automatic search for existing installations earlier, the Select an alternate existing FIREHOUSE Software Installation button does not appear.
If you did not select Skip automatic search for existing installations earlier, the Select an alternate existing FIREHOUSE Software Installation button appears.
-
Depending on whether you selected Skip automatic search for existing installations earlier, do one of the following.
Did you select it? Do this Yes
-
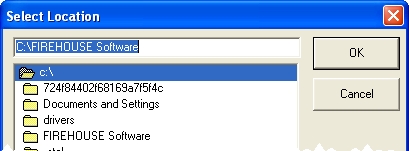
Click Browse, and then use the file browser that appears to navigate to the location of your FH installation.
Note: You must double-click the name of the installation folder, and the path at the top of the file browser must include the folder name. Clicking the folder once does not update the path in the file browser.
No
-
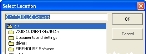
Click Select an alternate existing FIREHOUSE Software Installation.
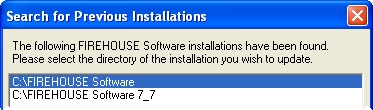
The Search for Previous Installation dialog box appears.
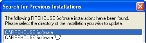
- Select the installation of FH that you want to update.
- Click OK.
-
- Select Install Shortcuts and icons in Windows NT common folders so that all users logging into this computer can see the FH icons.
-
Click Next >.
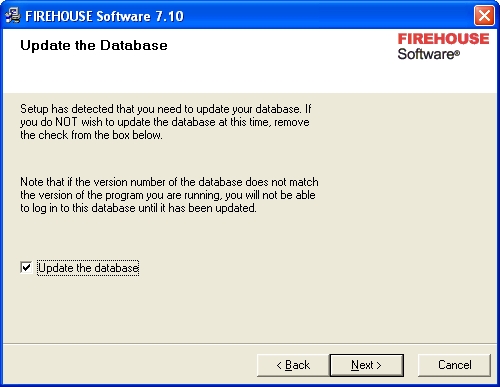
FH checks the version of FH in the path you specified and compares that to the version of FH you are updating to, and the Update the Database screen appears in the wizard.
FH version numbers have the format: MajorRelease.MinorRelease.BuildNumber.
Example: Version number 6.3.10 refers to major release 6, minor release 3, build 10.
If you are updating to a new major or minor release (for example, from 6.3.10 to 7.7.0, or from 7.7.0 to 7.8.9), Update the database is selected.

-
(If it is not already selected) Select Update the database.
Caution: For best results, always select this option.
-
Click Next >.
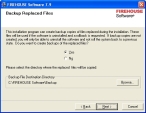
The Backup Replaced Files screen appears in the wizard.
-
Select Yes, and then click Next >.
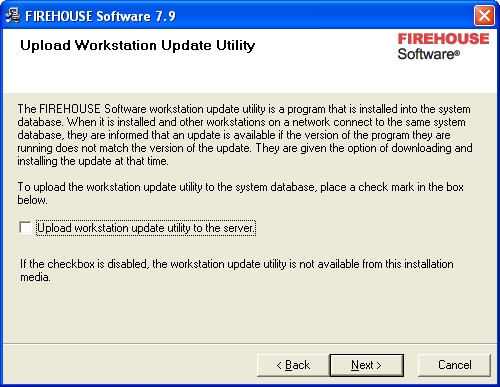
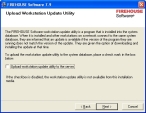
The Upload Workstation Update Utility screen appears in the wizard.
-
(If you are updating a network installation of FH, and the FH
Systemfolder is shared on a network server) Select Upload workstation update utility to the server to copy the workstation update to the server.This update utility runs automatically when a workstation accesses the server database.
-
Click Next >.
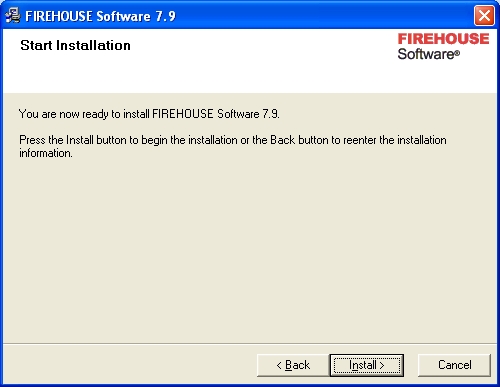
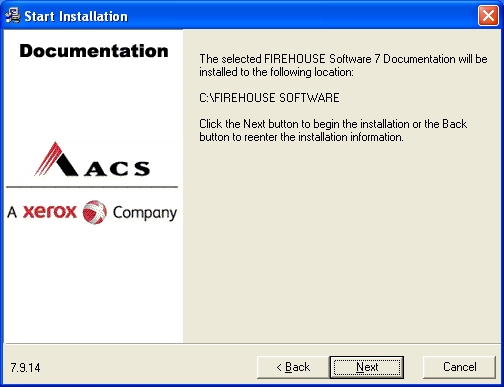
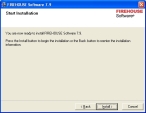
The Start Installation screen of the wizard appears.
-
Click Install.
The Installing screen appears, and progress bars appear in the wizard .
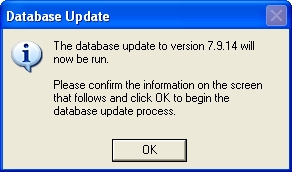
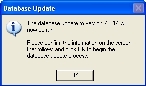
When the installation finishes, the Database Update dialog box appears.
-
Click OK.
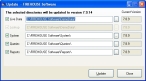
The Update - FIREHOUSE Software dialog box appears.
-
Select Live Data, and then review the path and current FH version number associated with the database.
-
(If necessary) Edit the path to the database you want to update, or click the lookup button
 and then use the file browser that appears to select the database directory you want to update.
Note: Normally, you do not need to edit the path to the
Data,System,Queries, orReportsfolders for FH. - Repeat steps 15-16 for Systems, Queries, and Reports.
-
Click Update.
The update installs. When it completes, a confirmation dialog box appears.

-
Click Yes.
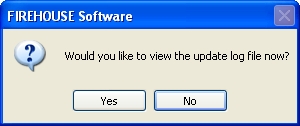
A prompt dialog box for viewing the log file appears.
-
Depending on your interest, click Yes or No.
A final confirmation dialog box appears.
-
Click OK.
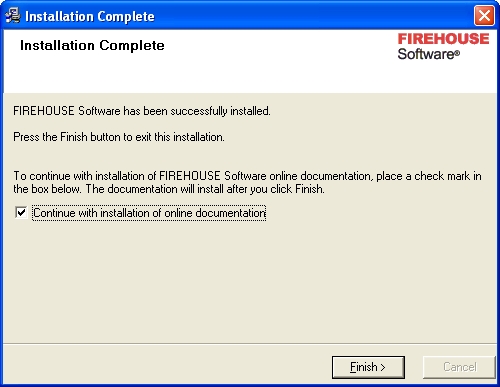
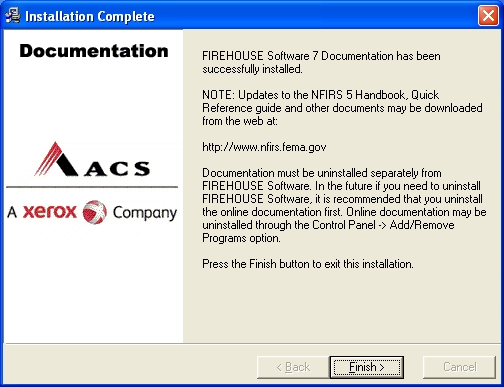
The Installation Complete screen appears in the wizard.
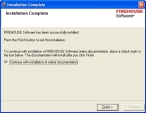
-
Click Finish >.
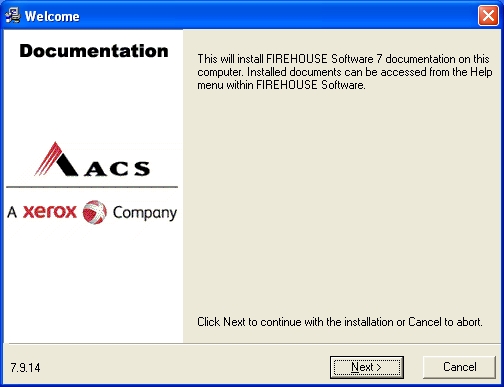
The Documentation installation wizard appears.
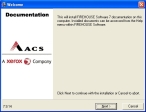
-
Click Next >.
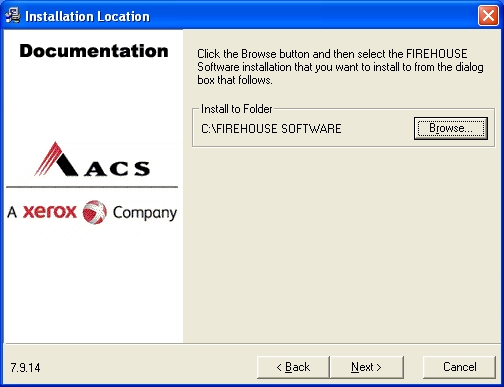
The location where the documentation will be installed appears.

- (Optional) Click Browse and use the file browser that appears to navigate to the directory you want to install the documentation in.
-
Click Next >.
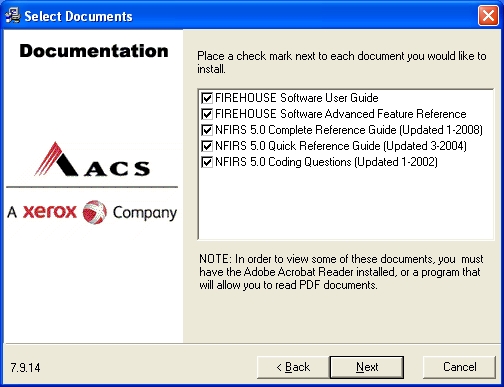
A list of the documentation you can install appears.
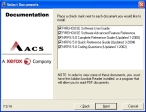
-
(Optional) Clear any documents you do not want to install, and then click Next >.
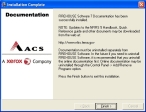
A confirmation screen appears.

-
Read the information on the screen, and then click Next >.
Another confirmation screen appears.
-
Click Finish >.
The Firehouse installation menu reappears.
- As an administrator, log into FH on the computer the update was performed on.
-
As an administrator or a user with local administrator rights, log into each workstation where FH is installed on.
The update utility runs automatically on the individual workstations and installs Windows system components as needed.
- Continue with Update archived databases.