Check network protocols
- Log into the database server as an administrator.
-
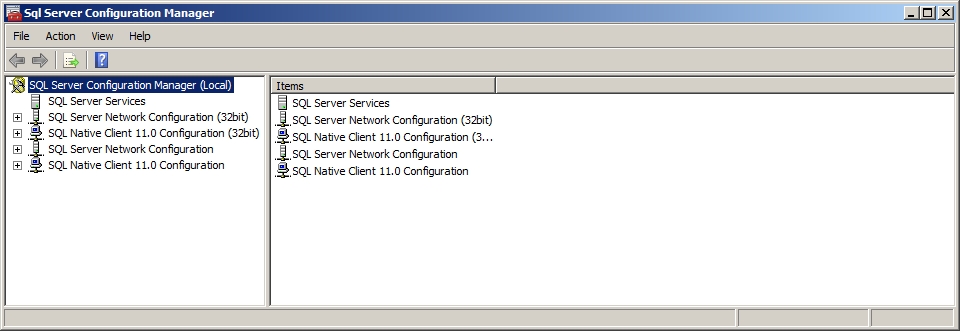
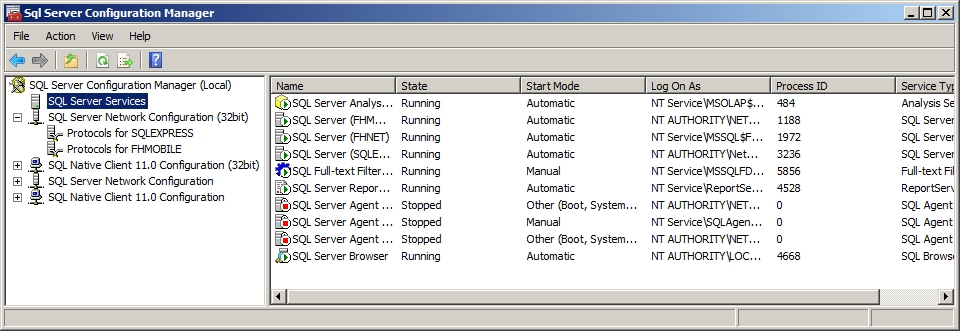
Choose Start → Programs → Microsoft SQL Server → Configuration Tools → SQL Server Configuration Manager.
The SQL Server Configuration Manager dialog box appears.

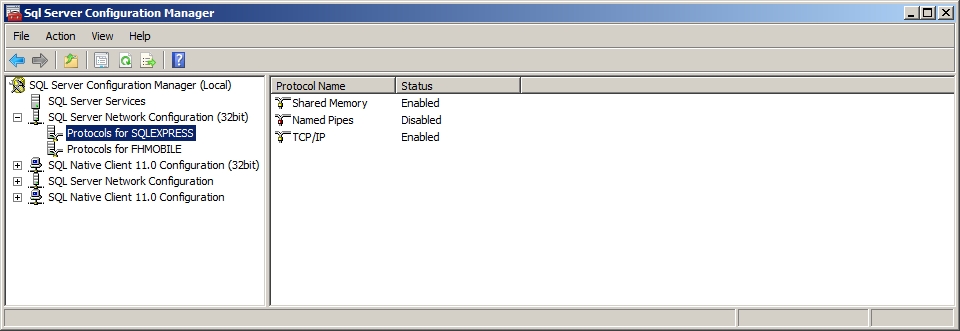
- In the left pane, expand SQL Server Network Configuration.
-
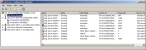
In the left pane, click Protocols for SQL instance name.
The right pane updates with protocol information.
-
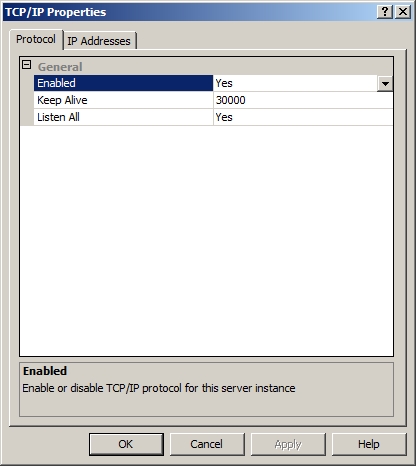
Right-click TCP/IP, and then choose Properties.
The TCP/IP Properties dialog box appears.
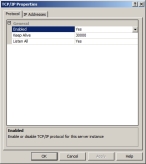
- (If Enabled is set to No) Click No, and then select Yes from the menu that appears.
-
Click the IP Addresses tab.

- For the section containing the IP address of the database server, verify that Active and Enabled are both set to Yes.
- (If Active and/or Enabled is set to No) Click No, and select Yes from the menu that appears, so that both are set to Yes.
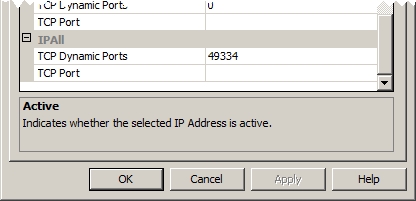
- In TCP Port, check the port number, and note it if it is anything other than
1433. -
Scroll down until you see the IPAll section, and note the value in TCP Port.

Caution: The values in the IPAll section override the port settings for all IP addresses in the dialog box. If TPC Port in this section contains a port number that does not match the TCP port number from step 10, the database server and the client computer cannot communicate. TPC Port in this section is blank, the TCP port number from step 10 is used.
- (If necessary) Change the port number in this section or in the IP section for the database server.
-
Click OK.
A confirmation dialog box appears.
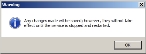
- Click OK.
-
In the left pane, click SQL Server Services.
The right pane updates to list all the SQL server services.
-
Right-click the name of your SQL Server service (instance), and then choose Restart.
A dialog box with a progress bar appears as the service is stopped and then started again, and then closes.
- Close the SQL Server Configuration Manager dialog box.