Submit data to the CFFJAC
-
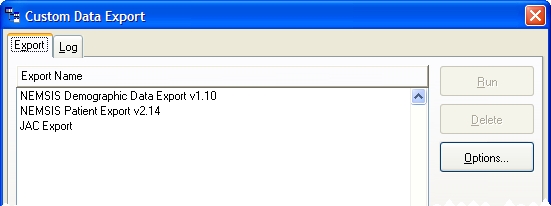
Choose Administration → Data Administration → Custom Data Export.
The Custom Data Export dialog box appears.
-
Select JAC Export, and then click Run.
You are prompted for confirmation to run the custom data export.
-
Click Yes.
The Custom Data Export dialog box appears.
-
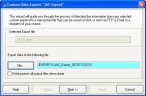
Under Export data to the following file, in File, rename the file with the following format:
your three letter MACS Identifier
YYYYMMDD.exeExample:
ABC20101123.exe -
Click Next >.
The Completion screen appears in the dialog box.
-
Select an option to indicate what FH should do with the file once it is created, and then click Next >.
The summary screen displaying your choices appears.
-
Click Finish.
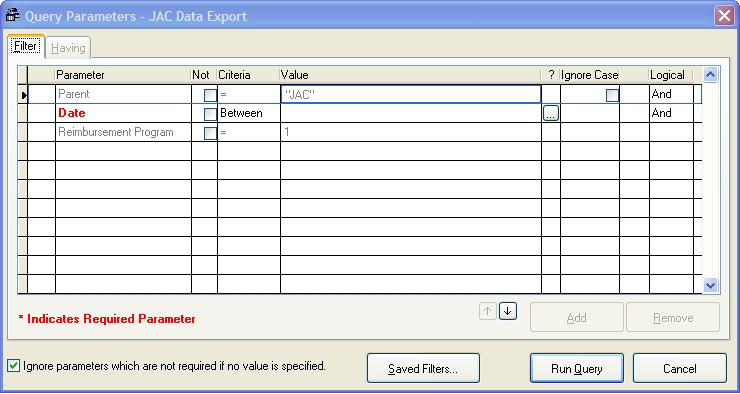
The Query Parameters dialog box appears.
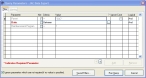
- In the Date row, verify that the value in the Criteria column is
Between. -
In the Date row, click the lookup
 button.
The FH Calendar dialog box appears.
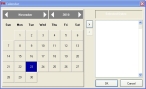
-
Use the calendar to select the beginning date for the export, and then click the add
 button.
The date is added on the right under Selected Dates.
-
Use the calendar to select the ending date for the export, and then click the add
button.The second date is added on the right under Selected Dates.
-
Click OK.
The dates you selected appear in the Value cell of the Date row.
-
Click Run Query.
The Custom Data Export Log Details dialog box appears, and you may want to review the log file for details.
- Click OK.
- In the Custom Data Export dialog box, click Close.
- Email the
.EXXfile you created to CFFJAC.