Automate invoice batch generation
You can set up an automated task in FH to generate invoices at a specific time and day.
- Log into FH as an administrator.
-
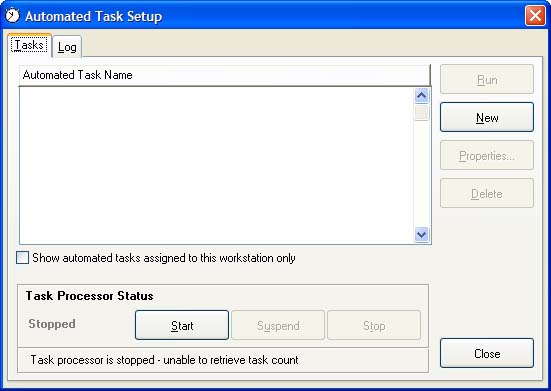
Choose Administration → Automated Tasks.
The Automated Task Setup dialog box appears.

-
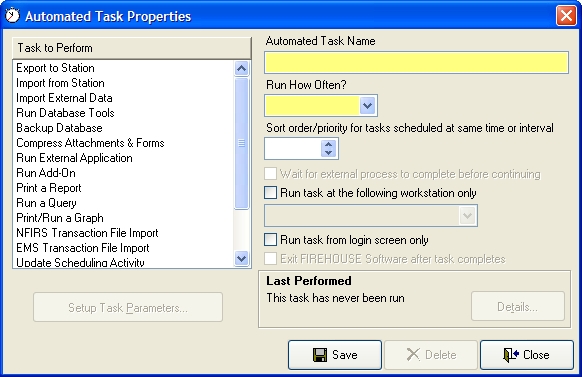
Click New.
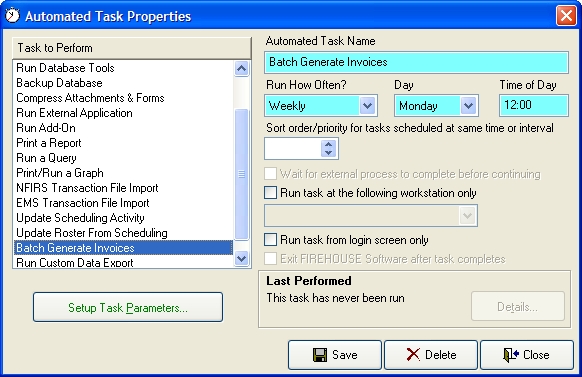
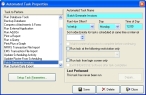
The Automated Task Properties dialog box appears.
-
From Tasks to Perform, select Batch Generate Invoices.
In Automated Task Name, the task name is set by default.
- (Optional) In Automated Task Name, edit the default task name.
-
From Run How Often, select the option corresponding to how frequently you want the invoice generation task to run.
Depending on which option you select, additional options may appear to the right of Run How Often.
Example: If you select Weekly or Monthly, the Day and Time of Day options appear. If you select Timed, the Every option appears.
-
(If additional options appear) Specify values appropriate for the additional options.
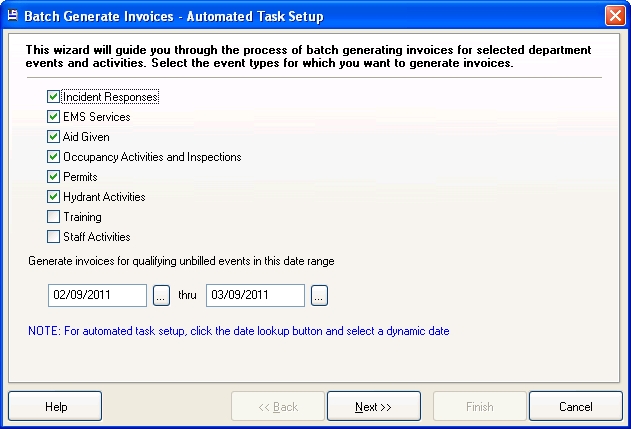
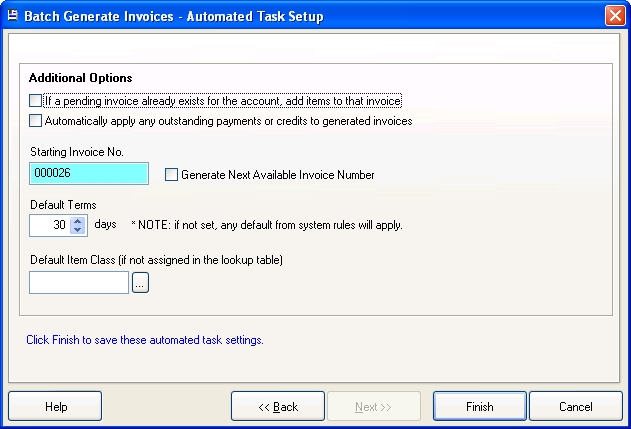
The Batch Generate Invoices - Automated Task Setup wizard appears.
- Select the billable events you want to generate invoices for during the automated task.
-
 Set the date range for the automated task to run.
- Under Generate invoices for qualifying unbilled events in this date range, for the first date in the range, click the lookup button
 .
. -
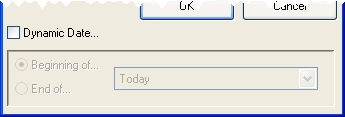
In the Calendar dialog box that appears, select Dynamic Date.
The fields below Dynamic Date activate.
- Select Beginning of, and then select an option from the menu to the right of the Beginning of.
- Click OK.
- Repeat steps a-d for the second date in the range, but select End of when the fields below Dynamic Date activate.
- Under Generate invoices for qualifying unbilled events in this date range, for the first date in the range, click the lookup button
-
Click Next >.
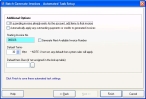
The second screen of the wizard appears.
-
Select or clear If a pending invoice already exists for the account, add items to that invoice to indicate whether the billable events should be added to an existing invoice with a status of pending.
Note: If not selected, the billable events are added to a new invoice even if a pending invoice already exists.
-
(Optional) Select or clear Automatically apply any outstanding payments or credits to generated invoices to indicate whether payments or credits should be applied.
Outstanding balances could exist for an account if the account has paid too much for previous invoices, or if credit memos have been previously issued.
- Do one of the following.
- Select Generate Next Available Invoice Number to automatically pick the next sequential number.
- In Starting Invoice No., enter an invoice number.
-
In Default Terms, enter the number of days until the invoice is due.
-
In Default Item Class, enter the class for the invoice items, or click the lookup button
and use the dialog box that appears to select an invoice class.Note: This value is disregarded if the class is already specified by the invoice item lookup codes.
- Click Finish.
-
In the Automated Task Properties dialog box, click Save, and then click Close.
A dialog box prompting you to start the automated task processor appears.
- Click No.
- In the Automated Task Setup dialog box, click Close.
- Continue with Enable the automated task processor.