Perform a stock check
Stations must be restocked so they can supply the vehicles they support, and vehicles must be restocked so they are ready to go the moment a call comes in. A stock check is typically done on vehicles on a daily basis, at the start and end of a shift. You need to know what items each station and vehicle actually has stocked, what items were used on calls, what items are expiring or damaged/spoiled, and what items must be restocked.
The Inventory module tracks the items in every location, and provides a list of the number of items and quantities that should be in every sublocation within each location. When the medic performs a stock check, the Inventory module prompts the medic for confirmation that the quantity displayed in the Inventory module matches the quantity physically present at the station or on the vehicle. If the tracked count is not accurate, the medic enters the correct quantity and provides information to support the correction.
Example: Someone dropped a box of vials and they smashed, and so can not be used. You would need to update the Inventory module because this box of vials has been swept up and discarded.
You can also generate reports from this information, to gain insights into what items have the highest volume of use, what items do not get used much, what items are getting wasted and why, and so forth.
-
 If you have not done so already) Access the Inventory module in the ESO Suite.
-
Do one of the following.
-
(If you are already working in the ESO Suite) Click the Home icon in the upper left corner of the screen.

-
(If you have not yet logged in) Log in to the ESO Suite.
-
In a web browser, go to https://www.esosuite.net/EsoSuite.
The ESO Suite login screen appears.
-
Enter your user name, password, and agency name, then click Let's Go.
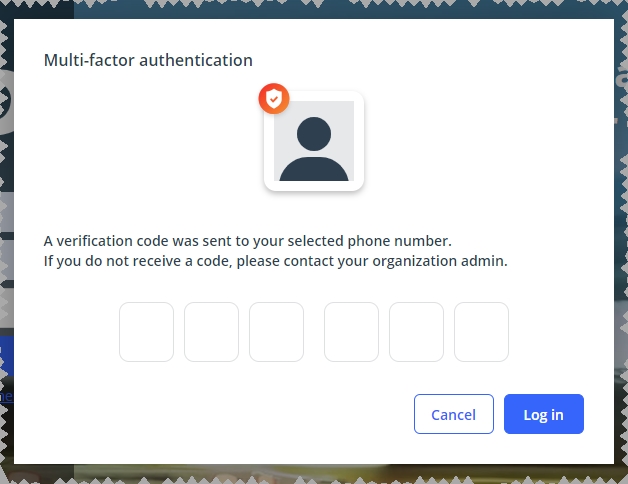
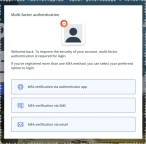
If MFA is enabled, the Multi-factor authentication dialog box appears, displaying one or more methods you can use to verify your login credentials. The number of methods that appear in the dialog box depends on what MFA methods your ESO Suite administrators enabled in the Admin module.
Click graphics
to open them.Information on enabling MFA and specific MFA methods is available in the Admin module online help, in Configure multiple-factor authentication.
Note: If your ESO Suite administrators have disabled MFA ("opted-out"), this dialog does not appear.
-
(If the Multi-factor authentication dialog box appears) Depending on which buttons appear in the dialog box, verify your login in one of the following ways.
With an authenticator application.
-
Click MFA verification via authenticator app.
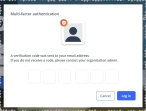
The dialog box updates with boxes for entering the numbers of the authentication code, and the ESO Suite sends an authentication code to the authenticator application installed on your device.

-
Open your authenticator application and note the authentication code currently displayed.
-
Enter the authentication code displayed in the authenticator application.
-
Click Log In.
With a text message (SMS).
-
Click MFA verification via SMS.
The dialog box updates with boxes for entering the numbers of the authentication code, and the ESO Suite sends an authentication code to the phone number recorded in your PM records and identified with MFA codes.

-
Enter the authentication code sent to your MFA-registered phone number.
-
Click Log In.
With an email message.
-
Click MFA verification via email.
The dialog box updates with boxes for entering the numbers of the authentication code, and the ESO Suite sends an authentication code to your agency or department email address, recorded in your PM records.
-
Enter the authentication code sent to your agency or department email address.
-
Click Log In.
-
-
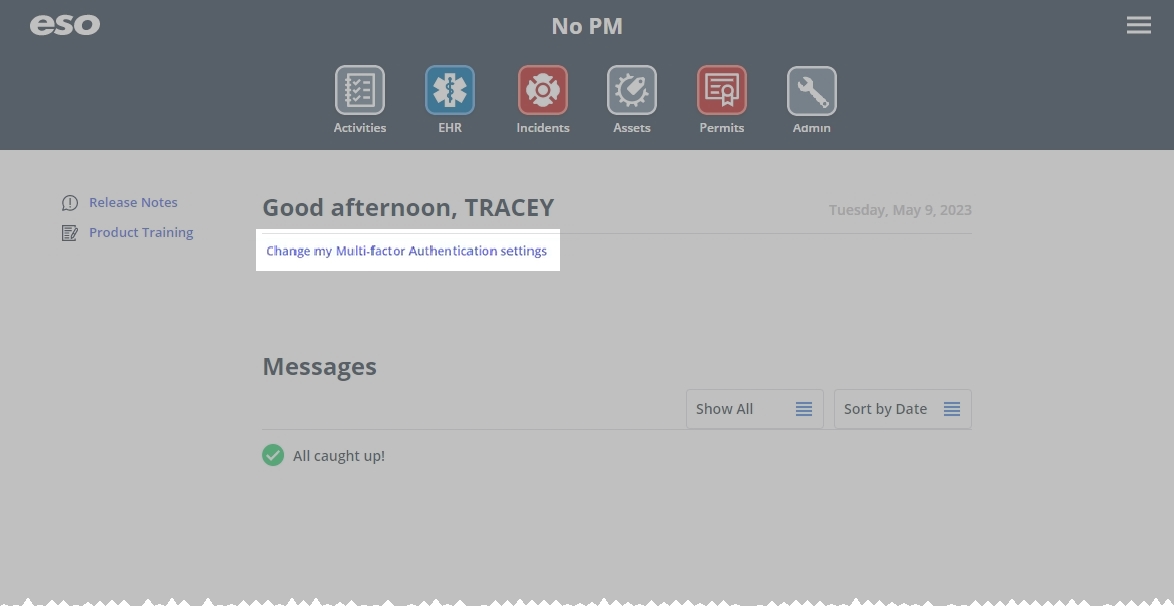
The ESO Suite landing screen appears.
Click graphics
to open them.Note: If MFA is enabled, you can access and manage your MFA options through the PM module, on the Settings > Account page, as described in Manage a user account. If your agency or department has enabled MFA but has not purchased the full-featured version of the PM module, you can access your own MFA settings by clicking Change my Multi-Factor Authentication settings on the landing screen, then using the Settings > Account page that appears. If your agency has not enabled MFA, the Change my Multi-Factor Authentication settings link does not appear on the landing screen.

-
-
On the top side of the home screen, click Inventory.
 Tip: (On a narrow screen or browser window) Display more module icons.
If your screen or browser window is too narrow to display all your agency's ESO Suite module icons, the More Apps icon appears on the right side of the icon bar. If you click this icon, a menu appears containing additional module icons.

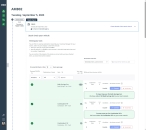
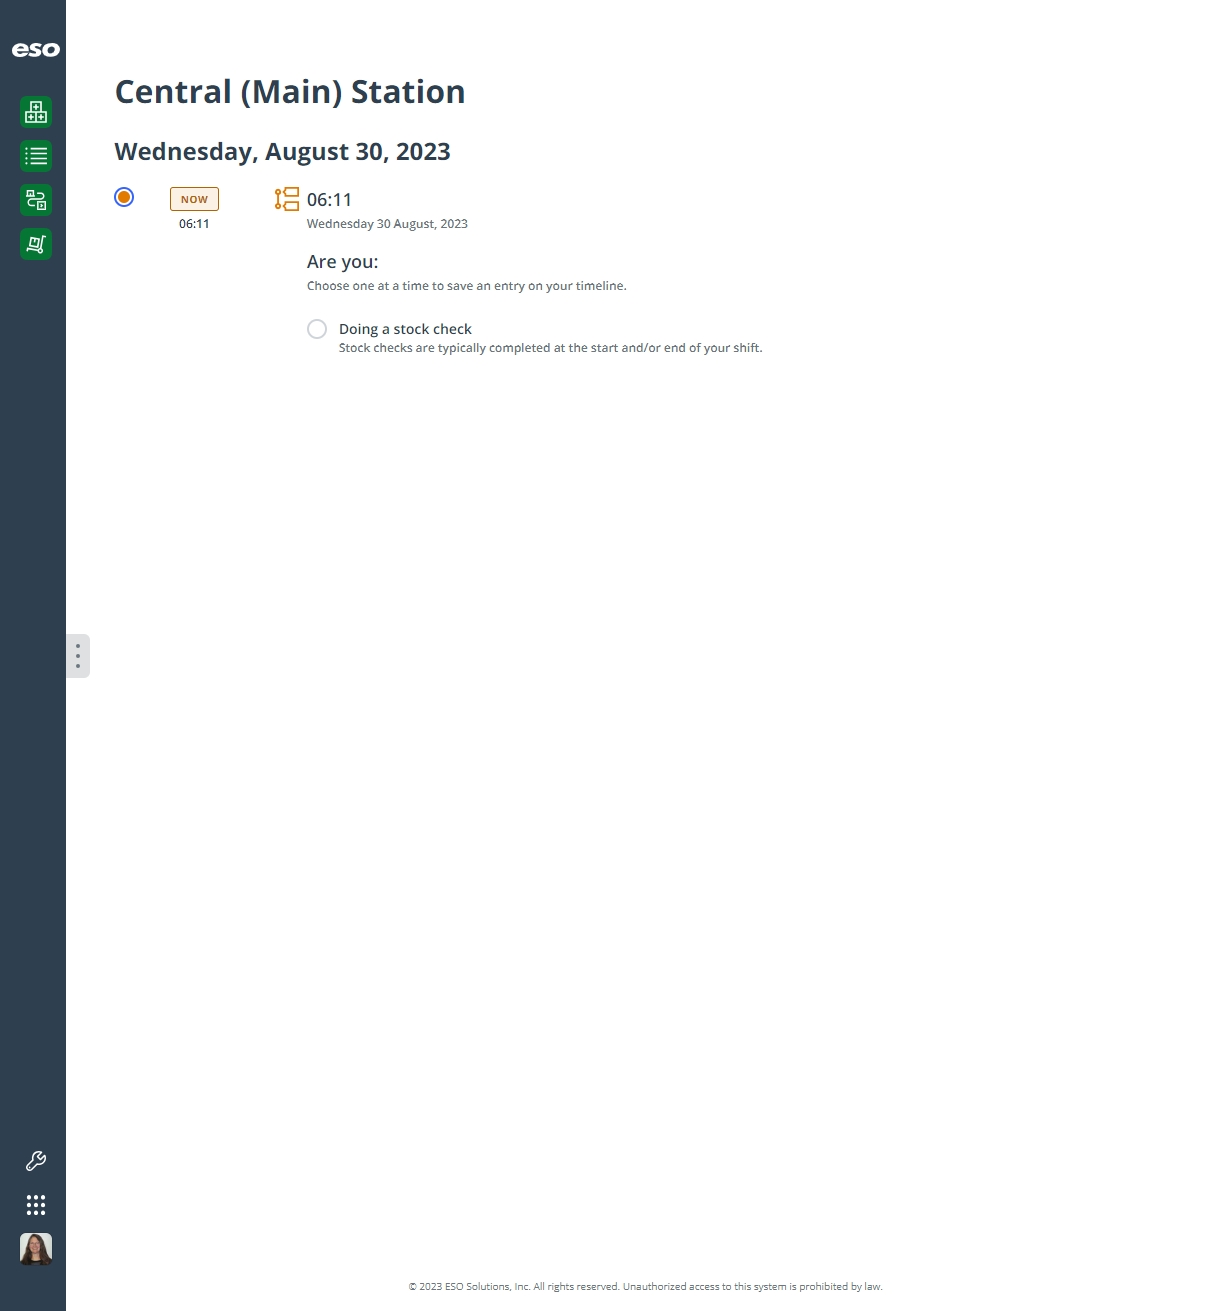
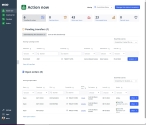
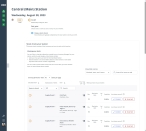
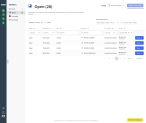
The Inventory module opens, displaying the Action now page.
Click graphics
to open them.
-
-
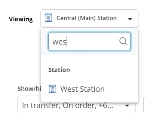
In the upper right corner of the page, from the Viewing menu, choose the location whose item list you want to work with.
 Tip: Search the list of locations.
-
At the top of the menu, in the search field, type the combination of characters you want to search the options for.
As you type each character, the list of menu options reduces to only those whose names contain that combination of characters.
If you choose a station or vehicle as the location, the Manage this station's inventory or Manage this vehicle's inventory button appears to the right of Viewing.
Tip: This button also appears if you are on the Inventory list page and you choose a station or vehicle. It does not appear if you choose a hospital as the location, or are on the Transfers or Orders page.
-
-
Click Manage this station's inventory or Manage this vehicle's inventory.
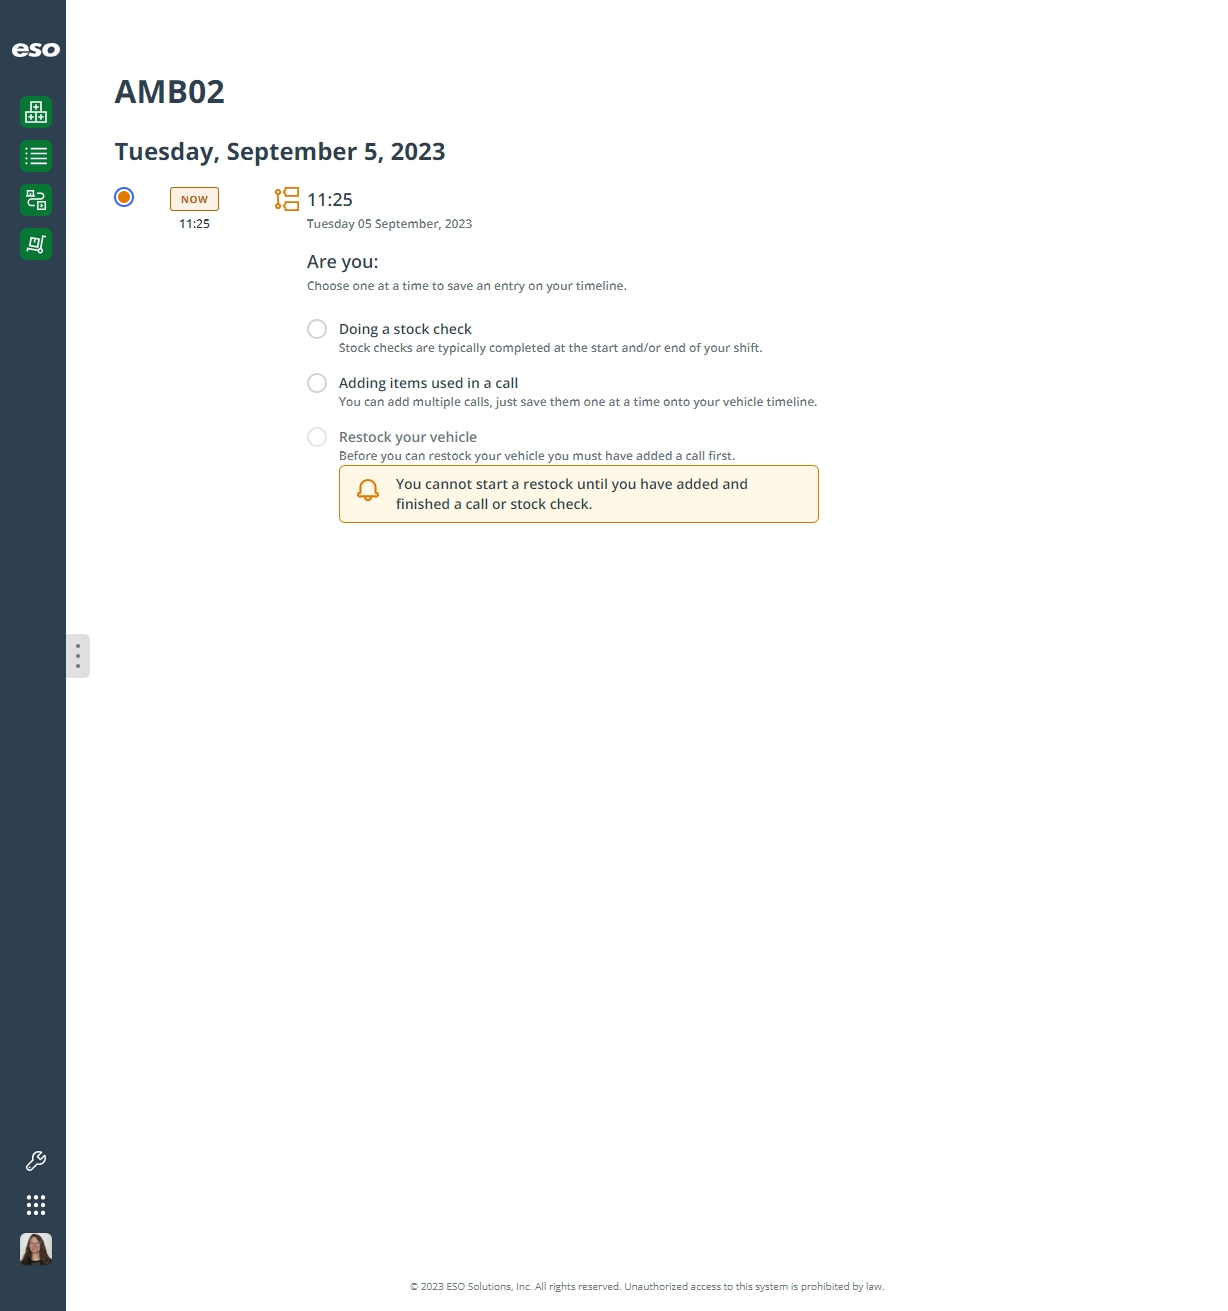
The page that appears displays the name of the station or vehicle you selected, and buttons and fields relevant to managing the station or vehicle's supplies. For a station, you can only perform a stock check; for vehicles, you can perform a stock check, list the items used during a call, and restock your vehicle for future calls.

-
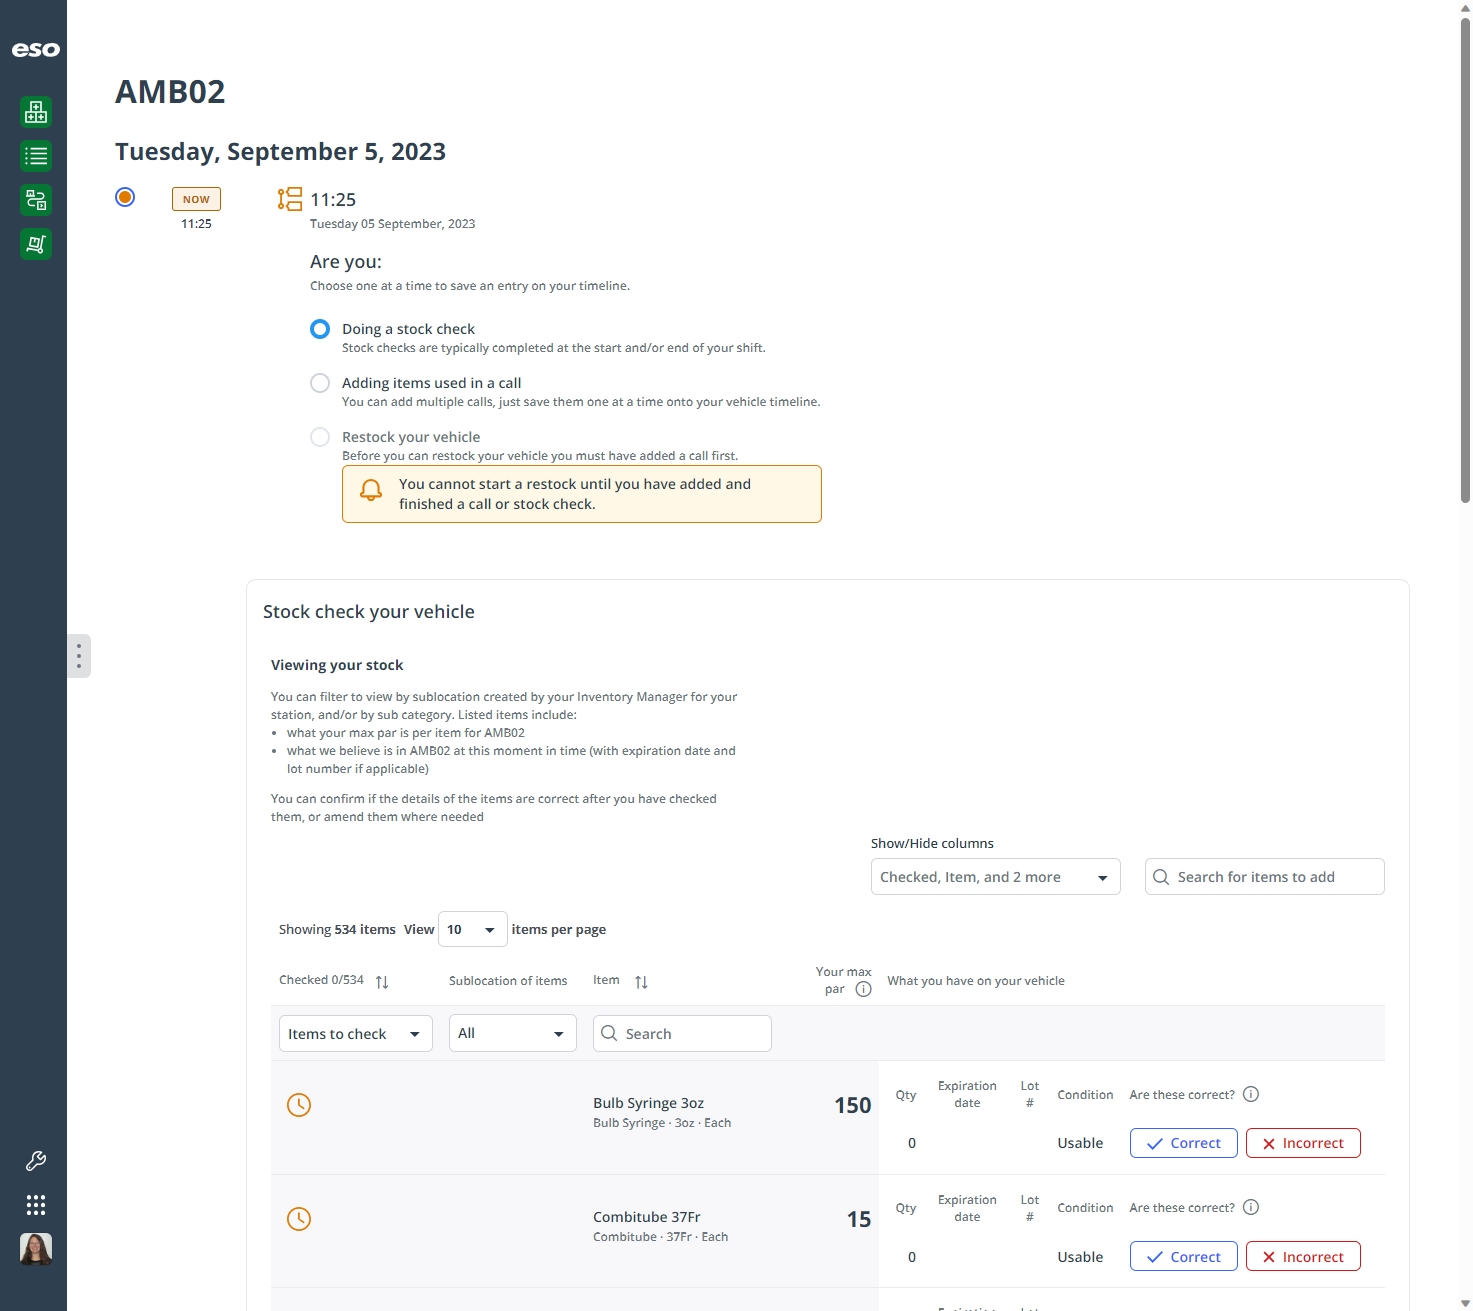
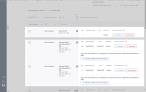
Under Are you, choose Doing a stock check.
Fields and information relevant to the station or vehicle's current inventory appear on the page.

-
(Optional) Manage the amount of data displayed on the page.
You can search for items in the location's inventory and within the stock check list (the table that appeared), and sort some columns in the table into ascending or descending order.
-
Depending on how you want to search or sort the data, do any of the following.
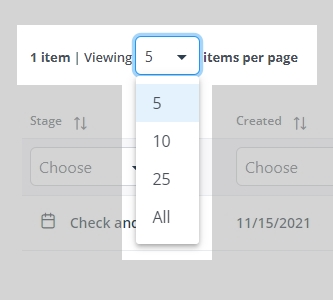
Change the maximum number of items displayed on the page.
-
Above the list of items, on the left side, from Viewing number items per page, choose the number of items you want to display on the page.

Search the entire list for a character combination.
The Inventory module populates the item stock check list with all the items for which stock exists or par levels are set at that location. You can search the list of inventory items that are not already in the location's stock check list, and add any items from the search results to the check list.
Example: While performing a stock check, you found a pen light in a bag (sublocation), and that pen light was not on the item check list. You can search for the item in the location's general inventory and add it to the location's stock check list, so that it is tracked going forward as part of that location's inventory.
Note: The search excludes any items that are were already on the check list, or which you added to the list, and does not include numerical values from the other columns in the table.
This search includes the item name and any agency "preferred names" the Inventory module administrator configured for items on the Settings pages.
-
Under Stock check your station or Stock check your vehicle, on the right side above the list of items, in Search for items to add, type the combination of characters you want to search the location's full inventory list for.
As you type each character, the list of options in the menu reduces to only those whose names or values contain that combination of characters.
Example: If you typed the characters
4in, the list of menu options reduces to display only the items whose names or values contain these characters, and which have not been added to the stock check list.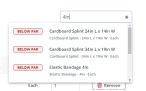
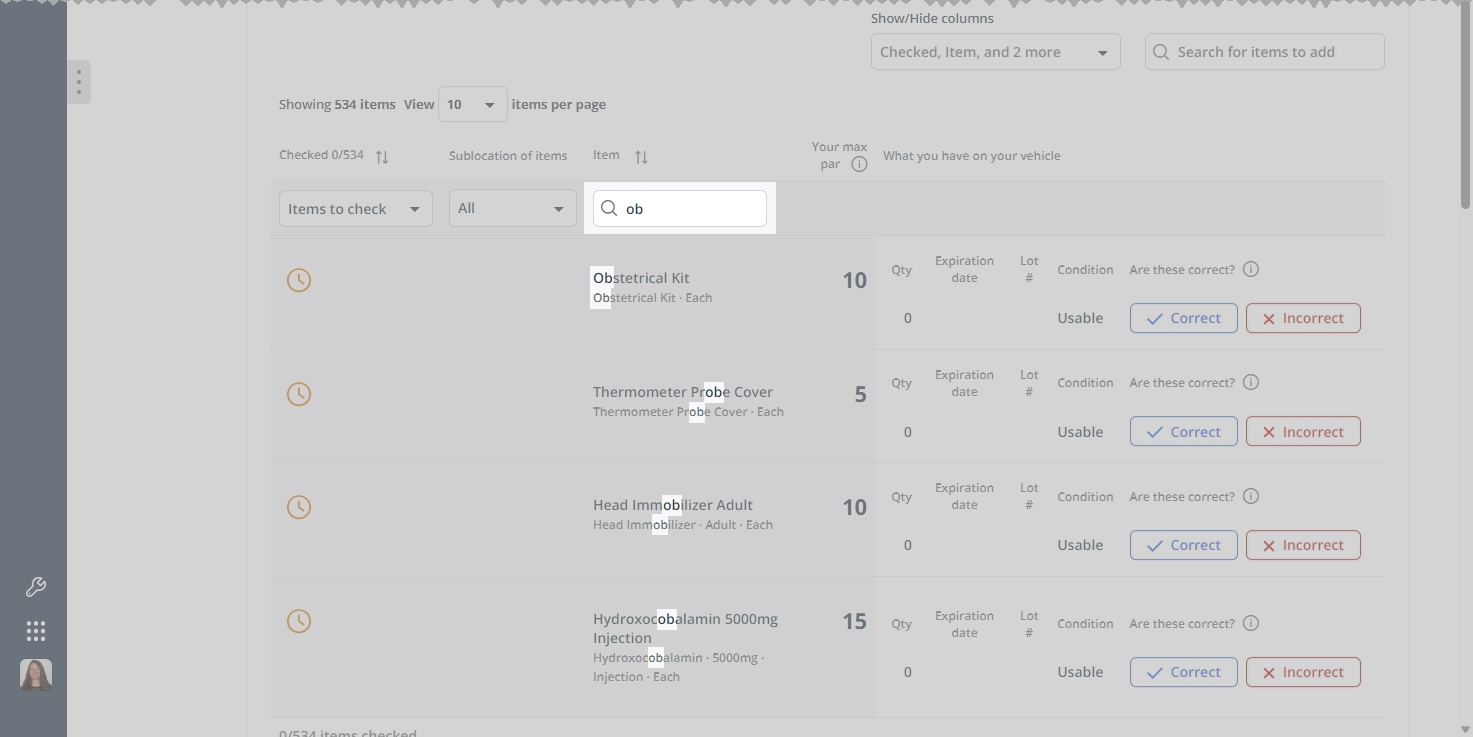
Search within a column for a character combination.
The text that appears in the Item column is a combination of multiple pieces of data. The text in bold characters is the name of the medicine, ingredient, or medical supply item. If your Inventory module administrator had configured any agency "preferred names" for items on the Settings pages, those names replace the default medicine or medical supply item names. The original (default) names for items still appear as the lighter text below the bold item names. These original names are particularly important for medicines, as these names include dosage and strength information, which can reduce mistakes that might be introduced from preferred names.
You can search the item stock list for items that are already added to the list. This may be preferable to searching the entire list for a character combination that may occur in multiple columns and provide a longer list of matches than you need.
-
At the top of the column you want to search, in Search, type the combination of characters you want to search the entire list for.
As you type each character, the list of items in the column reduces to only those whose names or values contain that combination of characters.
Example: If you typed the characters
ob, the entire list reduces to display only the items that contain these characters in the ingredient name or medical supply name.
Sort the entire list into ascending or descending order, based on the values in a column.
-
At the top of the Item column, click the column sort (
 ) icon.
 The ascending values (
 ) icon appears and the column sorts from A–Z, or from 1 to the highest numerical value.
 -
Click the ascending values icon to sort the list into descending order.
The descending values (
 ) icon appears and the column sorts from Z–A, or from the highest numerical value to 1.
Filter the entire list, based on specific values in a column.
-
At the top of the Checked and Sublocation of items menus, click the menu and choose an option to filter the list with.

Only the items whose values in those columns match the option you selected appear in the list.

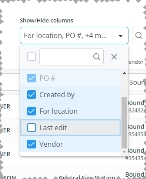
Hide or display entire columns.
You can decide which columns of data you want to display on the page and which columns you do not need, and hide the unnecessary columns. You can also redisplay any columns you hid in past.
-
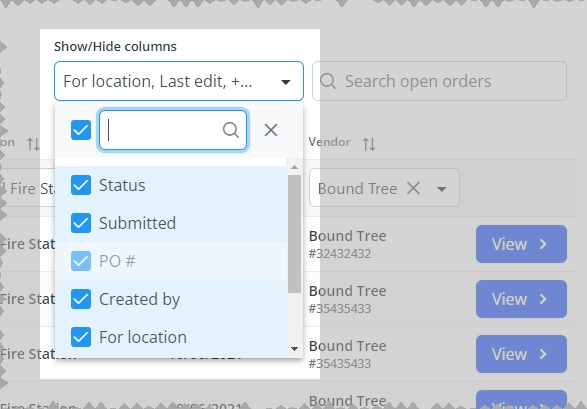
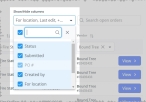
Above the list of items, on the right side, click the Show/Hide columns menu.
-
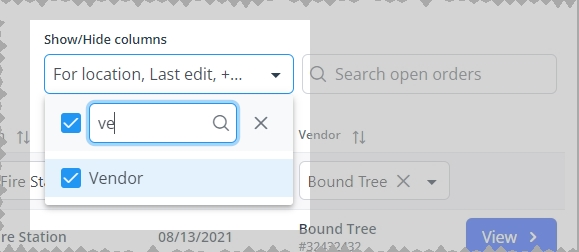
(Optional) In the blank (search) field at the top of the menu, type the combination of characters you want to search the entire list for.
As you type each character, the list of options in the menu reduces to only those whose names contain that combination of characters.
Example: If you typed the characters
Or, the list reduces to only the options that contain those characters.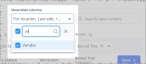
-
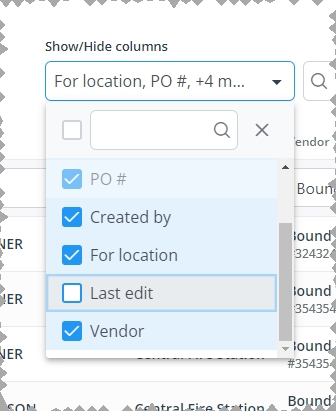
In the menu, select the check boxes for columns you want to display on the page, and clear the check boxes for columns you want to hide.
Only the columns you selected remain visible on the page.
Example: If your agency decides it does not need to know at a glance when a transfer was last edited, you do not need to display the Last edit column on the page. If you clear the check box for the Last edit option in the menu, the Last edit column disappears from the page.
-
-
-
At the station or on the vehicle, for each item in the list, count the physical items and compare your count to the quantity displayed for that item in the list.
Untracked items appear in the table as a single row, with no expiration date or lot number displayed, and you can not change the sublocation the item is stored in. Tracked items may have quantities that come from multiple lots and have differing expiration dates. The Inventory module tracks the lots individually, so that you can be very precise in your management of the station or vehicle's inventory.
Note: Items that have expired also appear on this list, as they should normally be restocked with unexpired items. However, in the event of drug shortages, the government can grant permission to continue using a drug past its expiration date as needed. In those cases, you have the option to mark an item on this restock check list as incorrect, and edit the information as necessary to explain the exception.
-
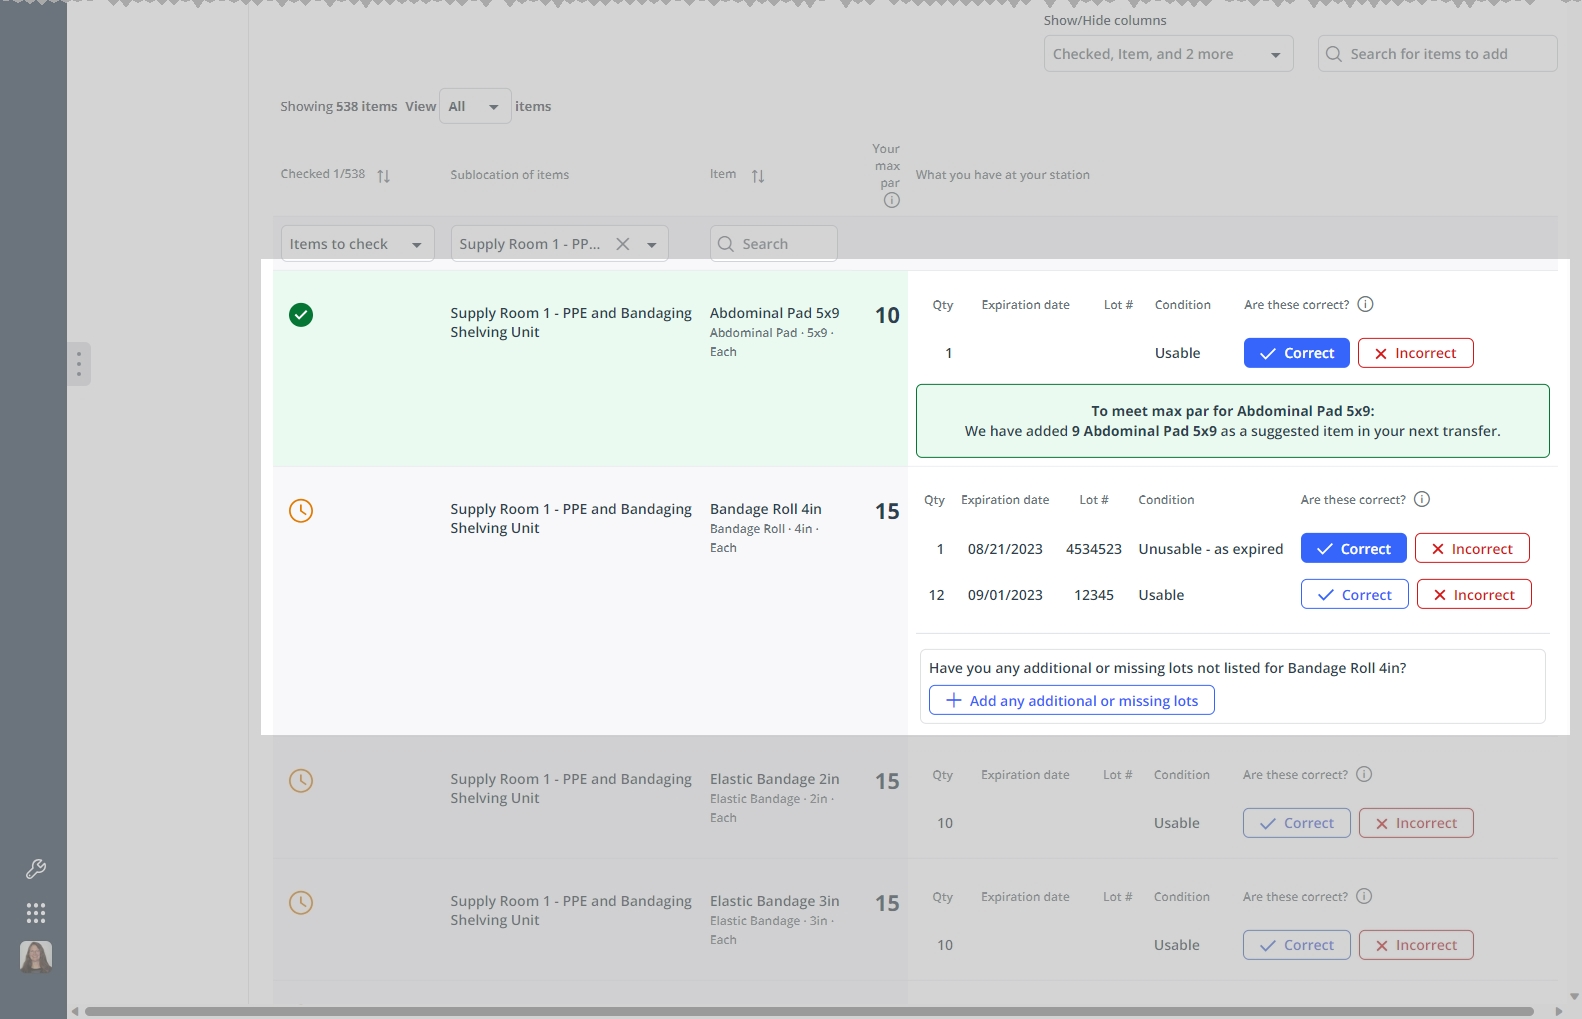
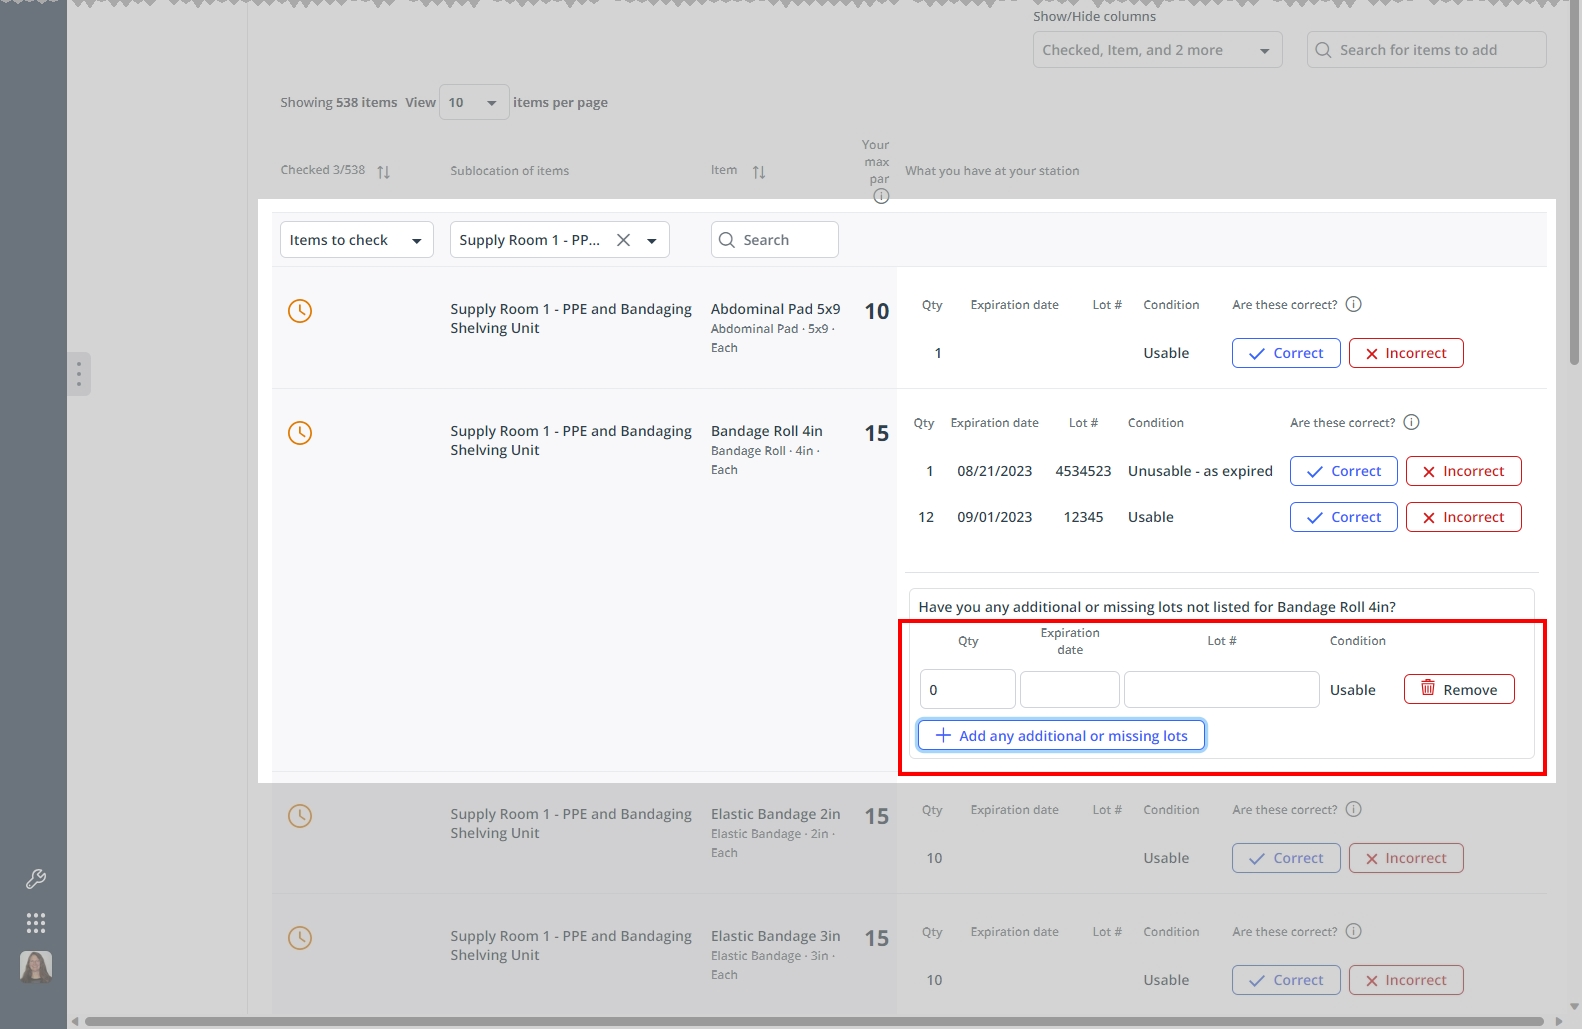
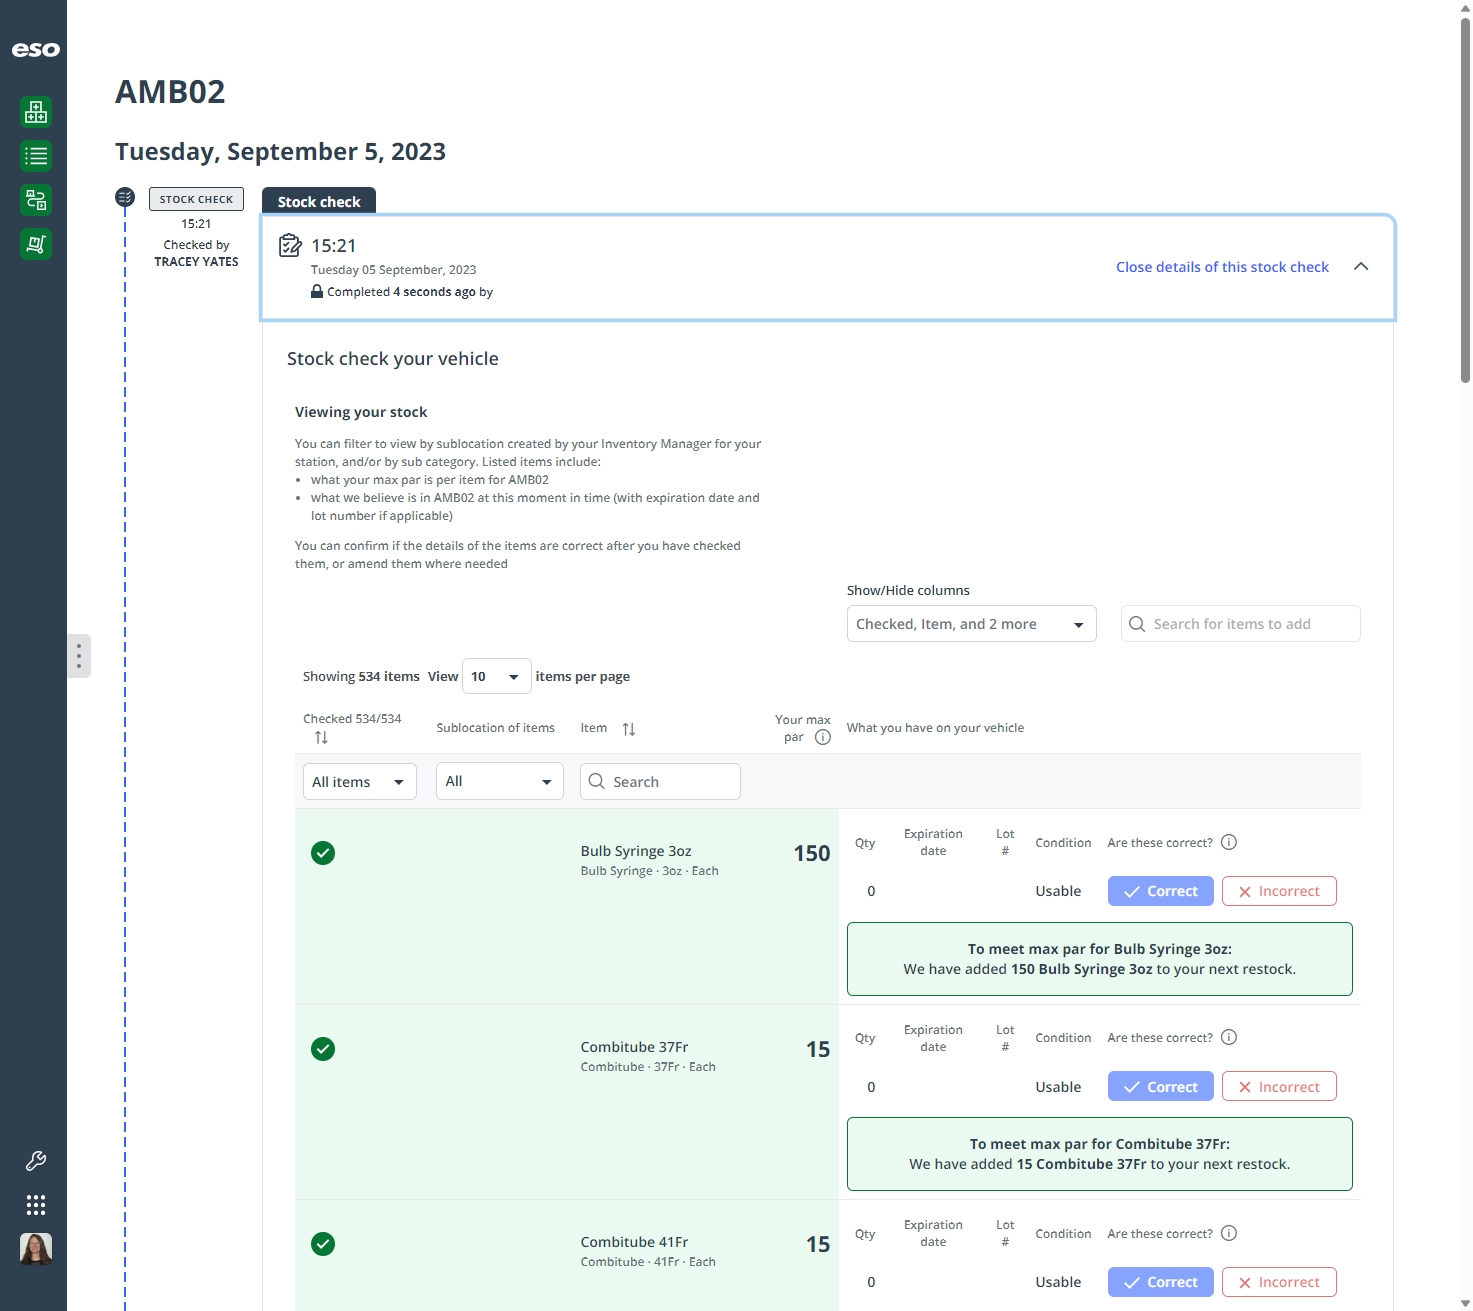
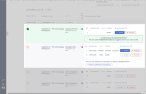
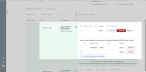
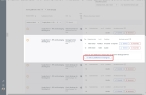
In the row for the item or a lot number listing for the item, in the Are these correct? column, click Correct or Incorrect.
When you click Correct, this happens.
After you click all of the Correct buttons for an item's row in the table, the cells for the Checked and Item columns turn green and a green check mark replaces the clock icon, to indicate that you have checked the Inventory module item quantities against what is actually at the station or on the vehicle. If you are working with a tracked item with multiple lot rows, these indicators do not appear until you have chosen Correct or Incorrect for all the lot rows.
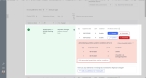
If you clicked Correct and if the item is overstocked or under par for the location, a message notifying you of that status appears and, in the case of under-par items, the Inventory module automatically adds the necessary number of items as a suggestion to your next item transfer request, for the location to meet that item's max par (ideal) level.
 When you click Incorrect, this happens.
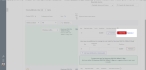
In most cases, the Edit incorrect details dialog box appears for that item, or the specific lot number for the item, and providing fields for you to update the information to match the physical count of items.

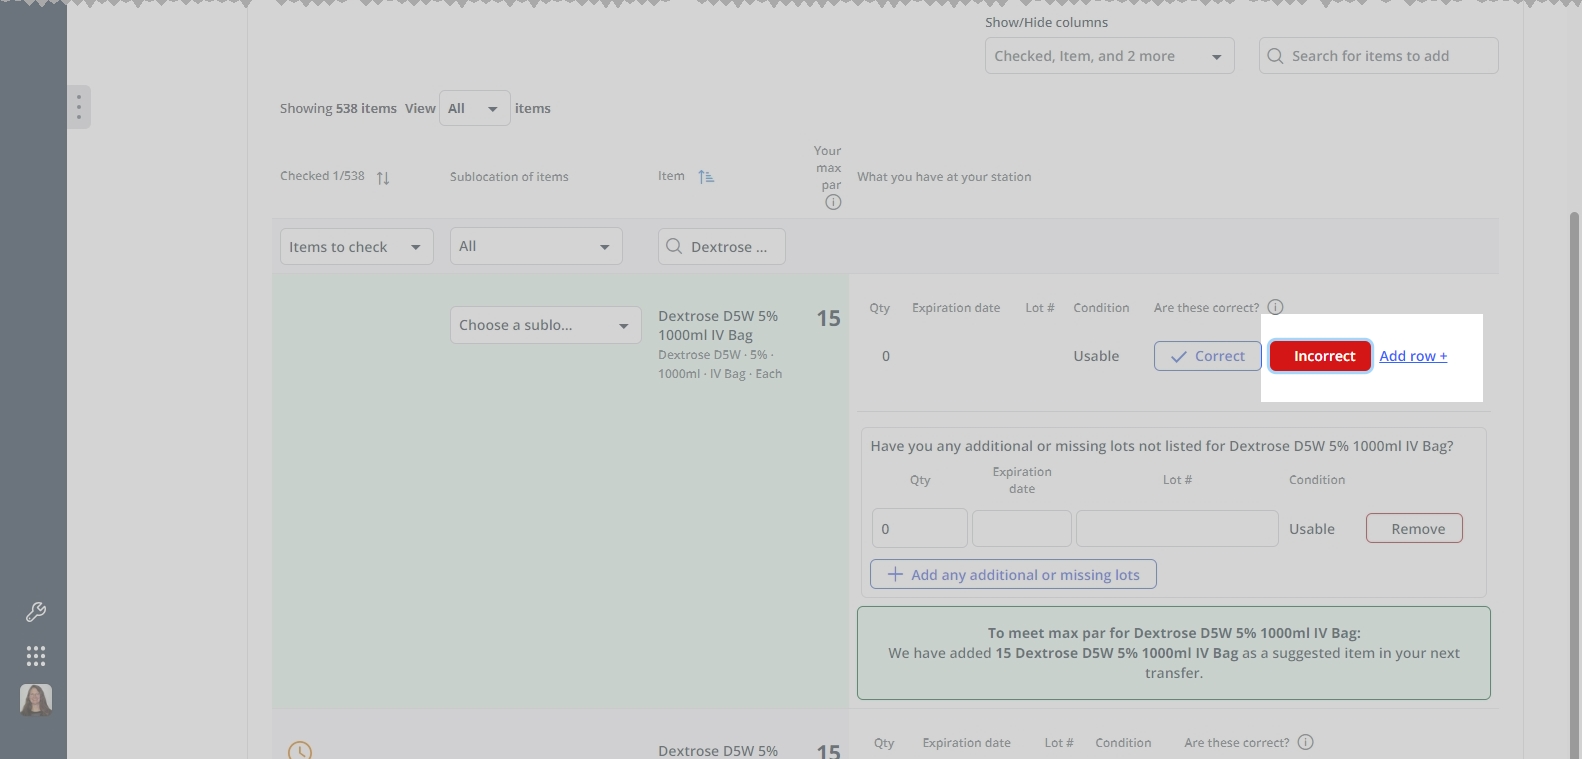
However, if you clicked Incorrect and if par levels are set for an item, and you find some of that item at the station or on the vehicle during the stock check, but the current quantity for that item is zero (0) and the sublocation for the item is not defined in the Inventory module, the Add row option appears to the right of Incorrect. You can then add the discovered item into the stock records.
If par levels are set for an item and if the item’s quantity in the Inventory module is zero (0), no rows with lot information appear in the table’s row.
-
(If you clicked Incorrect) Correct the item information in the Inventory module.
Do one of the following.
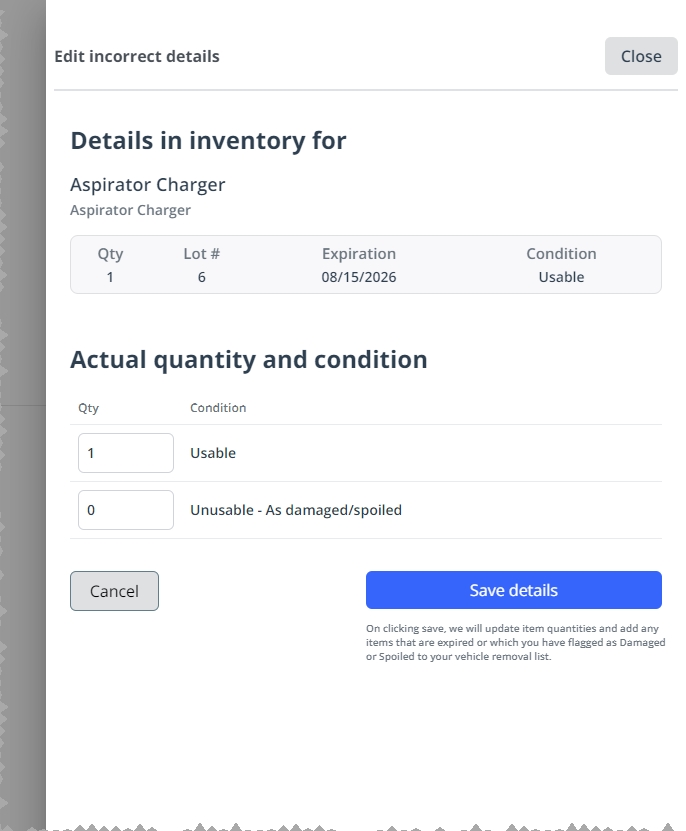
The Edit incorrect details dialog box appeared.
-
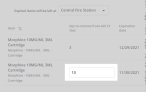
For the row with the Condition column value of Usable, in the Qty column, type the accurate number for the usable item you have in stock.
-
For the row with the Condition column value of Unusable - as damaged/spoiled, in the Qty column, type the accurate number for the unusable item you have in stock.
-
Click Save details.
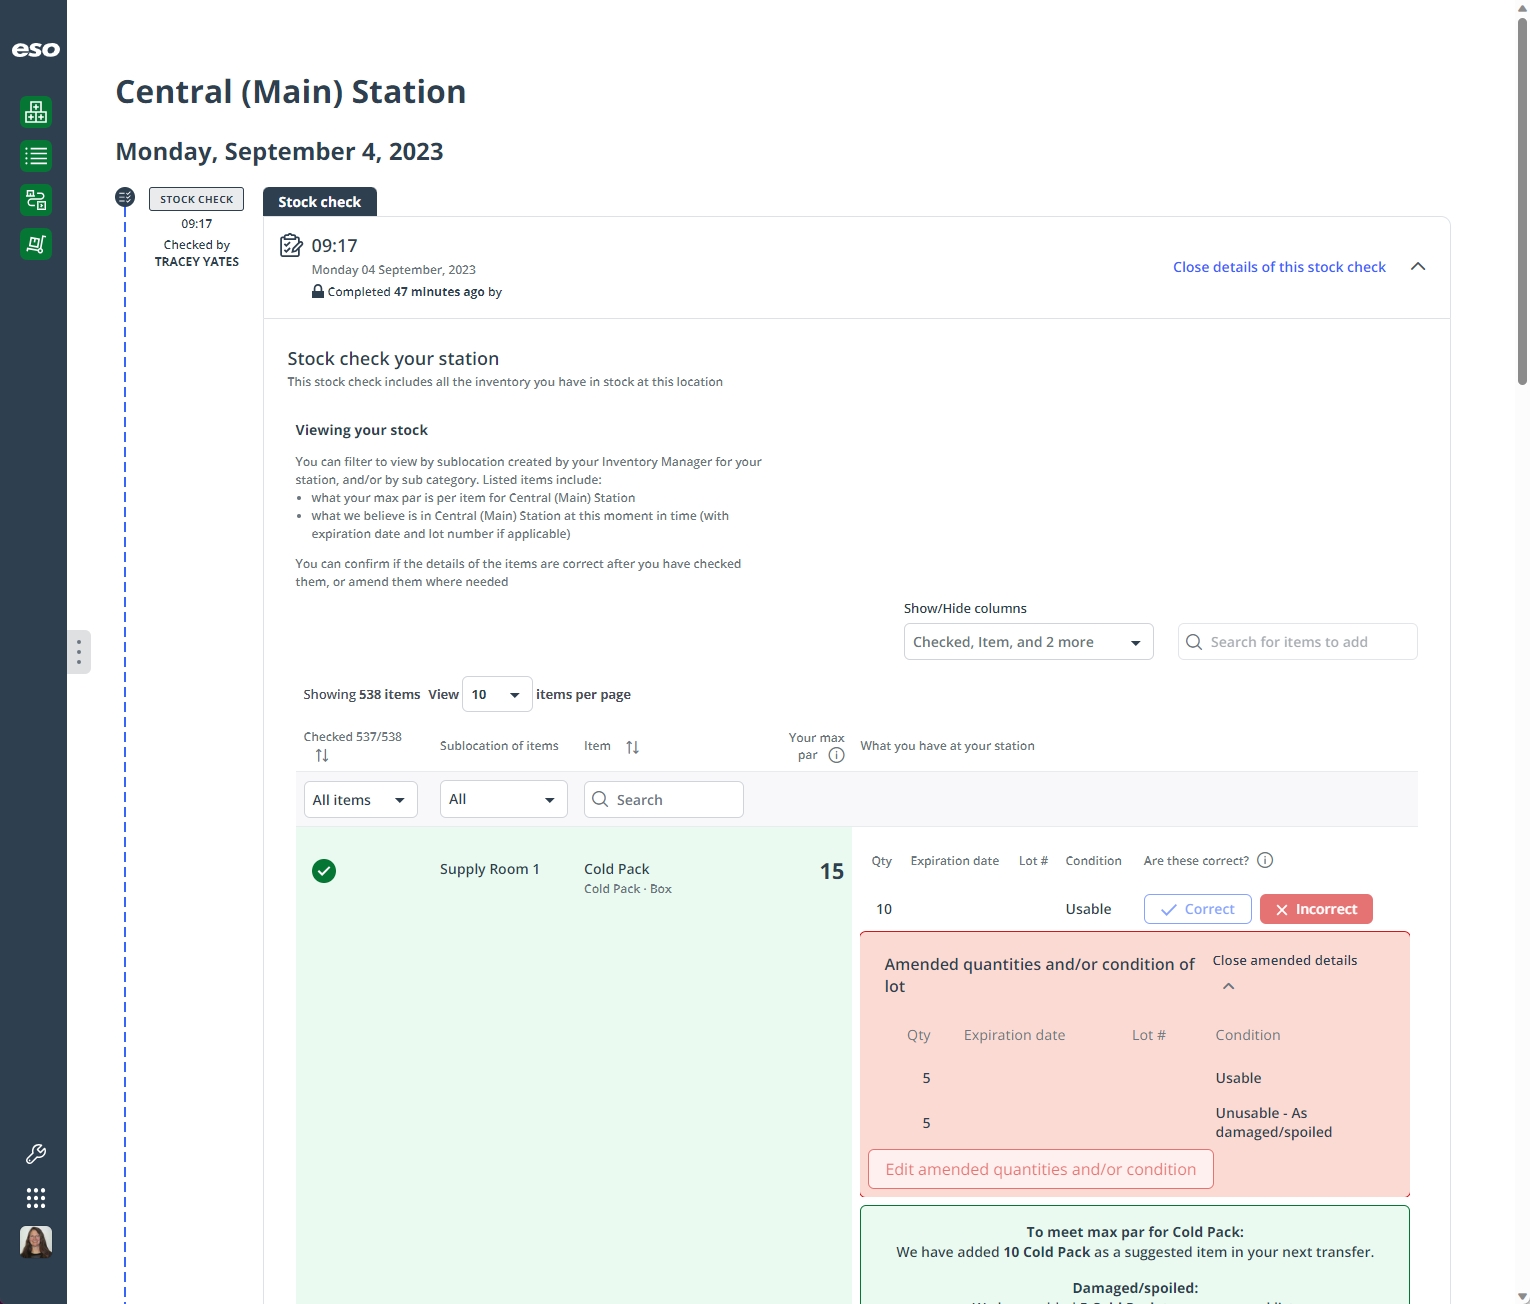
The dialog box closes, and the amended quantities and/or condition message for the item or lot you corrected appears in the item list.
-
(If necessary) Correct any quantity changes you made.
-
Click Edit amended quantities and/or condition.
The Edit incorrect details dialog box reappears.
-
Change the values in the dialog box as needed.
-
Click Save details.
-
The Add row option appears to the right of Incorrect.
-
To the right of Incorrect, click Add row.
A new lot row appears in the item's table row, providing fields for you to specify the expiration date and lot number for the item, and the Choose a sublocation menu appears In the Sublocation of items column.

Tip: If necessary, on the right end of the new row, click Delete to remove the row.
-
In the Sublocation of items column, from Choose a sublocation, select the option indicating where the item is stored.
-
In the Qty column, type the accurate number for the item you have in stock.
-
In the Expiration date column, click the field and select the appropriate date from the calendar that appears.
-
In the Lot # column, type the necessary information for the lot number.
-
(If necessary) Below the list of lot information for the item, click Add any additional rows or missing lots.
A new lot row appears in the item's table row, providing fields for you to specify the expiration date and lot number for the item.
Tip: If necessary, on the right end of the new row, click Remove to delete the row.
-
Repeat the steps above as many times as needed to add any quantity and lot number information to for the item.
-
-
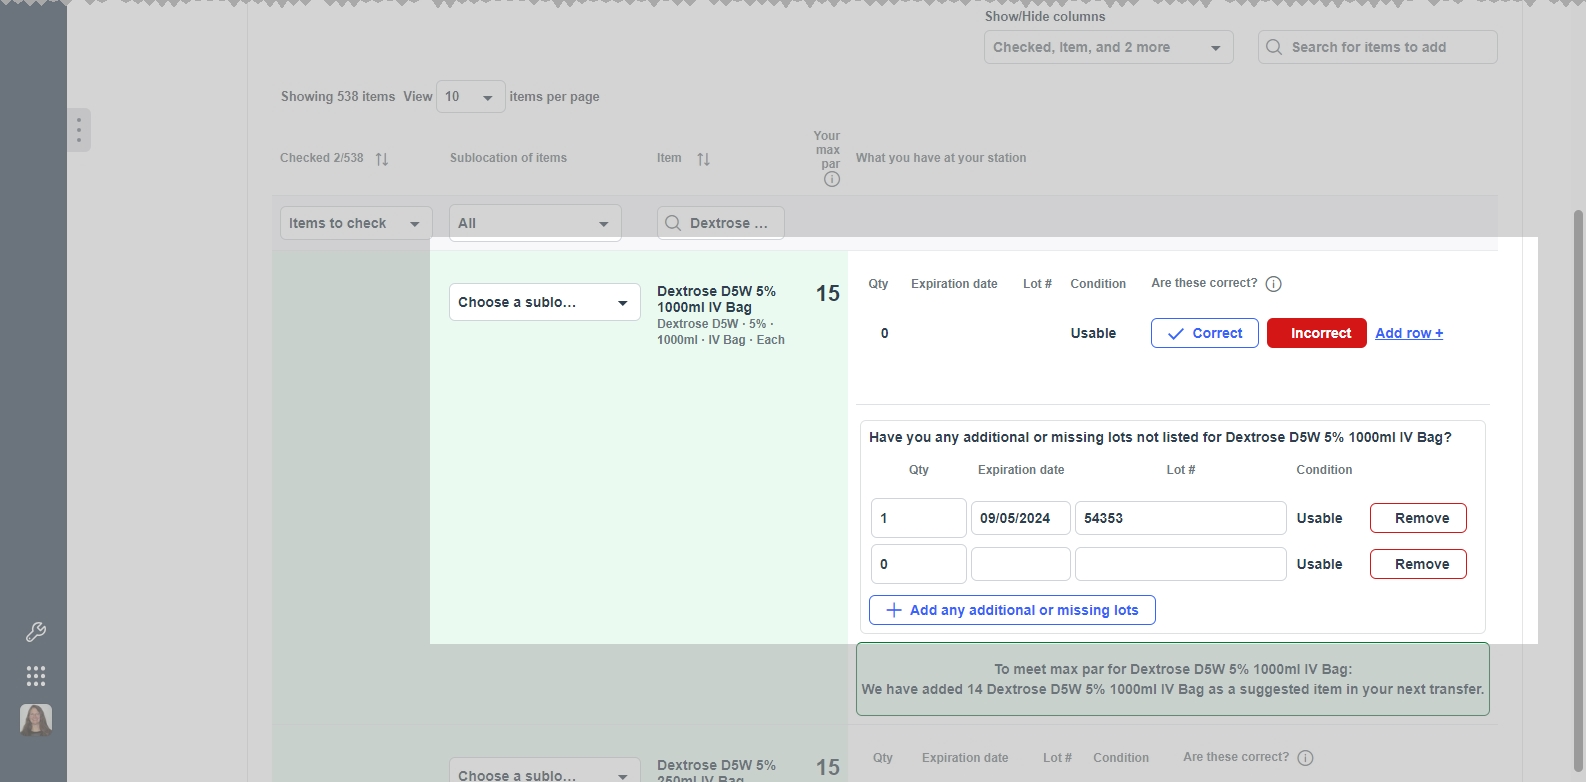
(Tracked items, in the same sublocation, if you find more of an item than is recorded) Record information about the discovered additional stock for the item.
Sometimes you may find more of a tracked item at the station or on the vehicle than is recorded in the Inventory module. In these cases, you can add a new lot row to the item's table row, and enter the quantity, lot number, and expiration date of the additional stock you found.
-
(If necessary) Below the list of lot information for the item, click Add any additional rows or missing lots.
A new lot row appears in the item's table row, providing fields for you to specify the expiration date and lot number for the item.

Tip: If necessary, on the right end of the new row, click Remove to delete the row.
-
In the Expiration date column, click the field and select the appropriate date from the calendar that appears.
-
In the Lot # column, type the necessary information for the lot number.
-
(If necessary) Below the list of lot information for the item, click Add any additional rows or missing lots.
A new lot row appears in the item's table row, providing fields for you to specify the expiration date and lot number for the item.
Tip: If necessary, on the right end of the new row, click Remove to delete the row.
-
Repeat the steps above as many times as needed to add any quantity and lot number information to for the item.
-
-
Repeat the previous steps until all the rows in the item table have a green check mark in the Checked column.
-
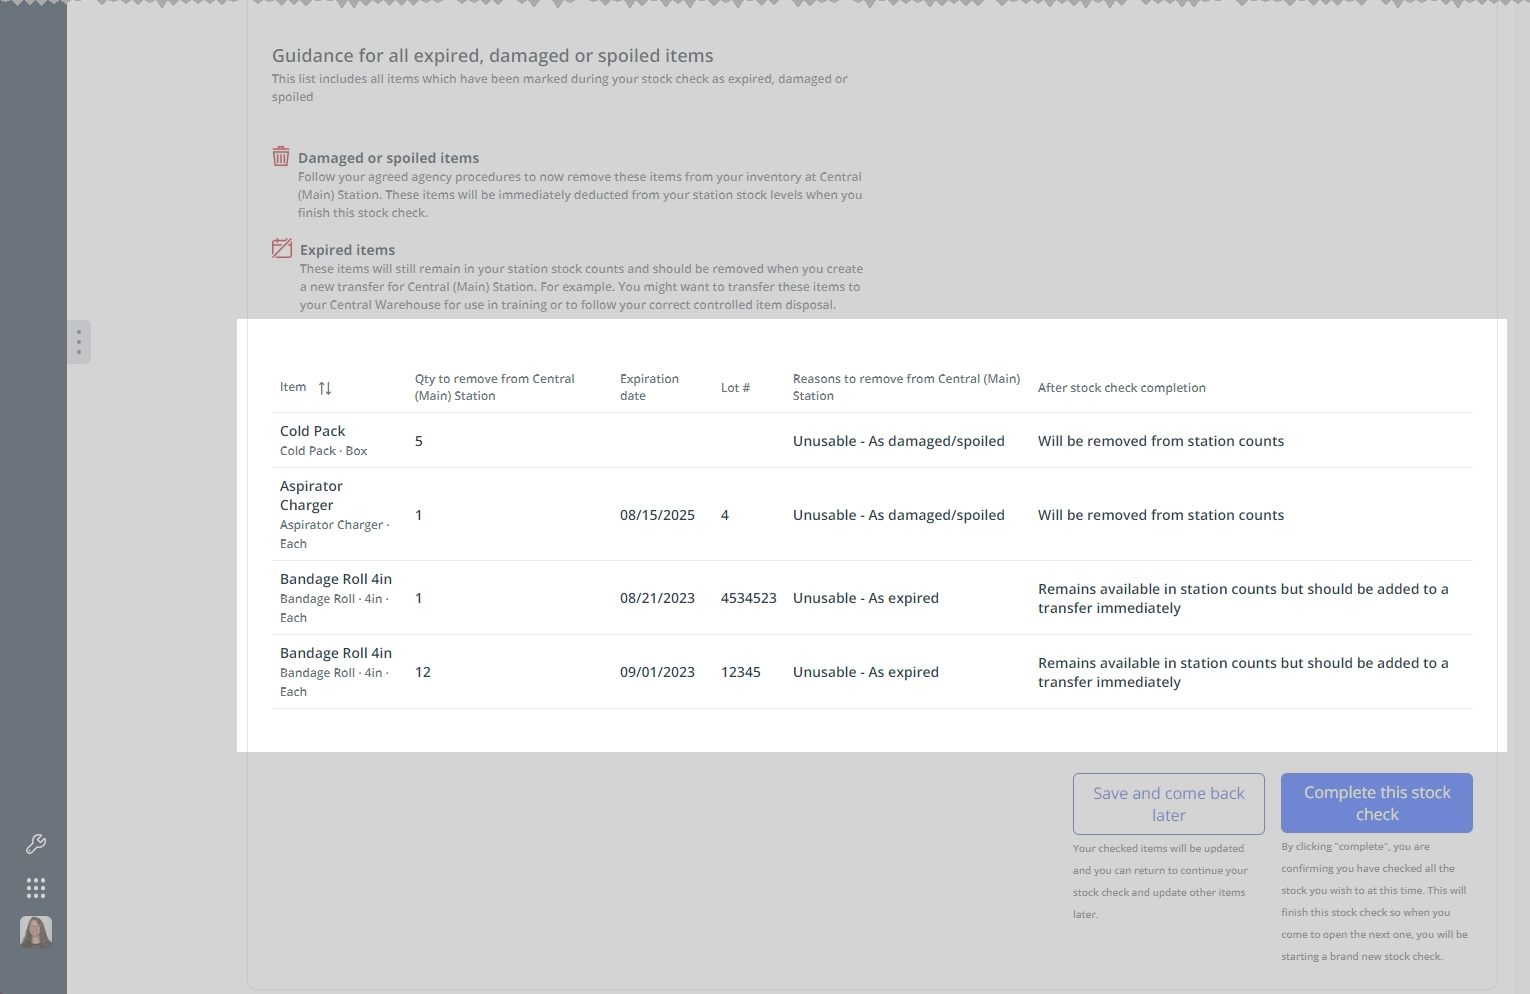
Scroll to the bottom of the page and review the information about items that will be removed from the inventory when you finish the stock check.

Note: For stations, the information in the table is read only and advisory, and you will need to transfer these items to a location that can process them appropriately.
Information on transferring damaged/spoiled or expired items between locations is available in Transfer items between locations.
-
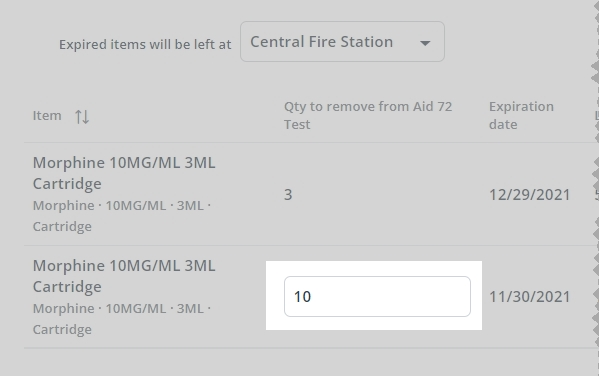
(If managing a vehicle's inventory) Indicate where and what quantity of expired items will be left.
A vehicle can leave expired items being removed from the vehicle at a station location. If the expired item is one that may be granted government permission to administer after the expiration date (such as when there is a shortage of the medication), you can specify how much of the item the vehicle will actually leave.
-
Above the table of items to remove, from Expired items will be left at, choose the name of the station where the vehicle will drop off damaged/spoiled or expired items.
-
In the Qty to remove from vehicle name column, in the row for the expired item you want to remove, type the number of items that will be removed from the vehicle.
Note: If an item is being removed because it is damaged or spoiled, the vehicle must leave the entire quantity, and you can not edit the value in the item's row.
-
-
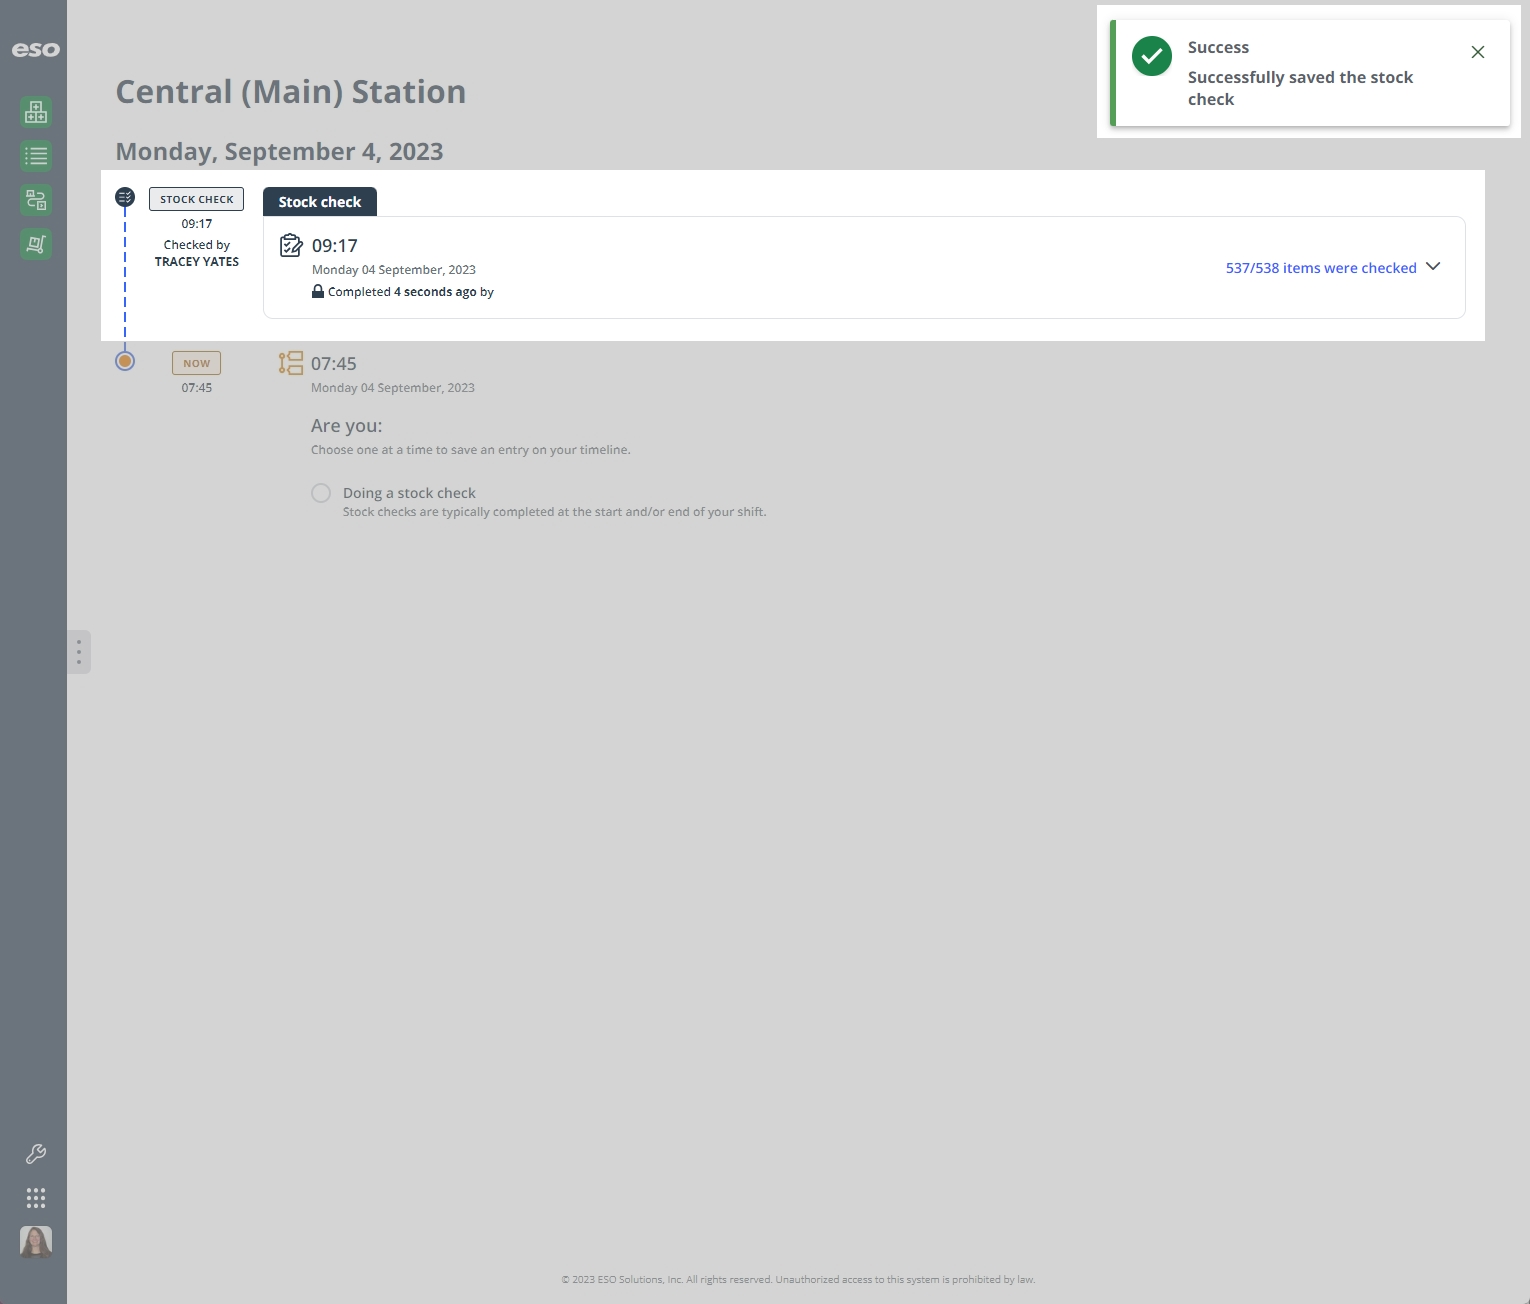
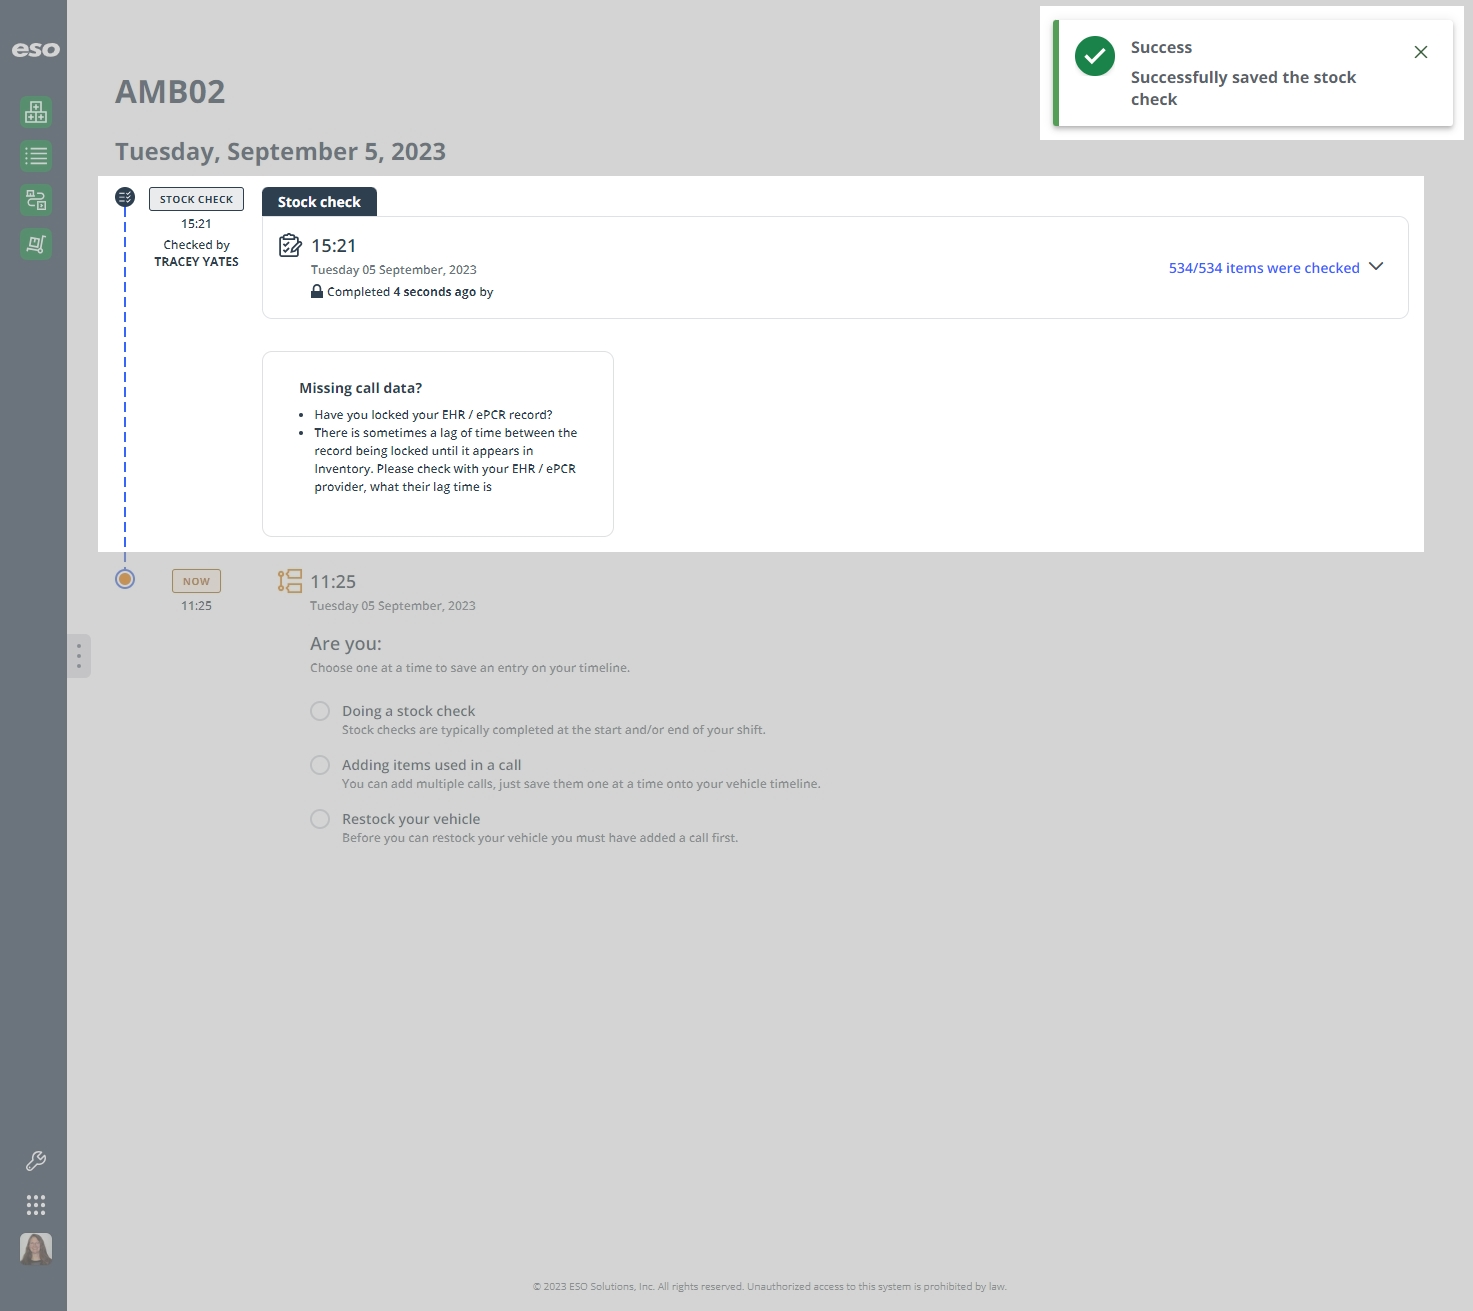
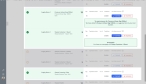
In the lower right corner of the page, click Complete this stock check.
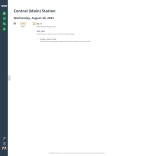
A Success message appears in the upper right corner of the screen, and a timestamped, locked record of the stock check appears on the page.


Tip: To see the information for the completed stock check on the right side of the listing, click the expand (V) icon to the right of number/number items were checked.
The listing expands to display all the items checked and their findings.