Work with archived orders
When all items in an order arrive, or when you determine that one or more items are on back-order and it could be a long time before they arrive, you can archive the order. Archiving the order changes the order's status from Open to Archived, and moves the listing of that order from the Open status page to the Archived status page. This keeps the Open status page focused on the orders that have items still arriving from vendors in a reasonable time frame.
An archived order is one that is placed with a vendor and is partially or completely completed. You can still access archived orders and update them when items on those orders eventually arrive. Archived orders are stored for future reference, and to provide an audit trail.
-
(If you have not done so already) Access the Orders features in the Inventory module, select the location you want to work with, and manage the amount of data on the page, as described in Order new inventory items.
-
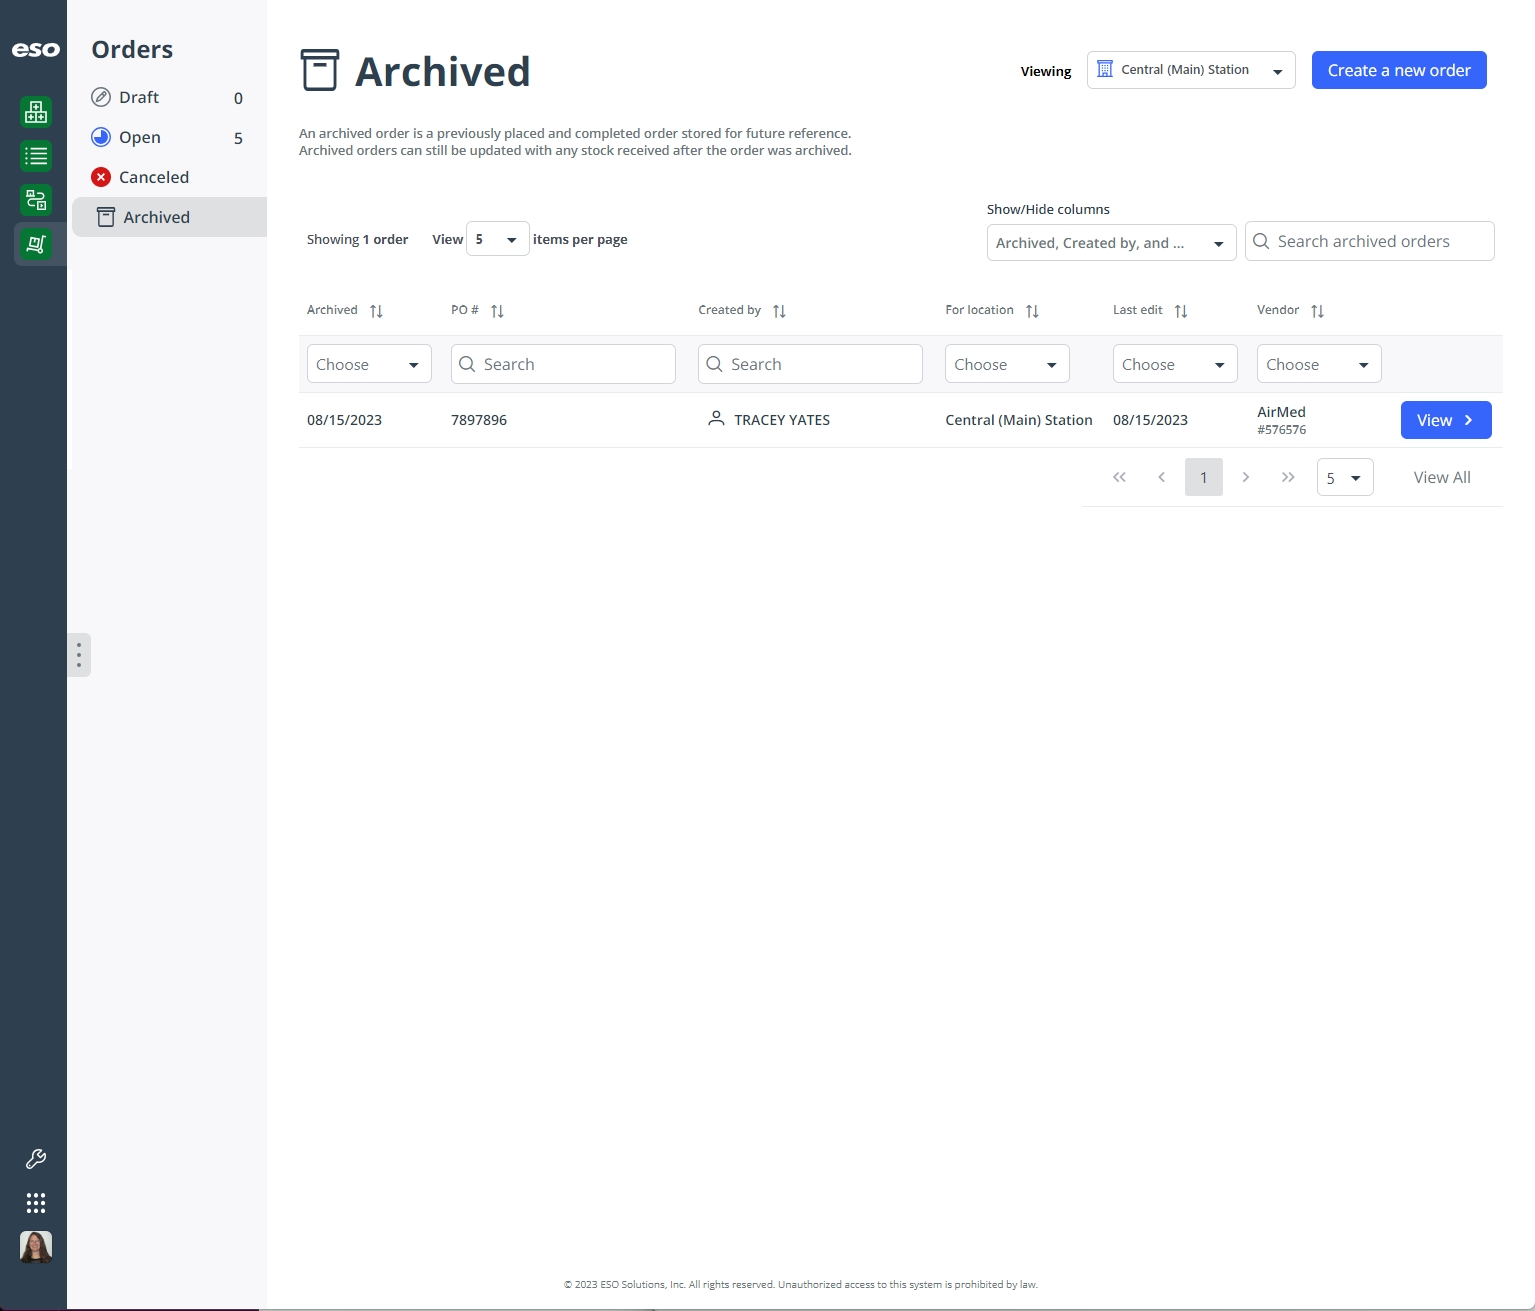
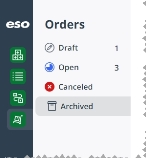
In the Orders pane, click Archived.
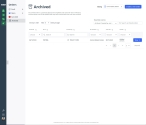
The Archived status page appears in the right pane, displaying a summary of any orders archived for the location you selected in the Viewing field in the upper right corner of the page.
-
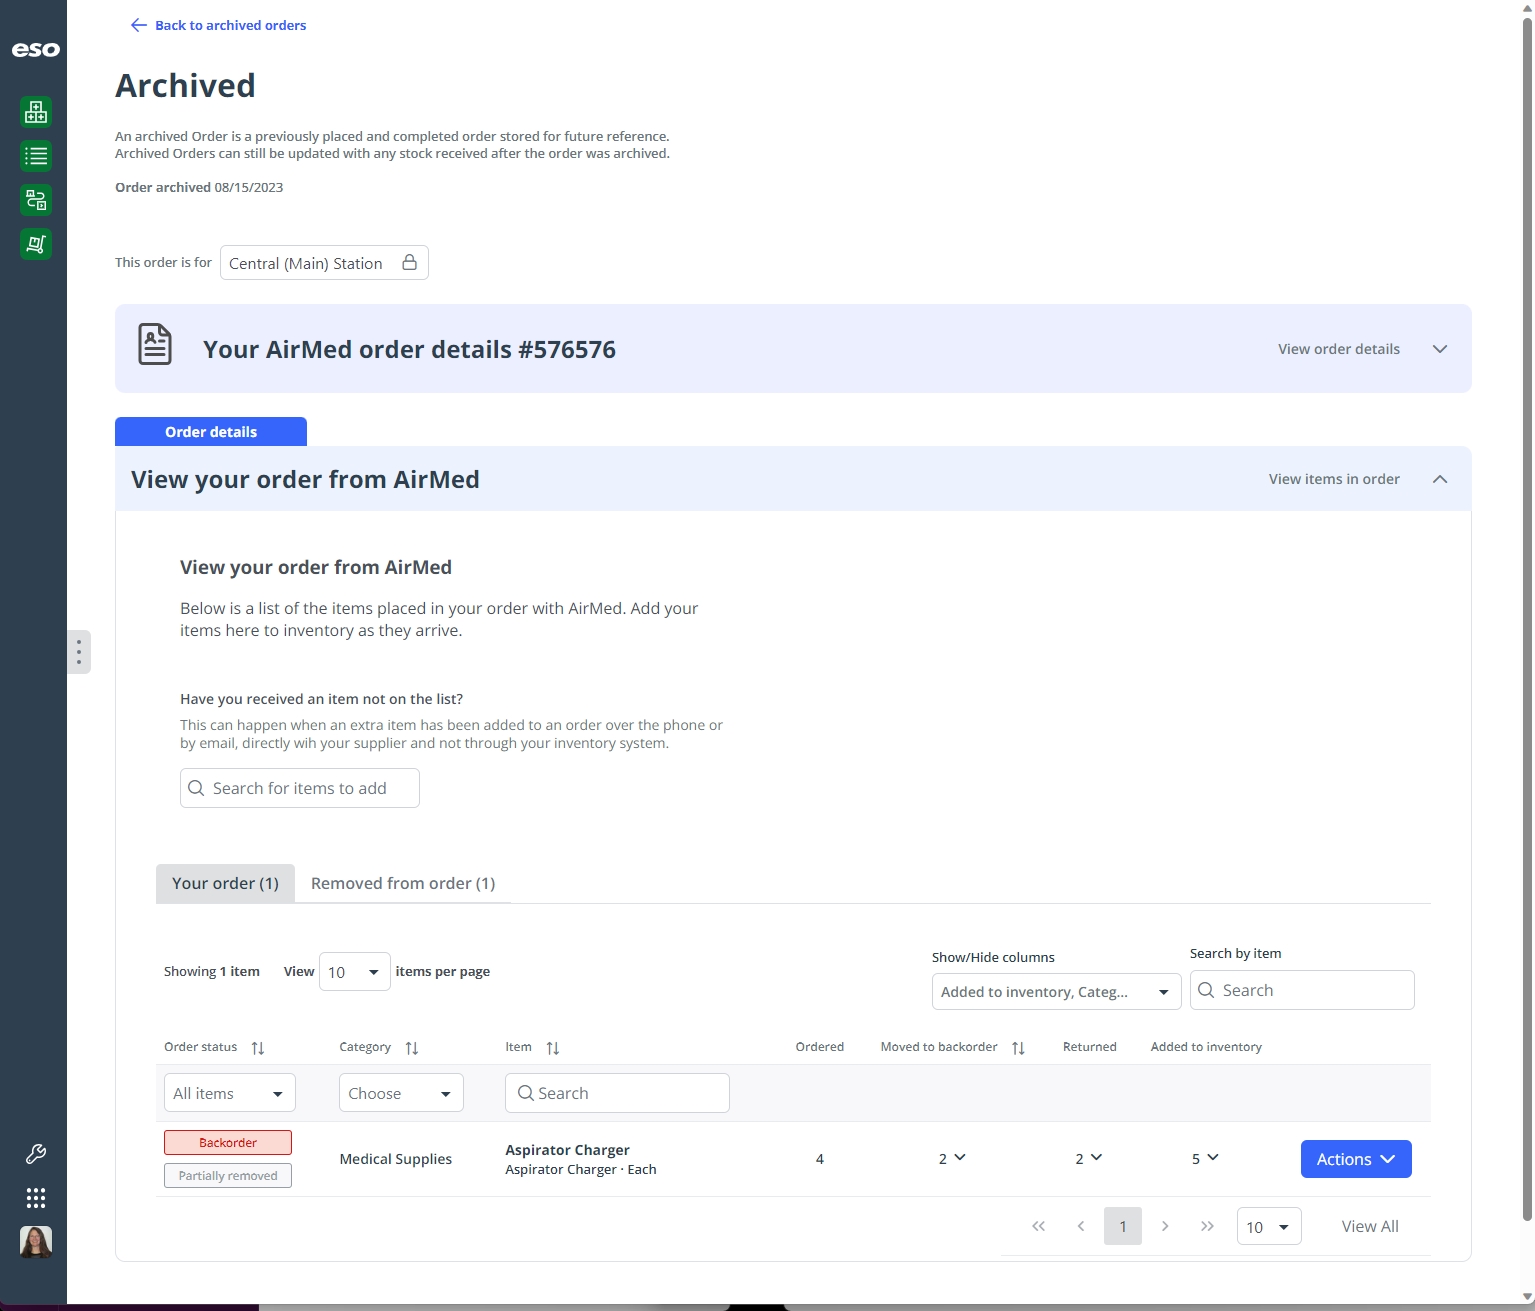
On the right end of the row for the order you want to work with, click View.
The Archived page appears in the right pane, displaying a summary of any orders archived for the location you selected in the Viewing field in the upper right corner of the page. These orders were archived during
Openstatus of the order.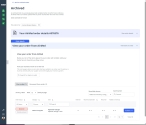
-
Review the information about the order as needed.
-
 Update the order with items that have arrived.
As back-ordered items arrive, you need to update the archived order to track which items you are adding to the inventory.
-
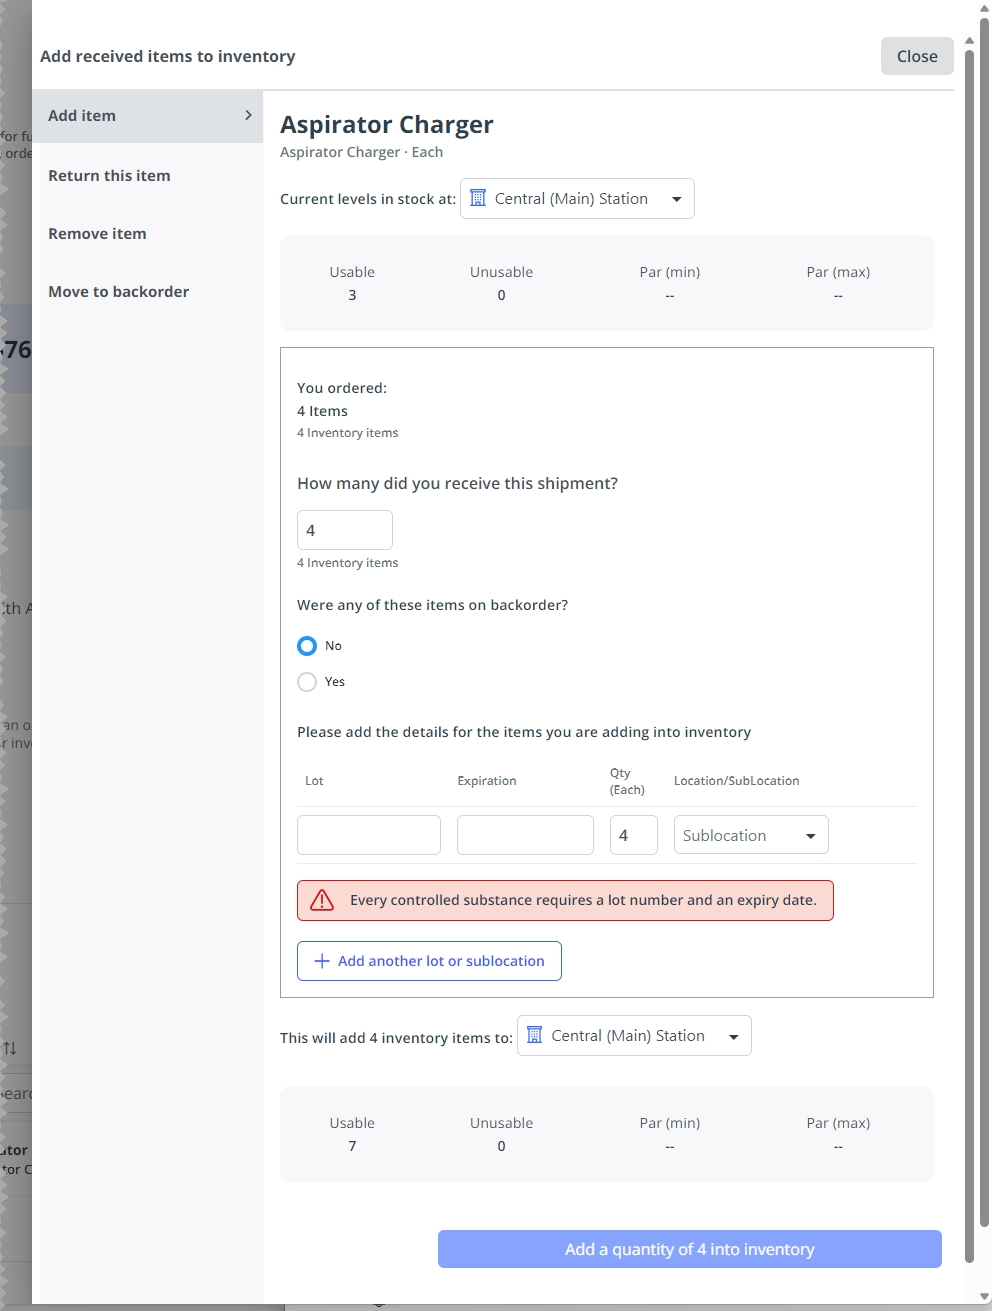
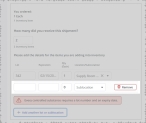
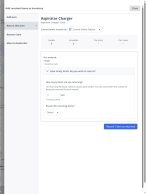
On the right end of the row for the item you want to work with, click Actions.
The Add received items to inventory dialog box appears, and in the right pane, the Add item bookmark is selected by default. In the right pane, the item name, and the number of usable, unusable, min, and max par currently available for the item at the location appear.

-
Add the item to the inventory as stock.
If the Inventory module tracks the item you ordered by lot number and expiration date, additional field appear for entering the lot number, the date that lot will expire, and the quantity that will expire on that date. Items that your agency tracks were identified by your Inventory module administrator when they initially configured the Inventory module.
Information on enabling tracking for specific inventory items is available in Enable or disable items in the item catalog.
-
Under How many did you receive in this shipment, enter the information about the quantity you actually received in the shipment.
Sometimes the number of items you received does not match the number of items ordered.
Example: You ordered 150 Buprenorphine injections, but the vendor could only ship 80 injections and had to back-order the remaining injections. You would enter
80in the number field, and the Inventory module would update the current number of usable injections in the inventory by 80. When the remaining 70 injections arrive, you would update the value in the field to 150, and the Inventory module would add another 70 injections to the inventory. -
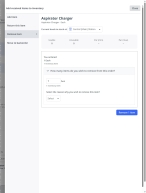
(If they appear) In the row, in the Lot # and Expiration columns, type the necessary information.
These fields indicate that your agency or department tracks this information for the item.
Note: If the order includes items from more than one lot or with more than one expiration date, you need to add another row to the table to record the differing lot numbers and/or expiration dates, as described in step vi below.
-
In the Qty (each) column, type the number of items with (if applicable) the relevant lot number or expiration dates, and which you want to store in a specific location or sublocation.
-
For Location/Sublocation, choose the menu option corresponding to where in the hospital, agency, or unit the new items will be stored.
Options in this menu are based on the sublocations defined by your Inventory module administrator when they initially configured the Inventory module.
Information on defining sublocations is available in Manage locations and sublocations.
-
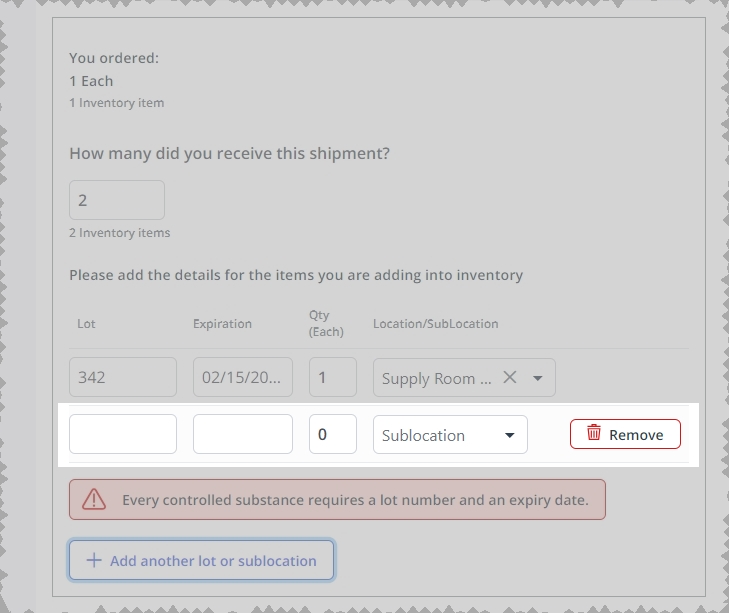
Depending on whether your agency or department tracks the item, and whether the item has multiple lot numbers and expiration dates, or whether you want to divide the item received up among multiple locations, click Add another lot or sublocation or Add another sublocation.
Example: You received two aspirator chargers in an order, and you want to stock one of them in an ambulance, and the other one in a hospital store room.
A new row appears in the table.
-
Repeat the previous steps to specify the (if applicable) lot number and expiration dates, quantity of items you will stock in the additional location, and location/sublocation you will stock it in.
-
(If necessary) Click Remove to delete a row in the quantity and location table.
The Inventory module removes the row from the table.
-
Repeat the previous steps as many times as needed to divide the item you ordered and stock it in different locations.
Note: All the quantities you specify in the table must add up to match the value in How many did you receive this shipment?.
-
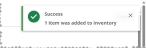
At the bottom of the dialog box, click Add a quantity ofnumberinto inventory.
A success message appears in the upper right corner of the page.
-
-
(If necessary) Identify items you will return to the vendor.
-
In the left pane, click Return this item.
The right pane updates to display fields for returning some or all of the items to the vendor, and why.
-
Under How many items are you returning?, in Each, type the quantity of the item you want to return to the vendor.
Example: You ordered four of an item, and discovered later that you did not need so many. Now you want to return two of the item to the vendor
-
For Reason for returning items, choose the menu option that best describes why are returning some or all of the item.
-
(If it appears) For Were any of these items on backorder?, choose Yes or No to indicate their history.
-
Click Recordnumberitems as returned.
A success message appears in the upper right corner of the page.

-
-
(If necessary) Remove the item from the order.
-
In the left pane, click Remove item.
The right pane updates to display fields for removing the item from the order.
-
Under How many items do you wish to remove from this order?, in Each, type the number of the item you want to remove from the vendor.
Example: You accidentally typed
11instead of1for the item quantity when you placed the order, and later discovered. Now you want to remove 10 of the 11 items from the order. -
For Select the reason why you wish to return this item, choose the menu option that best describes why are removing some or all of the item.
-
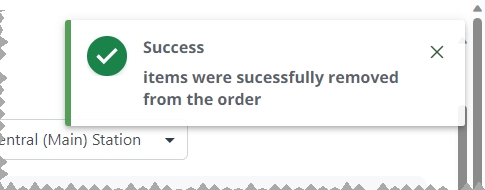
Click Removenumberitem.
A success message appears in the upper right corner of the page.

-
-
(If necessary) Mark the item as back-ordered.
-
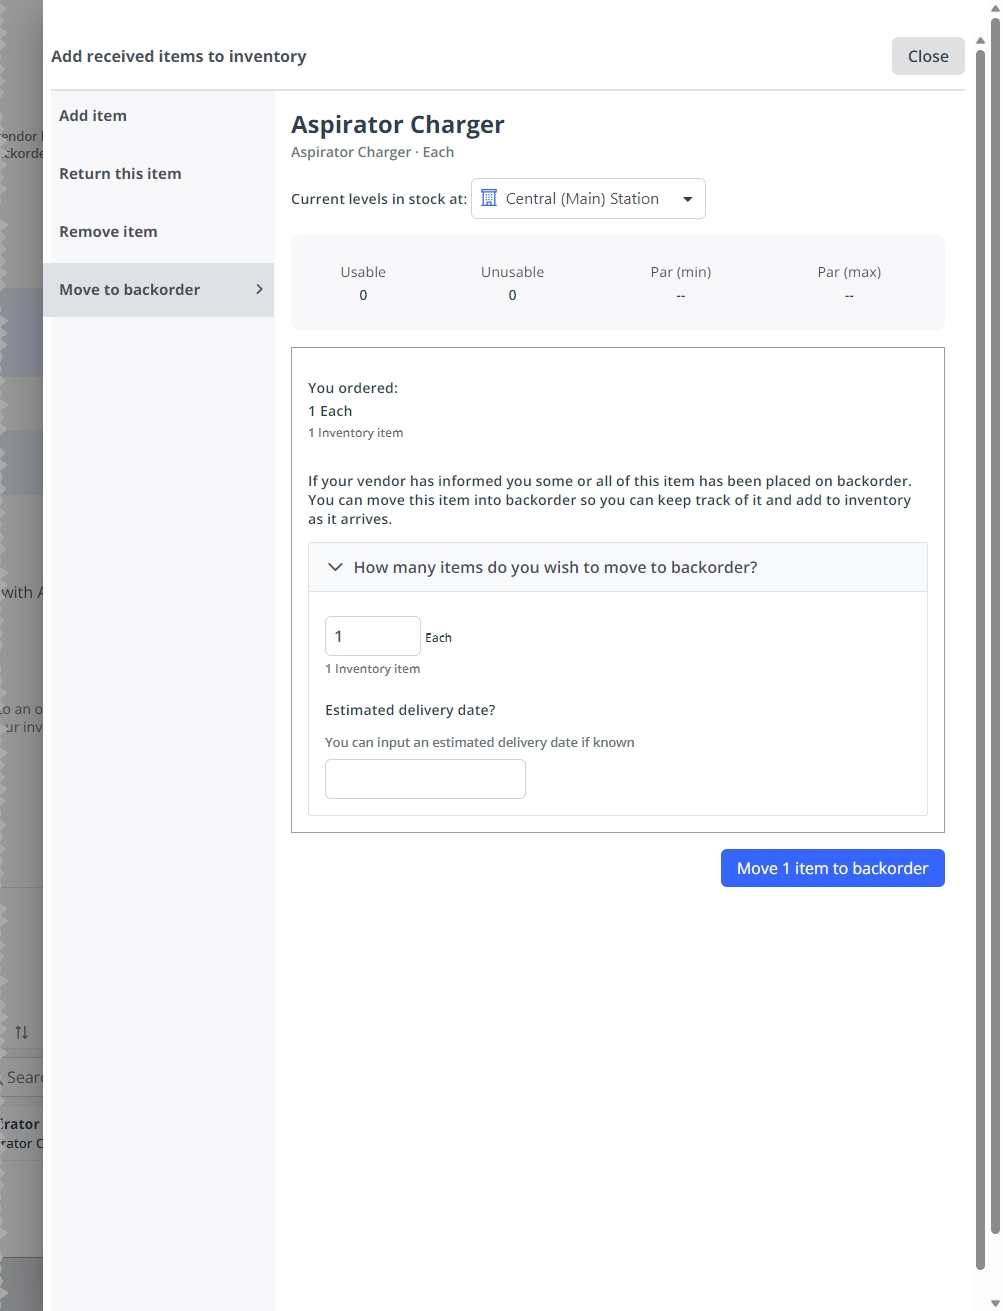
In the left pane, click Move to backorder.
The right pane updates to display fields for identifying some or all of the item as back-ordered with the vendor.

-
Under How many items do you wish to move to backorder?, in Each, type the number of the item you want to record as being back-ordered with the vendor.
Example: You ordered four of an item, but the vendor only had one available, and anticipates their supplier will send them additional items in the near feature. You can indicate that the other three items are back-ordered from the vendor, and keep the order open until the items arrive.
-
For Estimated delivery date, click the field, then select the appropriate date from the calendar that appears.
-
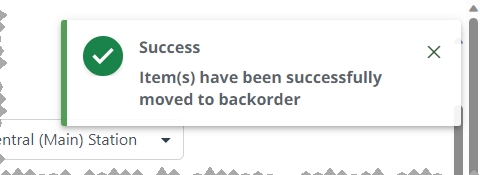
Click Movenumberitems to backorder.
A success message appears in the upper right corner of the page.

-
-
In the upper right corner of the dialog box, click Close.
-
-
In the upper left corner of the page, click Back to archived orders.
The Archived page reappears.