Configure a widget filter
A widget filter applies to the specific sections in a widget, and to the fields you add to that widget. You can add filters that affect the entire widget the same way you can apply filters to a dashboard.
Information on adding and configuring a dashboard filter is available in Work with dashboard filters.
Caution: From the dashboard view, there is no indication that the ESO Insights module is filtering data at the widget level. This can confuse your dashboard viewers, and you may want to reconsider filtering at this level.
Tip: If you decide to filter at the widget level anyway, include a reference to this in the widget's name or information menu, to let to viewers know that the widget's data is already filtered.
Information on renaming a widget or adding a description to the widgets information menu is available in Rename a widget and Add a description to a widget, respectively.
-
 (If you have not done so already) Access the ESO Insights module in the ESO Suite.
-
Do one of the following.
-
(If you are already working in the ESO Suite) Click the Home icon in the upper left corner of the screen.
-
(If you have not yet logged in) Log in to the ESO Suite.
-
In a web browser, go to https://www.esosuite.net/EsoSuite.
The ESO Suite login screen appears.
-
Enter your user name, password, and agency name, then click Let's Go.
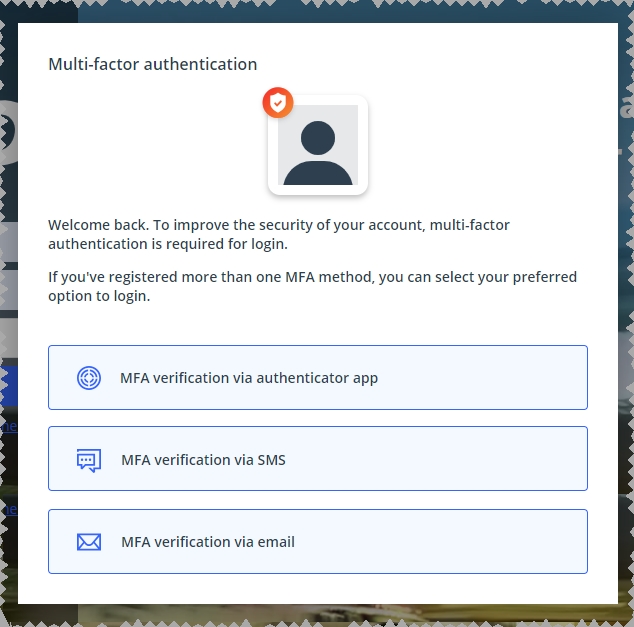
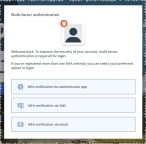
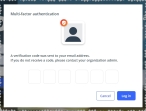
If MFA is enabled, the Multi-factor authentication dialog box appears, displaying one or more methods you can use to verify your login credentials. The number of methods that appear in the dialog box depends on what MFA methods your ESO Suite administrators enabled in the Admin module.
Click graphics
to open them.Information on enabling MFA and specific MFA methods is available in the Admin module online help, in Configure multiple-factor authentication.
Note: If your ESO Suite administrators have disabled MFA ("opted-out"), this dialog does not appear.
-
(If the Multi-factor authentication dialog box appears) Depending on which buttons appear in the dialog box, verify your login in one of the following ways.
With an authenticator application.
-
Click MFA verification via authenticator app.
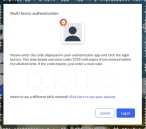
The dialog box updates with boxes for entering the numbers of the authentication code, and the ESO Suite sends an authentication code to the authenticator application installed on your device.
-
Open your authenticator application and note the authentication code currently displayed.
-
Enter the authentication code displayed in the authenticator application.
-
Click Log In.
With a text message (SMS).
-
Click MFA verification via SMS.
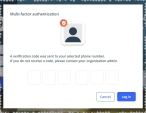
The dialog box updates with boxes for entering the numbers of the authentication code, and the ESO Suite sends an authentication code to the phone number recorded in your PM records and identified with MFA codes.
-
Enter the authentication code sent to your MFA-registered phone number.
-
Click Log In.
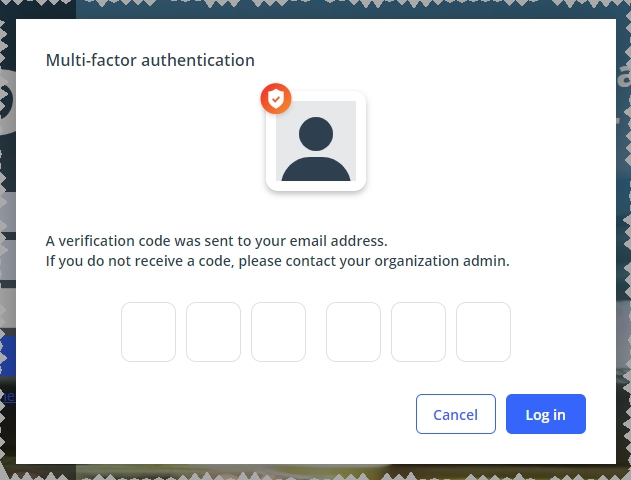
With an email message.
-
Click MFA verification via email.
The dialog box updates with boxes for entering the numbers of the authentication code, and the ESO Suite sends an authentication code to your agency or department email address, recorded in your PM records.
-
Enter the authentication code sent to your agency or department email address.
-
Click Log In.
-
-
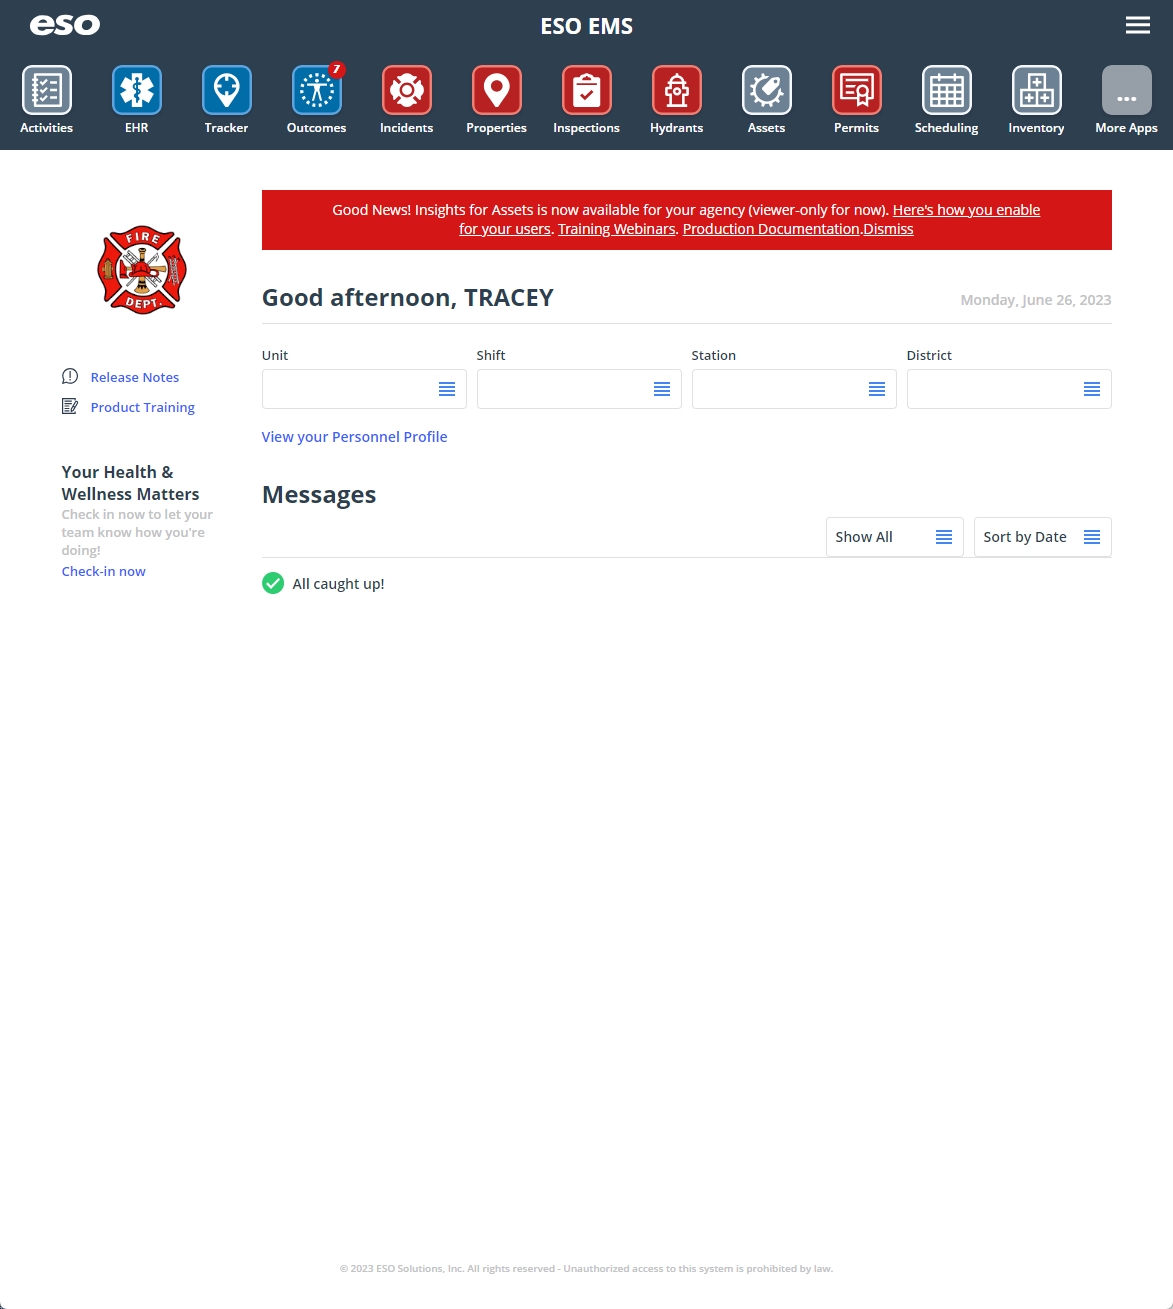
The ESO Suite landing screen appears.
Click graphics
to open them.Note: If MFA is enabled, you can access and manage your MFA options through the PM module, on the Settings > Account page, as described in Manage a user account. If your agency or department has enabled MFA but has not purchased the full-featured version of the PM module, you can access your own MFA settings by clicking Change my Multi-Factor Authentication settings on the landing screen, then using the Settings > Account page that appears. If your agency has not enabled MFA, the Change my Multi-Factor Authentication settings link does not appear on the landing screen.
-
-
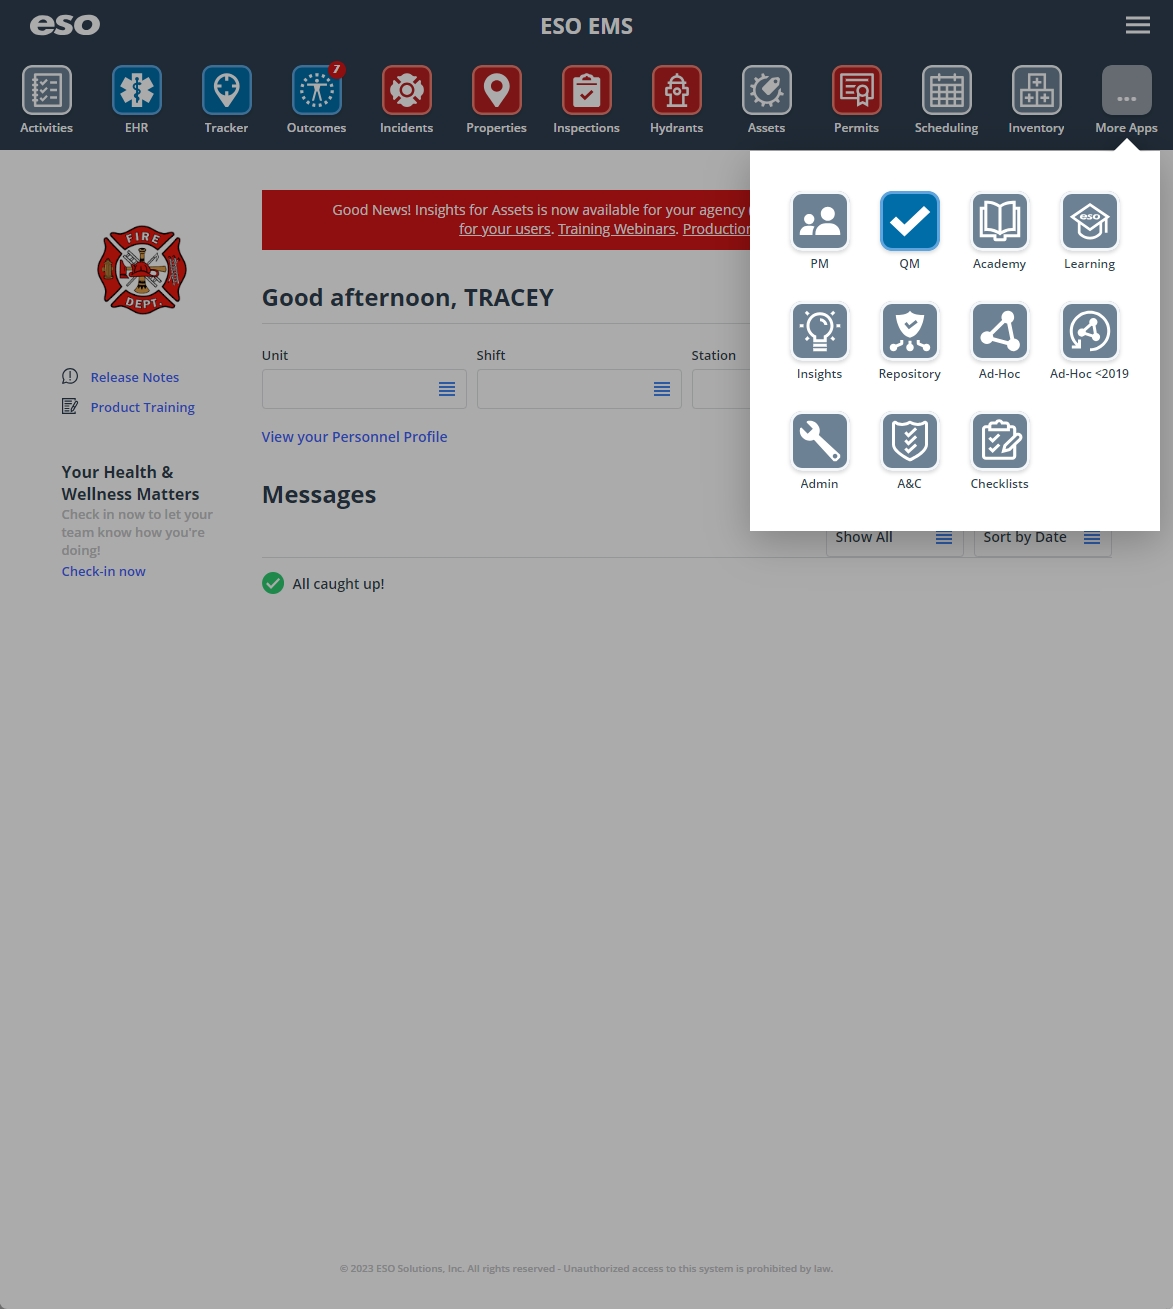
On the top side of the home screen, click Insights.
Tip: If your screen or browser window is too narrow to display all your agency's ESO Suite module icons, an options icon appears on the right side of the icon bar. If you click the options icon, a menu appears containing additional module icons.

-
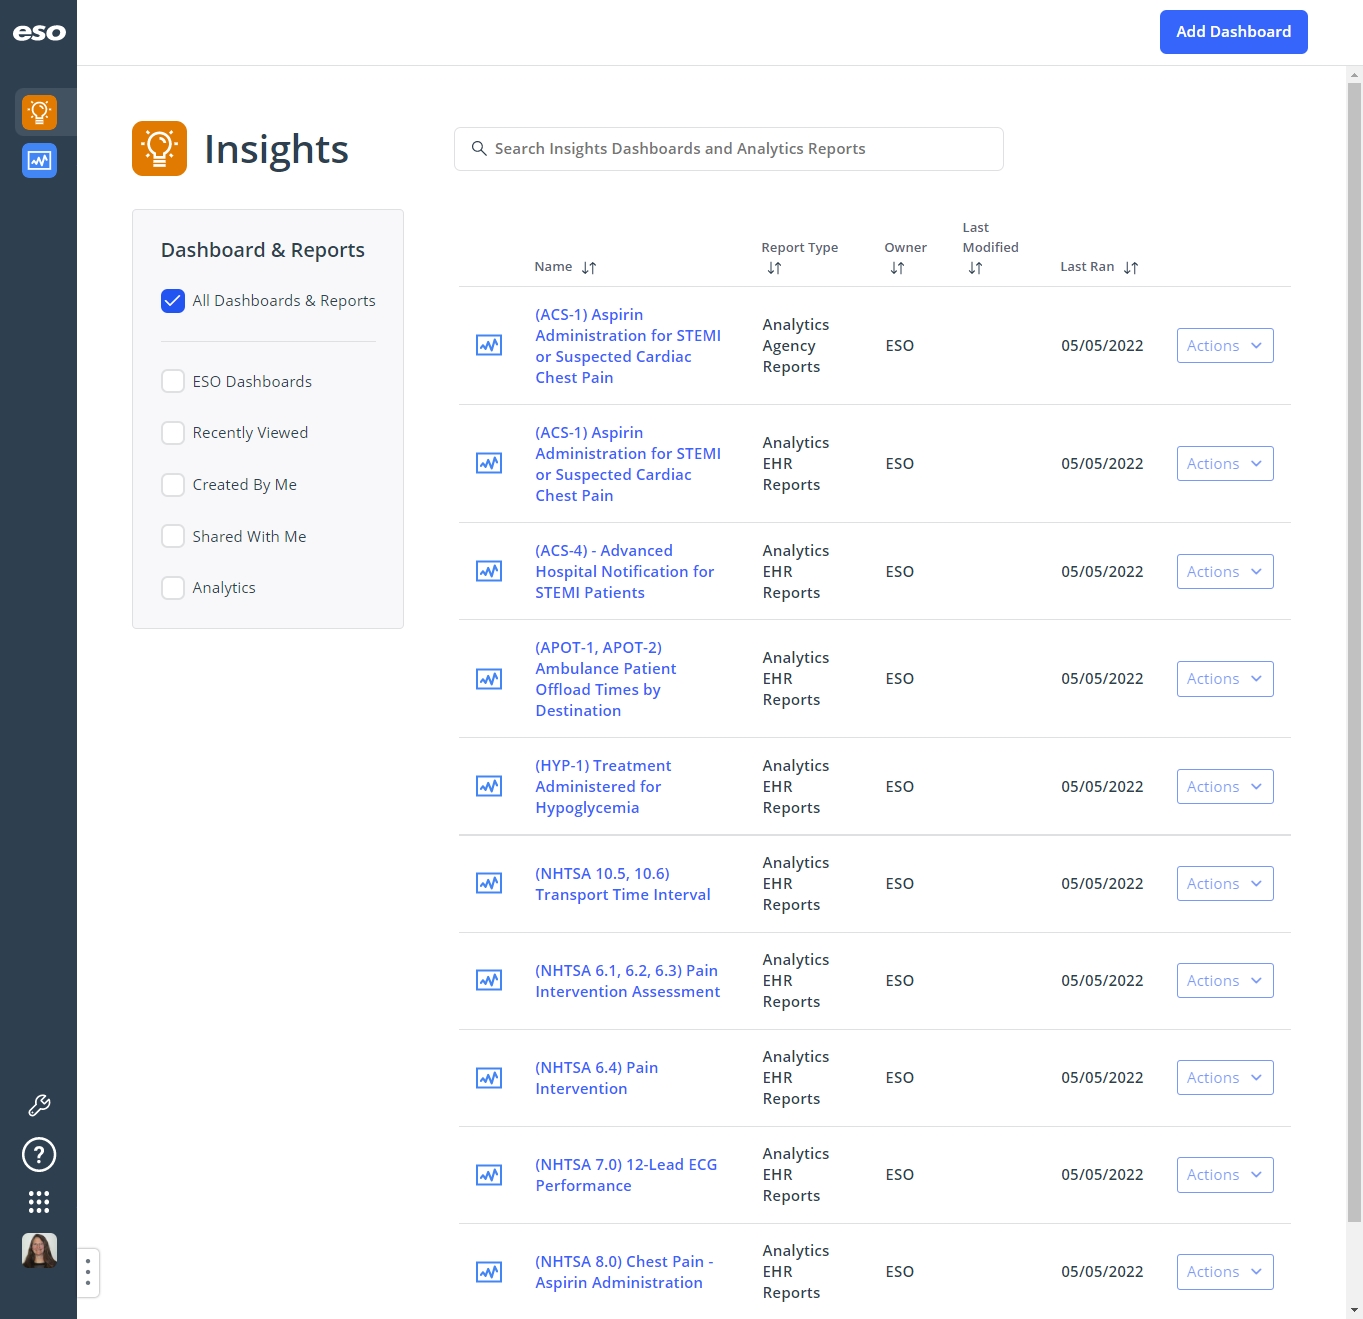
A list of all the dashboards in the ESO Insights module appears.

The capabilities you have in the ESO Insights module depends on what roles and permissions your ESO Suite administrator assigned to your user account. It also depends on what roles your ESO Insights manager assigned to your user account within the ESO Insights module.
Information on user accounts, roles, and permissions is available in Manage a user account. Information on roles assigned with the ESO Insights module is available in Assign user roles in the ESO Insights module.
-
-
(If you have not done so already) Create or open the dashboard you want to work with.
-
Begin a new dashboard and add a widget to it, as described in Add a new, blank dashboard.
-
Open the dashboard containing the widget you want to work with, as described in Find and open an existing dashboard or report.
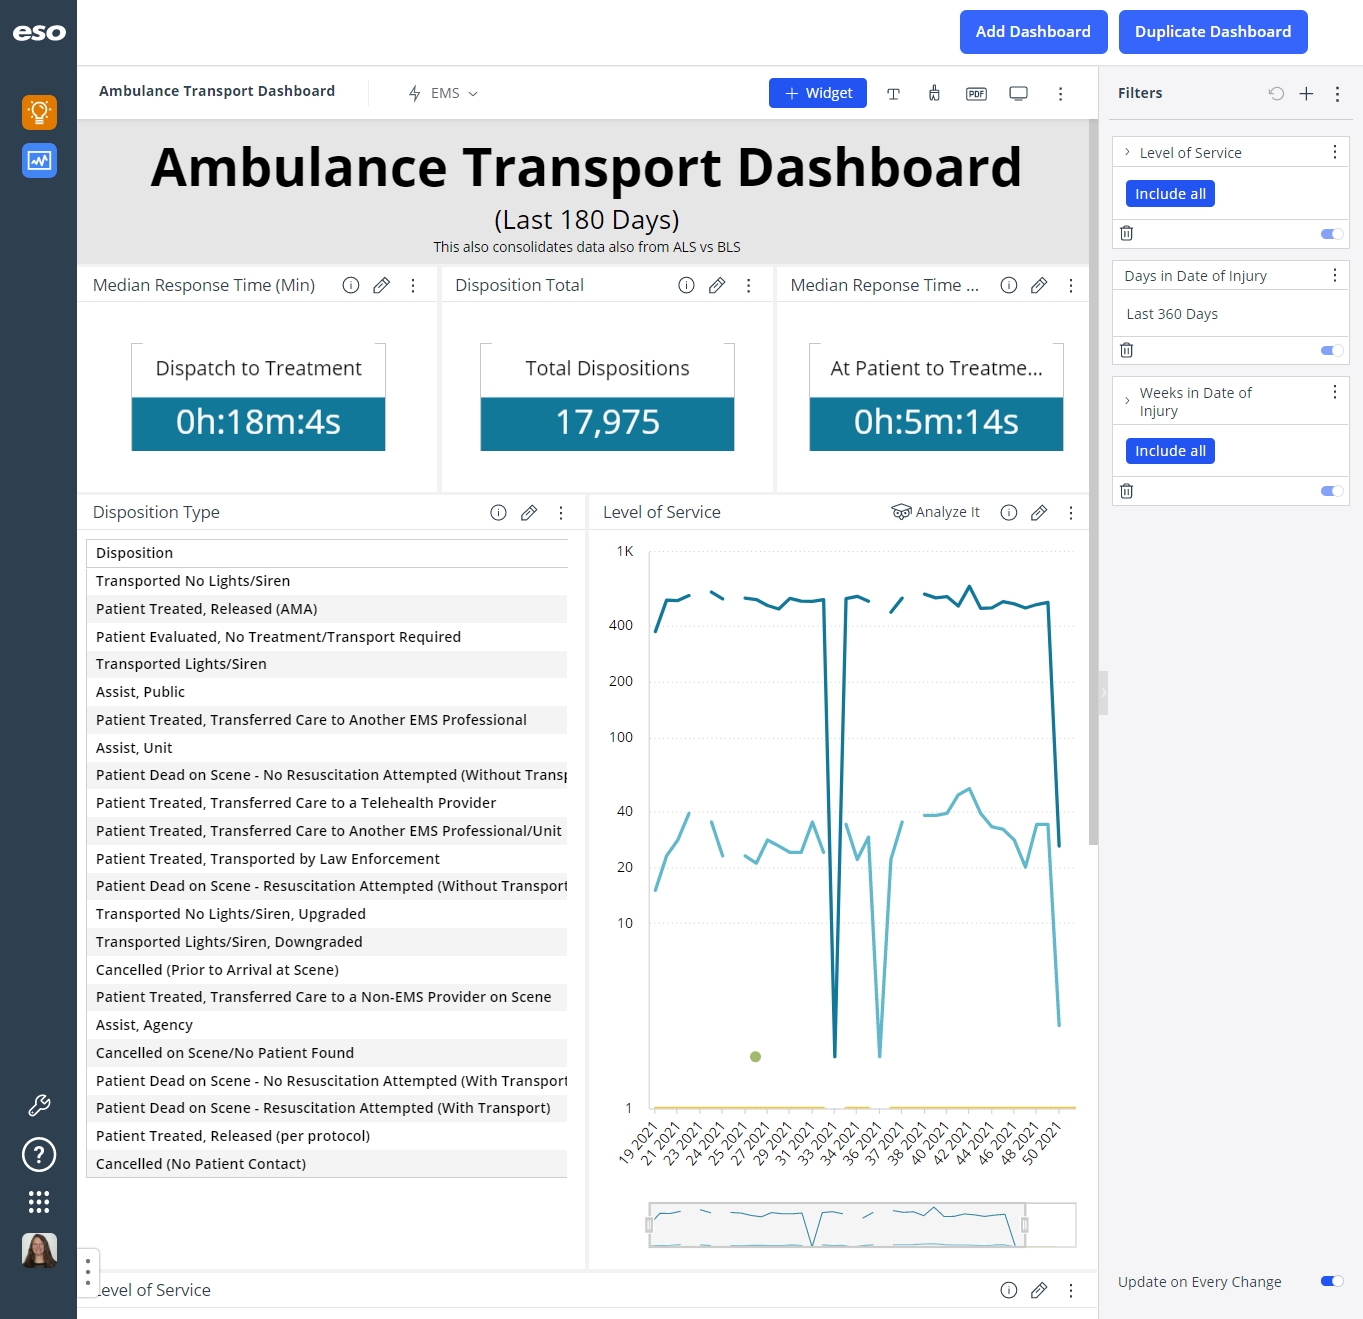
The dashboard opens and displays any widgets it contains, and the data those widgets link to.

Click graphics
to open them.
-
-
(If opening an existing dashboard) In the upper right corner of the widget you want to work with, click the edit (
 ) icon.
The widget opens for configuring.

-
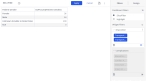
In the right pane, click the Filters tab.
The right pane updates to display field for adding and managing filters that apply to the entire widget.

-
Add filters for the widget.
-
In the Widget Filters section, click the plus icon (
 ).
).The <data source> / Add a Field dialog box appears, displaying the list of tables and fields available from that data source. The icon to the left of a field name indicates the type value that field contains (alphabetic characters, numbers, dates, and so forth).

-
In Type to search for fields, begin typing characters in the name of the field you want to find.
As you type, the list of fields reduces to only those whose names still match the characters you are typing.

-
Click the name of a field you want to filter the widget with.
The <data source> / Filter <tablename.fieldname dialog box appears. The filter queries every value that exists in that table and field, and lists them in the dialog box.

-
In the left pane, choose the name of the type of filter you want to apply to the field.
Example: For the Disposition field, the List filter is selected by default, and the possible values that could appear in a list for this field appear in the right pane. If you choose the Text filter in the left pane, the fields in the right pane update to let you create a logical expression to filter with instead.

-
In the right pane, clear and make selections, or fill out the fields that appear as needed, to filter the field's values down to only the ones you want to display on the dashboard.
Example: You want to filter the widget for only the dispositions that had emergent transports. In this case, you would leave the List filter selected in the left pane of the dialog box, and in the right pane, you would click the check box at the top of the column to clear all the current selections in the list. In Start typing to search, you would then search for
Transported, and select Transported Lights/Siren and Transported No Lights/Siren, Upgraded in the list.
-
Click OK.
The selected values appear in the widget filter, and the sample pivot table updates to reflect the filtered values.

Tip: If you hover your mouse pointer over the name of the field, a pop-up appears containing information about what row and column the widget will draw data from in the data source.

-
(Optional) In the Widget Filters section, repeat the previous steps to add additional filters as needed, as filters for the widget.
Additional fields appear in the Widget Filters section as separate entries, and the center pane updates as needed to display the filtered data.

-
-
Work with the filters in any of the following ways.
Rename the filter.
-
Click the filter's menu icon.
A pop-up menu appears to the right of the filter.

-
From the pop-up menu, choose Rename.
The filter name highlights, and a green (save) check mark icon and a red circle (cancel) icon appear to the right of the field name.

-
Edit the text of the filter name as needed.
-
Click the green check mark (
 ) icon to save your changes.
Identify the filter as a background filter.
-
Click the filter's menu icon.
A pop-up menu appears to the right of the filter.
-
From the pop-up menu, choose Set as Background Filter.
A filter icon appears to the left of the filter name to indicate that it is a background filter, and the blue Include all label appears in place of the list of the individual values you had selected for the filter.

Note: The values you specifically selected for the filter are still used in the background filter, they are just no longer individually listed in the filter.
-
Work with the background filter in any of these ways.
View or edit only the values currently listed for the background filter.
-
Click the expand arrow to the left of the filter's name.
-
The value list appears in the filter, along with a heading check box that lets you select or clear all the values in the list at once.

-
(Optional) Select or clear the values used in the background filter in one of these ways.
-
In the background filter's section, edit the values as needed.
-
Hover your mouse pointer over the name of the filter until the edit (
) icon appears on the right side of the widget filter, click the edit icon, then use the Filter <field name> dialog box that appears to edit the values as needed. 
-
-
Click the arrow to the left of the filter's name again.
The list of filter values contracts, and the blue Include all label appears again in the filter.
Change the list of values used for the background filter.
-
Click the filter's menu icon.
A pop-up menu appears to the right of the filter.

-
From the pop-up menu, choose Edit Background Filter.
The Filter <field name> dialog box appears.

-
Edit the selections and other parameters for the background filter as needed.
-
Click OK.
Remove the background filter.
-
Click the filter's menu icon.
A pop-up menu appears to the right of the filter.
-
From the pop-up menu, choose Remove Background Filter.
The filter icon to the left of the filter name indicating that it is a background filter disappears, and only the value selections you made for the filter's field are used again.
-
Edit the filter.
-
Hover your mouse pointer over the name of the filter, until the edit (
) icon appears on the right side of the widget filter.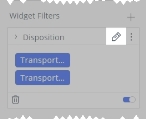
-
Click the edit (
) icon. The Filter <field name> dialog box appears.

-
In the left pane, choose the name of the type of filter you want to apply to the field.
Example: For the Patient Gender field, the List filter is selected by default, and the possible values that could appear in a list for this field appear in the right pane, and include
Female,Male,Unknown (Unable to Determine, andN/A. If you choose the Text filter in the left pane, the field in the right pane updates to let you create a logical expression to filter with instead.
-
In the right pane, clear and make selections, or fill out the fields that appear as needed, to filter the field's values down to only the ones you want to display on the dashboard.
-
Click OK.
Disable and enable a filter.
You can exclude a widget filter to effectively disable that filter, and you can re-enable the filter in the future if you want to include it again later.
-
In the lower right corner of the filter you want to disable or enable, drag the slider button to the left to disable the filter, or to the right to enable the filter.
When the filter is disabled, the slider background turns gray. When the filter is enabled, the slider background turns blue.

The data in the widget updates to display information without or with the filter applied.
Example: You added a Complications widget filter (enabled by default) to a pivot table widget already containing a Disposition widget filter. With the second filter, the pivot table now contains a lot less data, and you become concerned this may confuse viewers. Rather than delete the Complications filter, you can simply disable until you decide whether you really do want to refine the data in the pivot table to that degree, or not.
Delete the filter.
-
In the lower left corner of the filter, click the trash can icon.

The ESO Insights module removes the filter from the section.
-
-
In the upper right corner of the widget, click Apply.
The ESO Insights module saves the configurations and changes you made to the widget, and applies them to the dashboard you are creating or the existing dashboard you opened. The list of all the dashboards in the ESO Insights module appears.