Search for a patient record
When you first access the EHR module, the list of patient records in the ESO Suite appears. Depending on the size of your department and the number of incidents it handles, this list can become rather daunting. Fortunately, you can use filters to narrow the list to a more manageable number.
The menu options that appear for fields referenced in the steps below are defined in the Admin module, under the following.
-
General >
- Locations > location type.
- Zones
- Shifts
- Units
|
Example: In the EHR module, for the Unit field, you may need options such as Amb01, AmbHeli01, and AmbWing01. Your Admin module administrator must add corresponding ADL items in the Admin module, under General > Units, for these items to appear as menu choices in the EHR module.
|

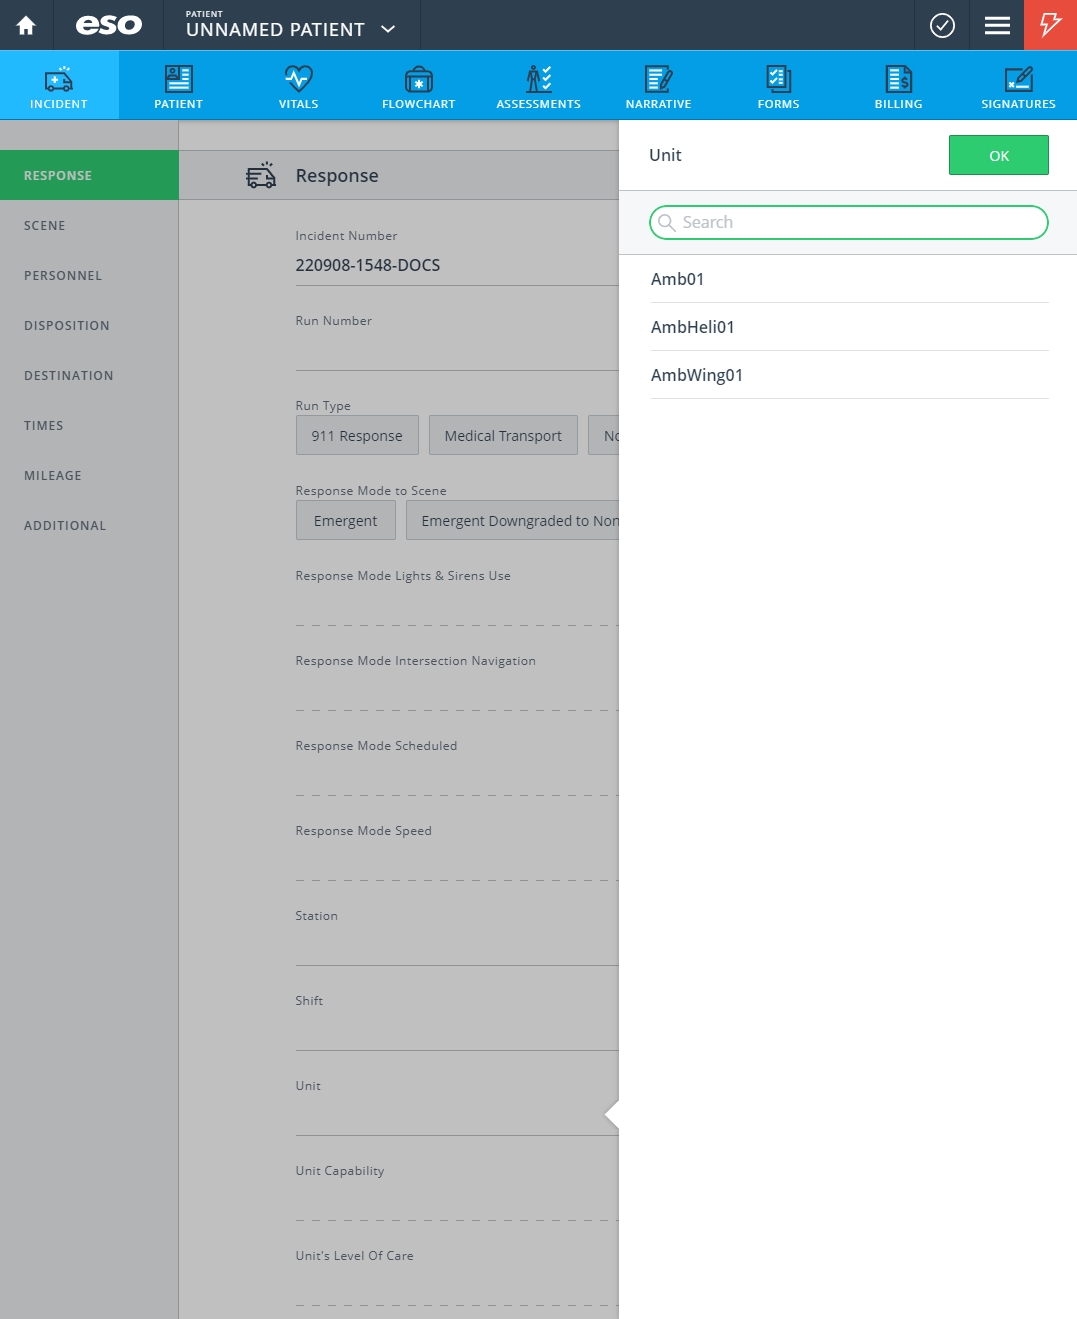
Note: In the Admin module, only units and apparatus marked as Yes in the Available in ESO EHR field appear in the Incidents module as options for the Unit field.
If no options appear, or if the menu does not have an option that meets your needs, contact your ESO Suite administrator and ask them to add the necessary menu choices. You will need to work closely with your administrator to create and maintain these lists, as your department's needs evolve over time.
Information on configurations and settings that affect the EHR module is available in Configure tabs.
-
 (If you have not done so already) Access the EHR module in the ESO Suite.
-
Do one of the following.
-
(If you are already working in the ESO Suite) Click the Home icon in the upper left corner of the screen.

-
(If you have not yet logged in) Log in to the ESO Suite.
-
In a web browser, go to https://www.esosuite.net/EsoSuite.
The ESO Suite login screen appears.
-
Enter your user name, password, and agency name, then click Let's Go.
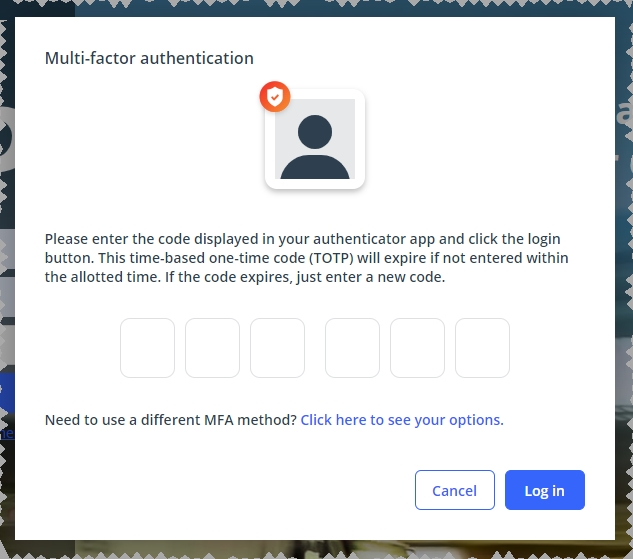
If MFA is enabled, the Multi-factor authentication dialog box appears, displaying one or more methods you can use to verify your login credentials. The number of methods that appear in the dialog box depends on what MFA methods your ESO Suite administrators enabled in the Admin module.

Click graphics
to open them.Information on enabling MFA and specific MFA methods is available in the Admin module online help, in Configure multiple-factor authentication.
Note: If your ESO Suite administrators have disabled MFA ("opted-out"), this dialog does not appear.
-
(If the Multi-factor authentication dialog box appears) Depending on which buttons appear in the dialog box, verify your login in one of the following ways.
With an authenticator application.
-
Click MFA verification via authenticator app.
The dialog box updates with boxes for entering the numbers of the authentication code, and the ESO Suite sends an authentication code to the authenticator application installed on your device.

-
Open your authenticator application and note the authentication code currently displayed.
-
Enter the authentication code displayed in the authenticator application.
-
Click Log In.
With a text message (SMS).
-
Click MFA verification via SMS.
The dialog box updates with boxes for entering the numbers of the authentication code, and the ESO Suite sends an authentication code to the phone number recorded in your PM records and identified with MFA codes.

-
Enter the authentication code sent to your MFA-registered phone number.
-
Click Log In.
With an email message.
-
Click MFA verification via email.
The dialog box updates with boxes for entering the numbers of the authentication code, and the ESO Suite sends an authentication code to your agency or department email address, recorded in your PM records.

-
Enter the authentication code sent to your agency or department email address.
-
Click Log In.
-
-
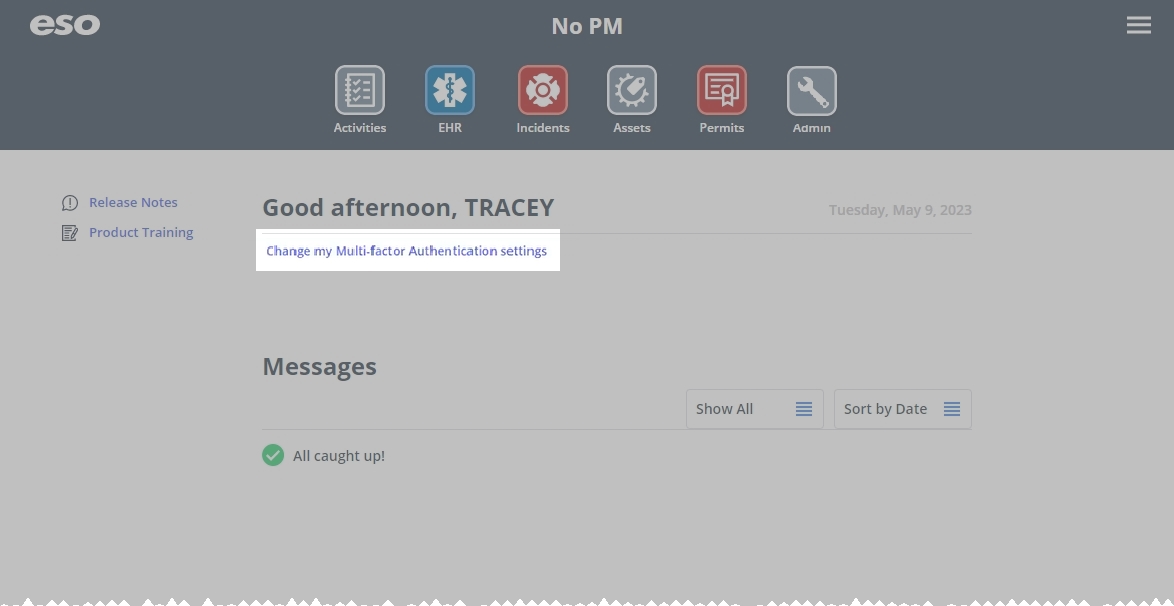
The ESO Suite landing screen appears.

Click graphics
to open them.Note: If MFA is enabled, you can access and manage your MFA options through the PM module, on the Settings > Account page, as described in Manage a user account. If your agency or department has enabled MFA but has not purchased the full-featured version of the PM module, you can access your own MFA settings by clicking Change my Multi-Factor Authentication settings on the landing screen, then using the Settings > Account page that appears. If your agency has not enabled MFA, the Change my Multi-Factor Authentication settings link does not appear on the landing screen.

-
-
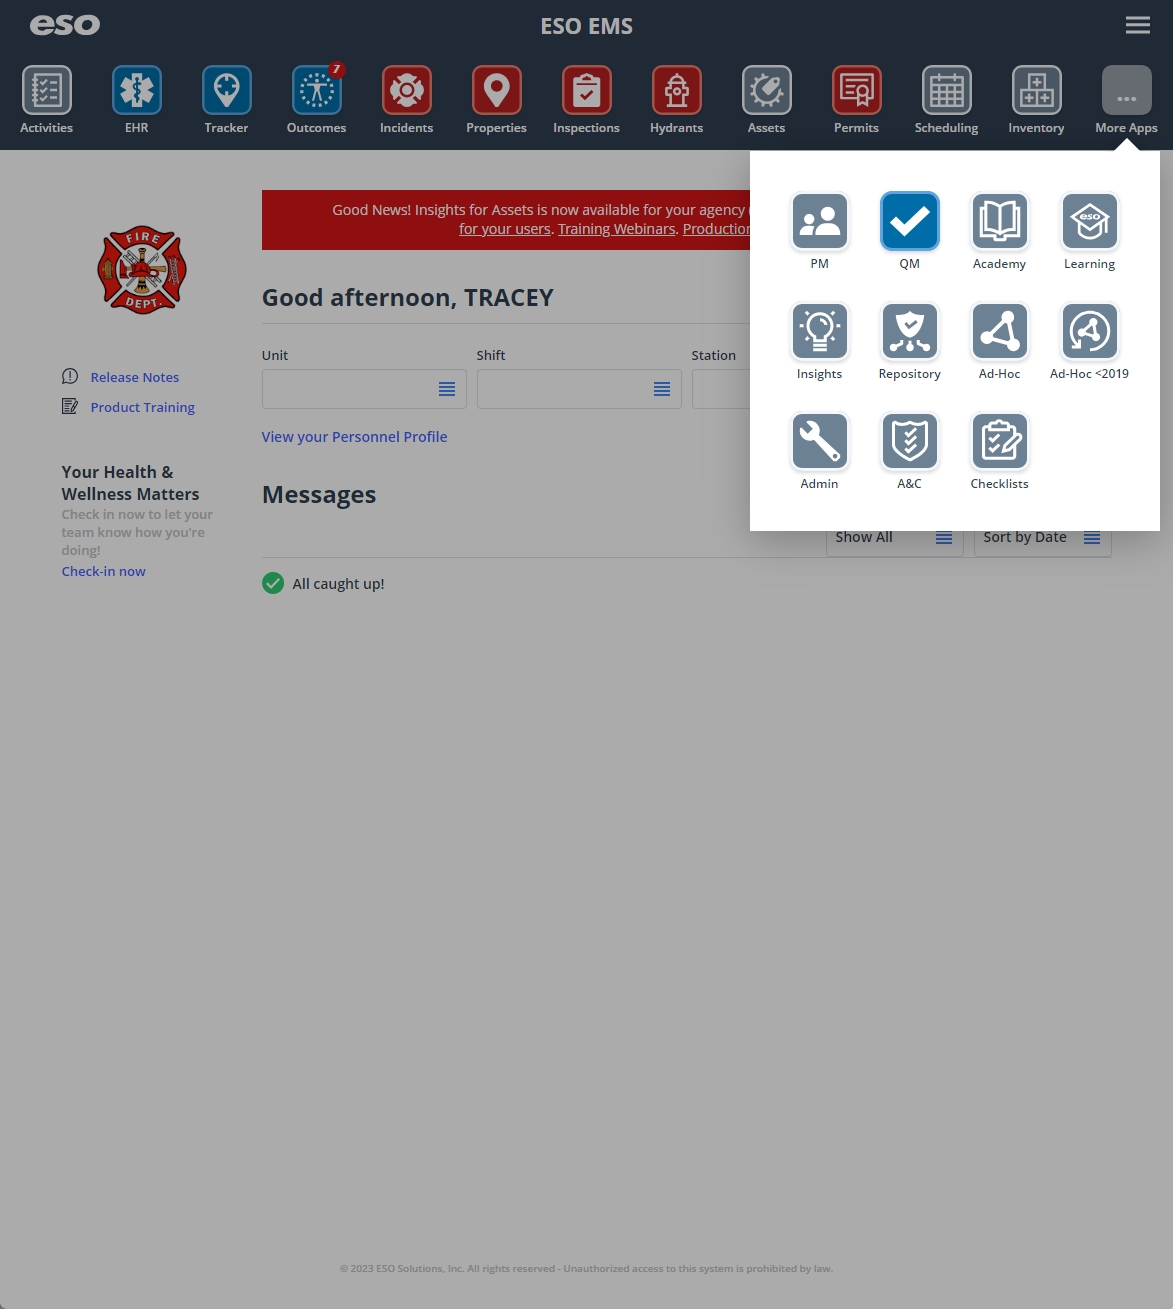
On the top side of the home screen, click EHR.
Tip: If your screen or browser window is too narrow to display all your agency's ESO Suite module icons, an options icon appears on the right side of the icon bar. If you click the options icon, a menu appears containing additional module icons.

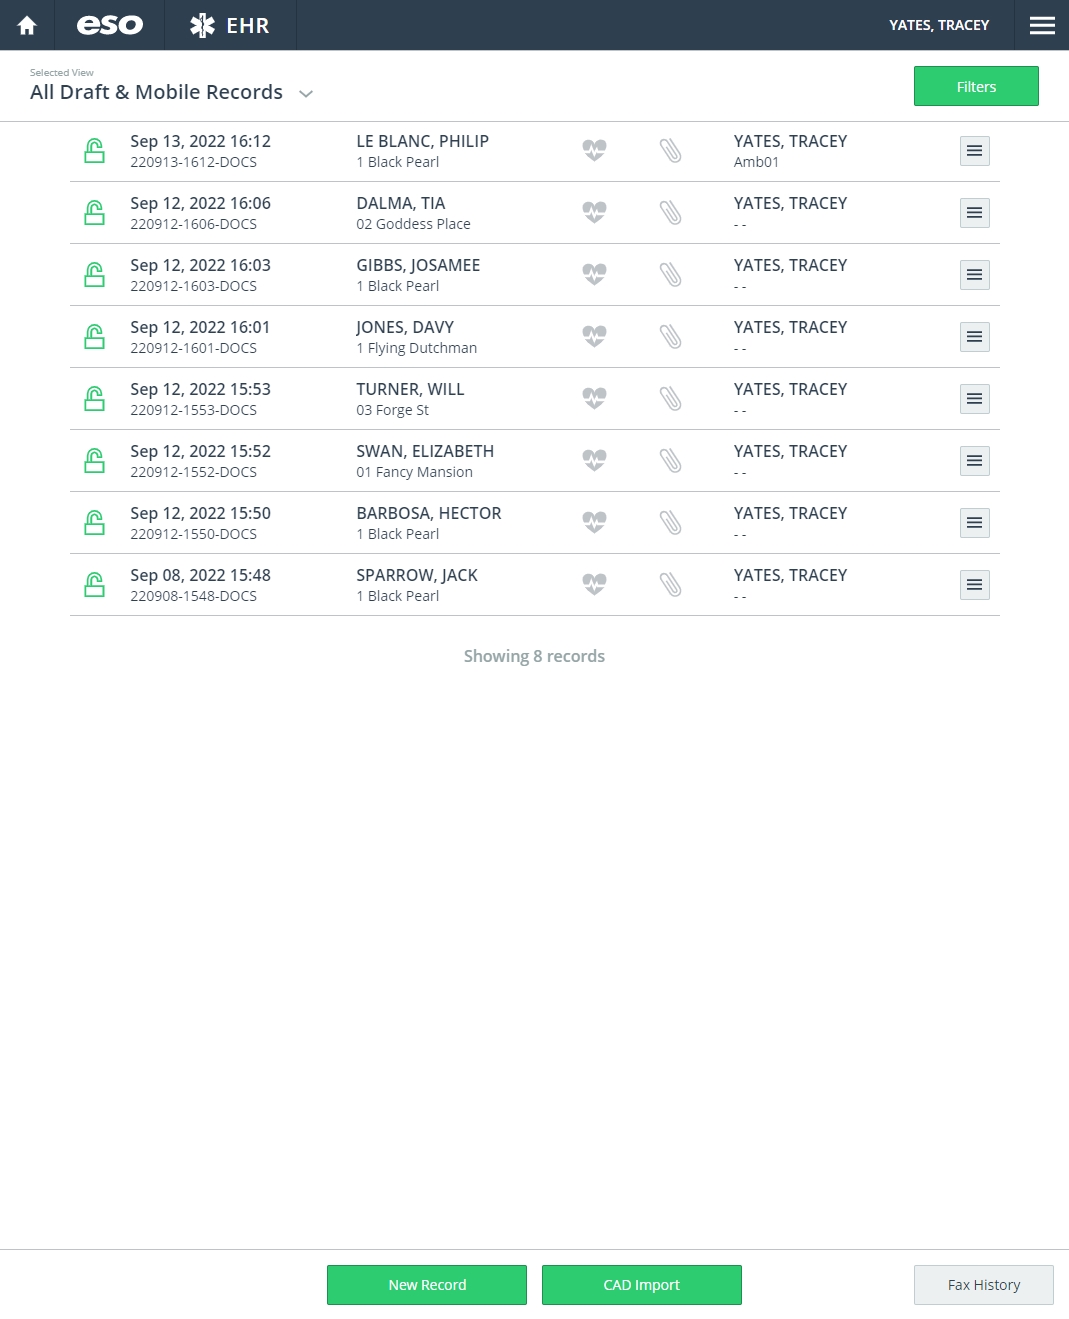
The EHR screen appears, displaying a list of patient records in the EHR module. The most-recent records appear at the top of the list.
Different record status icons can appear in the list.
Icon Status 
Unlocked/DraftThe patient record exists in the ESO Suite database, and all crew members listed in the patient record may edit all fields in the record. ESO Suite administrators and personnel with security roles of either
EHR SupervisororEHR Managercan edit non-clinical fields.
MobileThe patient record exists on the mobile device, and has not been synchronized with the ESO Suite database. ESO Suite administrators, personnel with security roles of either
EHR SupervisororEHR Manager, and all crew members listed in the patient record can only access a print view of the record.Once the Mobile record synchronizes with the ESO Suite database. the record reflects its current status.

LockedThe patient record exists in the ESO Suite database, and is locked. Only non-clinical fields can be edited by crew members listed in the patient record, ESO Suite administrators and personnel with security roles of either
EHR SupervisororEHR Manager.
-
-
Filter the list of patients in any of these ways.
Quickly filter the list by status and date.
-
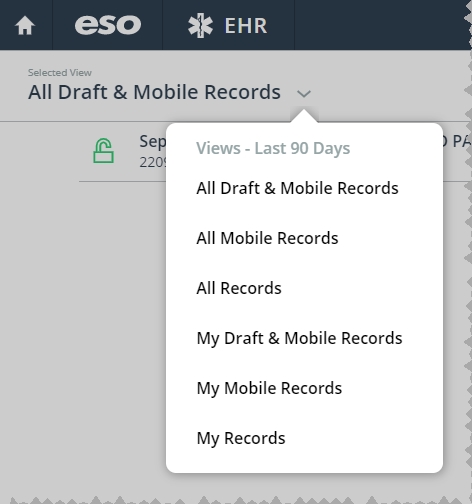
In the upper left corner, from Selected View, choose the option that corresponds to the status of the patient record you want to work with.

The list of patient records update to reflect your selection.
Filter the list with custom criteria.
-
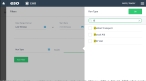
In the upper right corner, click Filters.
The Filters dialog box appears.
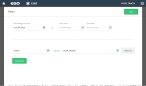
In the top part of the dialog box, you can indicate a date range to filter for patients, and in the lower part of the dialog box, a filter using the patient status criteria, set to the
DraftandMobilestatuses, is defined by default.You can build a combination of criteria (a logical expression) to narrow the patient list to only the patients you need.
Understand building a combination of criteria
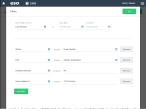
In the lower part of the Filters dialog box, the Filter field on the left indicates what category of information is selected (status, unit, number, and so forth), the gray text in the middle indicates the operator (
equalsorcontains), and the field on the right lists the possible matches you can select.By default, the Filters dialog box is set up to list the patients by status, and specifically for the
DraftandMobilestatuses.
You can have a filter check for multiple details, and you can apply multiple filters to the patient list.
Example: You can filter the patient list using a combination of statuses, street (scene) address, multiple unit IDs, and incident number.
Note: The EHR module applies each additional filter as an
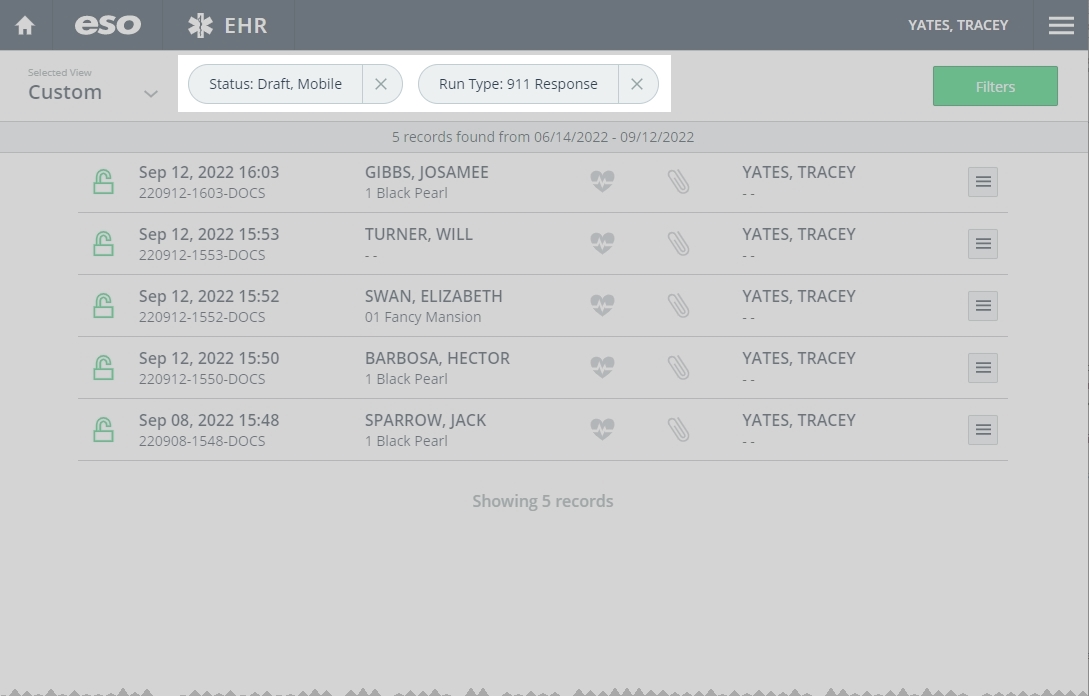
ANDconjunction in a logical expression, and the resulting list includes only patients that match every set of operands in the expression.Example: If you filter a long patient list for only patients in a specific date range, that have a status of
DraftandMobile, had a run type of911 Response, and a street/scene address that contains1 Black Pearl, only three patients appear the resulting list.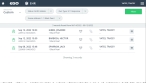
-
Indicate a date range to filter for patients in one of these ways.
Select a general date range.
-
For Date Range Interval, click the list icon to the right of the field, then select the appropriate single option from the menu that appears.
The dates in Start Date and End Date automatically update to reflect the specific dates that will be searched.
Note: If you edit either of the dates in Start Date and End Date, those dates override the general range dates, and the value in Date Range Interval is automatically set to Custom.
Specify a specific date range.
-
For Start Date and End Date, click the calendar icon on the right end of the field and select the appropriate date from the calendar that appears.
Note: These values override any dates automatically populated if you had selected an option earlier from Date Range Interval.
-
-
For the first field (the filter field), click the field or the list icon to the right of the field.
A menu of filter choices appears on the right side.
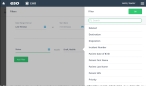
Tip: To quickly reduce the number of choices visible, at the top of the right-side menu, in Search, type the beginning characters and/or numbers in the filter choice you are looking for. The list of choices shortens as you type to display only choices that match or begin with the characters and/or numbers you specify.

-
Define the filter you want to apply.
Deleted or existing record
-
Choose Deleted, then click OK.
A blank field appears to the right of the filter field.
- For the blank field, click the field or the list icon to the right of the field, then select the appropriate single option from the menu that appears.
The patient's destination
The destination is the physical location where the patient was transported by the EMS unit creating the ePCR. This can include hospitals, medical centers, nursing homes, another EMS unit, a residence, a morgue, and so forth.
Note: The Destination filter actually combines all the physical locations you defined in the Admin module, under General > Locations > location type.
-
Choose Deleted, then click OK.
A blank field appears to the right of the filter field.
- For the blank field, click the field or the list icon to the right of the field, then select the appropriate single option from the menu that appears.
The patient's disposition
Patient disposition describes the transport of the patient, who decided transport was needed, what unit performed the transport, and if the patient refused treatment or did not need treatment. If specific fields are enabled in the ESO Admin module, patient disposition can also include response mode information, the level of service provided during transport, and more appear.
-
Choose Disposition, then click OK.
A blank field appears to the right of the filter field.
- For the blank field, click the field or the list icon to the right of the field, then select the appropriate single option from the menu that appears.
The incident number
The incident number, used in conjunction with the incident date, uniquely identifies the incident. The incident number is commonly a sequential number and is numeric only.
-
Choose Incident Number. then click OK.
A blank field appears to the right of the filter field.
- In the blank field, type all or part of the number you want to search for.
The patient's date of birth
-
Choose Patient Date of Birth, then click OK.
A blank field appears to the right of the filter field.
- For the blank field, click the calendar icon on the right end of the field and select the appropriate date from the calendar that appears.
The patient's first or last name
-
Choose Patient First Name or Patient Last Name, then click OK.
A blank field appears to the right of the filter field.
- In the blank field, type all or part of the first or last name you want to search for.
The patient's social security number
-
Choose Patient SSN, then click OK.
A blank field appears to the right of the filter field.
- For the blank field, click the number pad icon to the right of the field, then enter the appropriate numerical values from the number pad dialog box that appears.
The incident address
-
Choose Scene Address 1, then click OK.
A blank field appears to the right of the filter field.
- In the blank field, type all or part of the address you want to search for.
Patient priority, provider, response zone, run type, shift, status, or unit
-
Select Incident Type, Incident Status, Unit, Shift, District, or Station, then click OK.
A blank field appears to the right of the filter field.
-
For the blank field, click the list icon to the right of the field, select all the appropriate options from the menu that appears, then click OK or click outside the menu.
Tip: To quickly reduce the number of choices visible, at the top of the right-side menu, in Search, type the beginning characters and/or numbers in the filter choice you are looking for. The list of choices shortens as you type to display only choices that match or begin with the characters and/or numbers you specify.
-
-
(Optional) Click Add Filter to add another criteria to the filter.
A new row appears in the lower part of the Filters dialog box, with a new blank field.

- (If adding another criteria) Repeat the steps c-d to define the filter.
- Repeat the previous steps as needed to add more filters to combination as needed.
- (If necessary) Click Remove to delete a criteria row from the filter combination you are building.
-
Click OK.
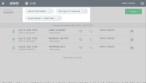
The EHR screen updates to list all patient records that match the filters you defined, and that fall within the specified date range. The filters you specified appear across the top of the screen.
Example: You can filter the patient list using a combination of statuses, street (scene) address, multiple unit IDs, and incident number.
-
(Optional) Remove criteria to widen the current custom search results.
-
At the top of the current custom search results, click the X (close) button on one or more filters at the top of the list.
The list updates with items matching the remaining criteria.
Example: In the search results below, one of the criteria is Scene Address 1: 1 Black Pearl.
If you click the X (close) button for that criteria, the patient list updates to display patients with the remaining criteria of status of
DraftandMobile, and a run type of911 Response.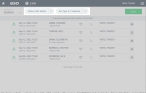
-
-