Set login policies
You can define how users log into EHR, and how they login to the ESO Suite for all the modules.
-
Do one of the following.
-
(If you are already working in the ESO Suite) Click the Home icon in the upper left corner of the screen.
-
 (If you have not yet logged in) Log in to the ESO Suite.
-
In a web browser, go to https://www.esosuite.net/EsoSuite.
The ESO Suite login screen appears.
-
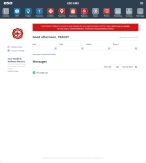
Enter your user name, password, and agency name, then click Let's Go.
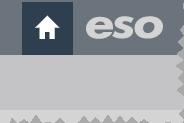
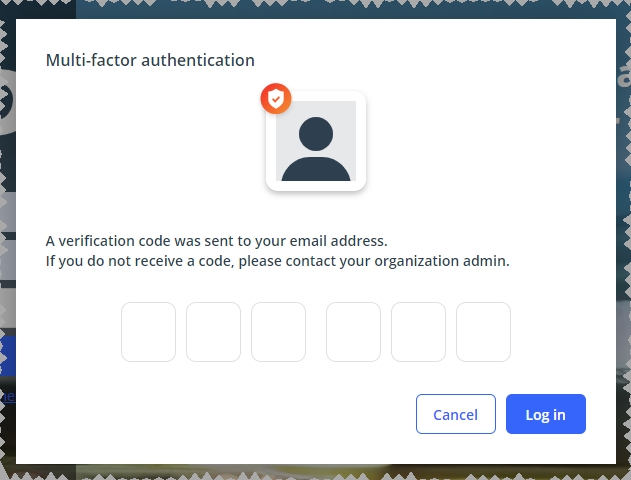
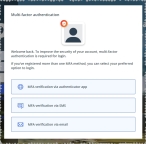
If MFA is enabled, the Multi-factor authentication dialog box appears, displaying one or more methods you can use to verify your login credentials. The number of methods that appear in the dialog box depends on what MFA methods your ESO Suite administrators enabled in the Admin module.
Click graphics
to open them.Information on enabling MFA and specific MFA methods is available in the Admin module online help, in Configure multiple-factor authentication.
Note: If your ESO Suite administrators have disabled MFA ("opted-out"), this dialog does not appear.
-
(If the Multi-factor authentication dialog box appears) Depending on which buttons appear in the dialog box, verify your login in one of the following ways.
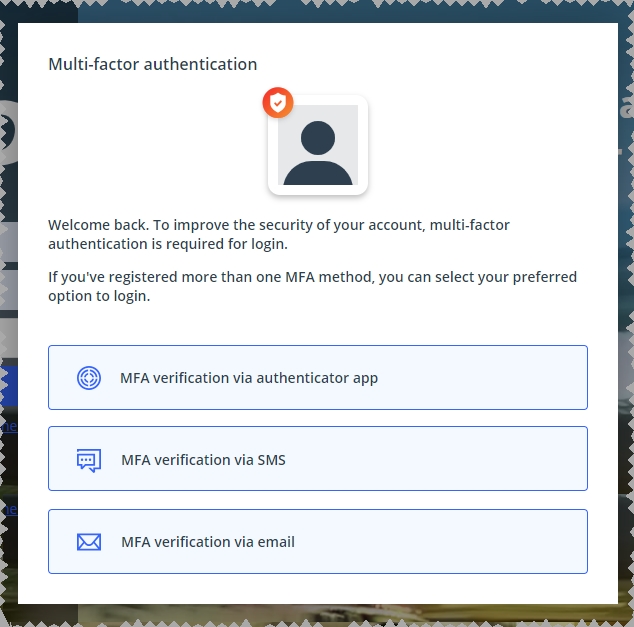
With an authenticator application.
-
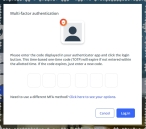
Click MFA verification via authenticator app.
The dialog box updates with boxes for entering the numbers of the authentication code, and the ESO Suite sends an authentication code to the authenticator application installed on your device.
-
Open your authenticator application and note the authentication code currently displayed.
-
Enter the authentication code displayed in the authenticator application.
-
Click Log In.
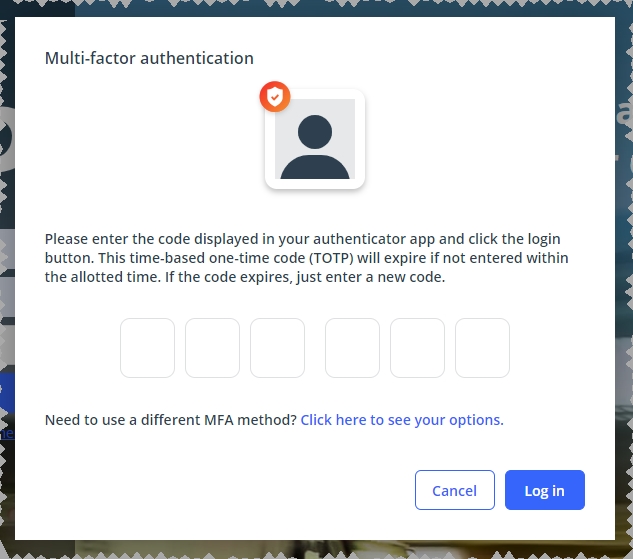
With a text message (SMS).
-
Click MFA verification via SMS.
The dialog box updates with boxes for entering the numbers of the authentication code, and the ESO Suite sends an authentication code to the phone number recorded in your PM records and identified with MFA codes.

-
Enter the authentication code sent to your MFA-registered phone number.
-
Click Log In.
With an email message.
-
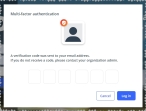
Click MFA verification via email.
The dialog box updates with boxes for entering the numbers of the authentication code, and the ESO Suite sends an authentication code to your agency or department email address, recorded in your PM records.
-
Enter the authentication code sent to your agency or department email address.
-
Click Log In.
-
-
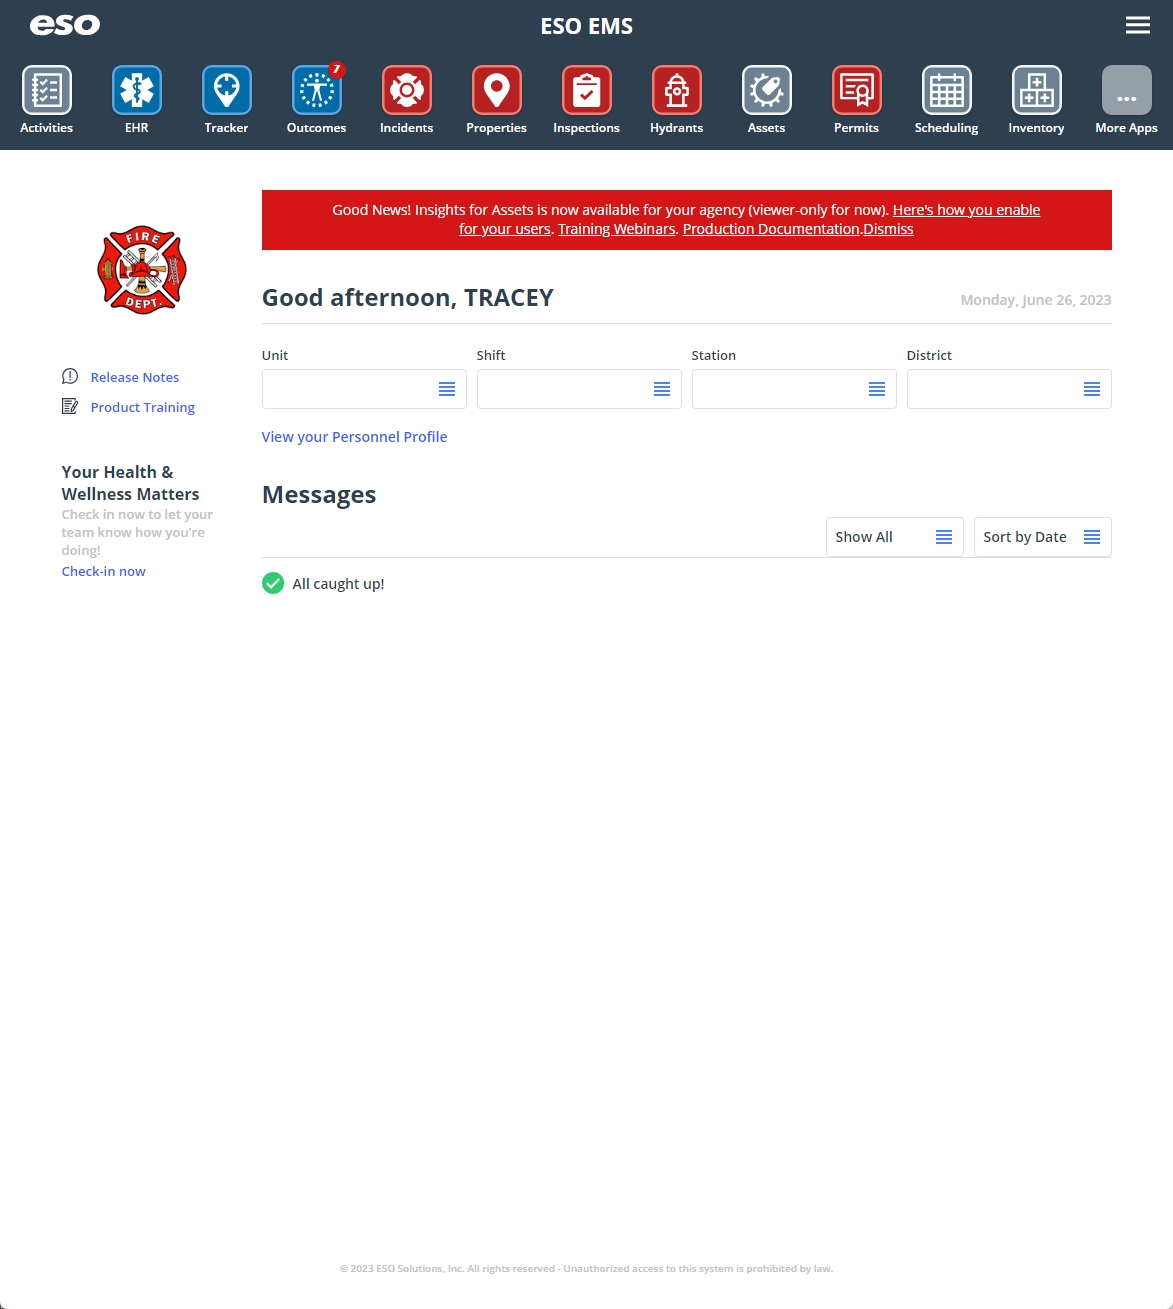
The ESO Suite landing screen appears.
Click graphics
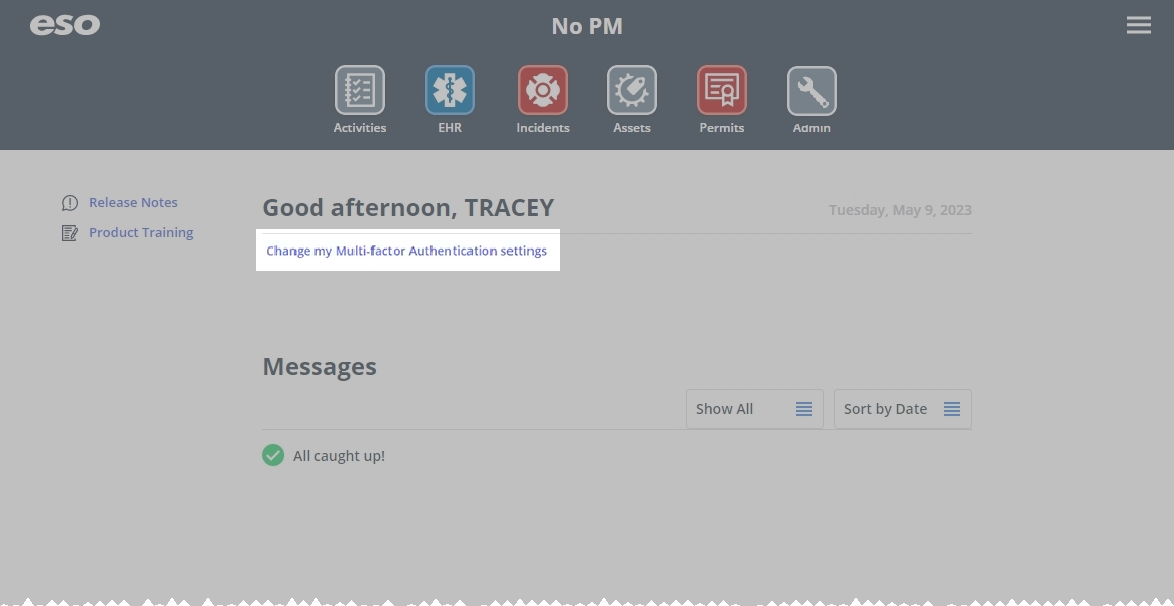
to open them.Note: You can access and manage your MFA options through the PM module, on the Settings > Account page, as described in Manage a user account. If your agency or department has enabled MFA but has not purchased the full-featured version of the PM module, you can access your own MFA settings by clicking Change my Multi-Factor Authentication settings on the landing screen, then using the Settings > Account page that appears. If your agency has not enabled MFA, the Change my Multi-Factor Authentication settings link does not appear on the landing screen.
-
-
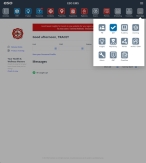
On the top side of the home screen, click Admin.
Tip: If your screen or browser window is too narrow to display all your agency's ESO Suite module icons, an options icon appears on the right side of the icon bar. If you click the options icon, a menu appears containing additional module icons.
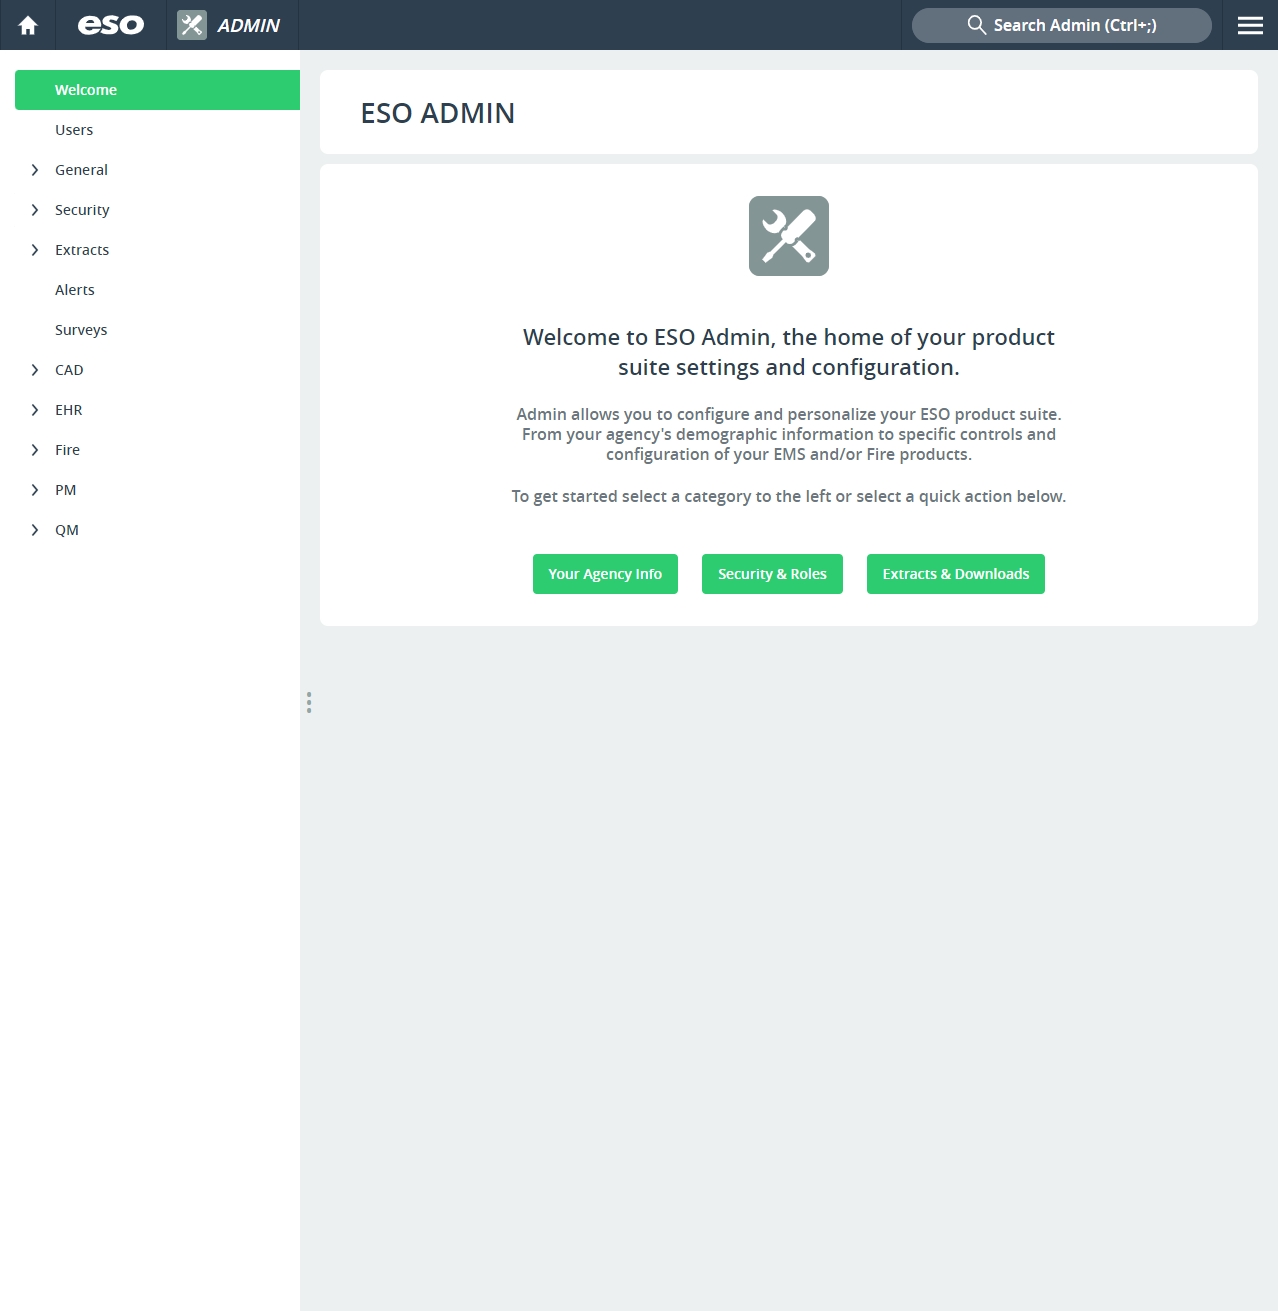
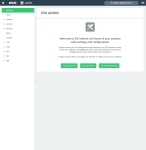
The Admin screen appears, displaying the Welcome screen.
-
In the left pane, expand Security, then click Login Policies.
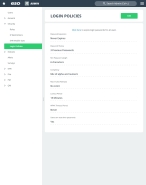
The Login Policies screen appears.
-
Click Edit.
The Edit Login Policies screen appears.
Note: You must fill in all fields indicated as
REQUIREDon this screen. -
For each field in the dialog box, click the field or the list icon to the right of the field, then select the appropriate single option from the menu that appears.
This field Does this Password Expiration
Controls how often the user needs to change their password.
Password History
Specifies how long to retain any password history, preventing the user from re-using some past number of passwords.
Min Password Length
Determines how many characters a valid password requires.
Complexity
Indicates whether a password requires a mix of alphabetic and numeric characters, or a mix of alphabetic, numeric, and symbol characters.
Max Invalid Attempts
Defines how many times a user can try to log in before they are automatically locked out.
Lockout Period
Determines how long a locked-out user must wait before they can try to log in again.
HIPPA Timout Period
Specifies how many minutes of inactivity can occur before the ESO Suite logs the user out. This setting minimizes the exposure of patient data to casual observers.
Note: This setting impacts both web and mobile client users.
Users can reset their passwords
Indicates whether or not users can reset their passwords. If you select Yes, the Did you forget your password? prompt appears on the login screen. If you select No, the link does not appear and users need to contact their ESO Suite administrator for assistance resetting their password.
-
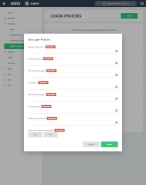
(Optional) Expire all user passwords at once.
If you experience a data breach, a phishing attempt, or other malicious activity in your agency's network, you can force all passwords to expire at once.
-
At the top of the screen, click Click here to expire login passwords for all users.
The Confirm Expiring Passwords for ALL Users dialog box appears.

-
Click Yes.
Anyone who tries to access the ESO Suite will need to change their passwords and meet the current password requirements, or you can issue new passwords.
-